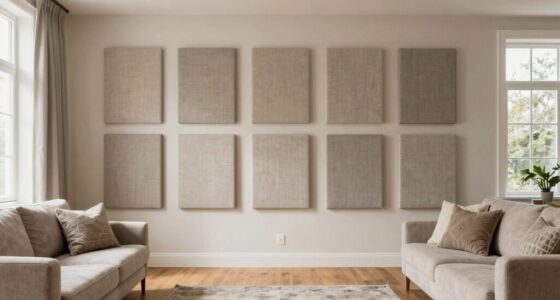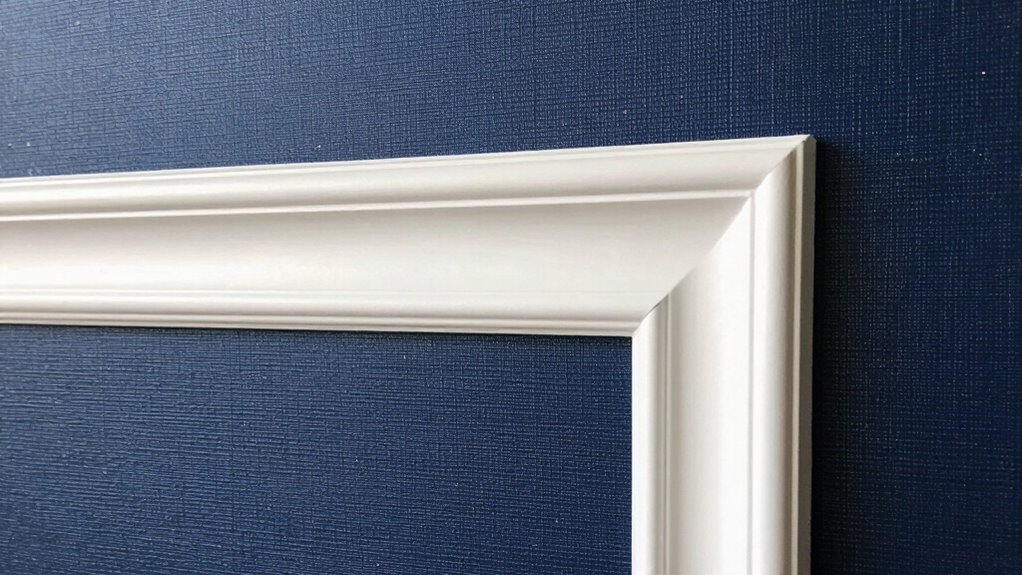

To properly frame a feature wall with trim, start by choosing a style that matches your interior—sleek for modern or ornate for traditional. Measure your wall precisely, mark your trim placement, and sketch your layout for a clear plan. Use appropriate moulding profiles, cut corners at 45 degrees for tight joints, and secure the trim with nails or adhesive, keeping everything level. Finish by filling gaps, caulking seams, and painting or staining for a seamless look—if you keep these steps in mind, you’ll create a beautifully framed feature wall.

Get furniture and decor delivered free — and shop member deals
- Fast, free delivery on millions of items
- Access to Prime Big Deal Days deals on October 6–7
- Prime Video, Amazon Music and more included
Key Takeaways
- Measure wall dimensions accurately and plan trim placement to ensure proper framing and balanced proportions.
- Choose trim profiles that match your interior style and desired aesthetic for cohesive design.
- Use a level and precise miter cuts at 45 degrees for tight, seamless corners.
- Attach trim securely with nails or adhesive, keeping everything level and aligned during installation.
- Caulk seams and gaps before painting or staining for a polished, professional finish.
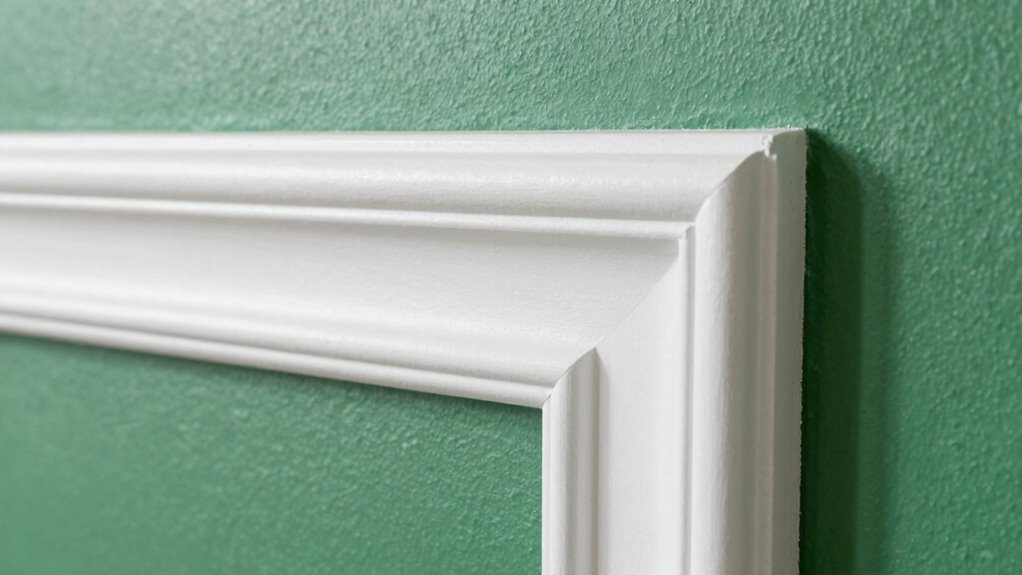
Are you ready to elevate your interior design by framing a feature wall with trim? Using decorative molding and wall paneling can transform a plain wall into a stunning focal point that adds depth and character to your space. The key is understanding how to properly use trim to create a polished, cohesive look. Start by deciding on the style you want—whether it’s modern, traditional, or rustic—since this will influence your choice of decorative molding and the overall layout. Measure your wall carefully, noting the dimensions where you plan to add trim, so you can cut your pieces precisely. Accurate measurements prevent gaps and uneven joints, ensuring a clean finish.
Choose your style—modern, traditional, or rustic—to guide your trim and layout for a polished feature wall.
When selecting decorative molding, opt for profiles that complement your interior style. For a sleek, contemporary look, choose simple, straight-edged trim. If you prefer a more ornate aesthetic, go for intricate designs with detailed carvings. Wall paneling can be added to give your feature wall more texture and visual interest. You might choose beadboard, shiplap, or raised panels, depending on the mood you want to create. Before installing, plan your layout by sketching the design, marking where each piece of trim will go, and visualizing how the wall will look once finished. Incorporating interior design principles can help guide your choices for a harmonious look.
Begin by attaching the wall paneling or decorative molding with a strong adhesive or nails, making sure everything stays level and aligned. Use a level and a tape measure frequently to avoid crooked lines. When working with wall paneling, consider leaving a small gap at the edges to accommodate expansion and contraction, then caulk and paint over these seams for a seamless appearance. For decorative molding, miter the corners at 45-degree angles for tight joints, and use wood filler to hide any nail holes or gaps. Additionally, selecting the right decorative molding profiles can greatly influence the overall aesthetic of your feature wall.
Painting or staining your trim and paneling ties everything together. Choose a color that contrasts or complements your wall color to make the framing pop. Finish by caulking any visible gaps and applying a coat of paint or stain. This extra step ensures your feature wall looks professionally finished. Remember, patience is key: taking your time during measurement, cutting, and installation will result in a clean, sophisticated look. With careful planning and attention to detail, framing your feature wall with trim can elevate your interior design and create a space that truly reflects your style.
decorative molding trim for walls
As an affiliate, we earn on qualifying purchases.
As an affiliate, we earn on qualifying purchases.
Frequently Asked Questions
What Tools Are Essential for Trimming a Feature Wall?
You’ll need a miter saw or a handheld saw for precise cuts, a measuring tape for accuracy, a level to guarantee straight trim, and a pencil for marking. Use decorative corner accents to add flair, and follow trim installation tips for a professional finish. A nail gun or hammer helps secure the trim, while a caulk and paint finish the look seamlessly. These tools make framing your feature wall straightforward and polished.
How Do I Choose the Right Trim Style for My Wall?
Like choosing the right frame for a masterpiece, selecting your trim style depends on your wall’s character. Opt for decorative molding that complements your room’s decor—ornate for elegance, simple for modern minimalism. Consider trim installation tips like measuring carefully and selecting durable materials. Your goal is harmony; pick a style that enhances your space without overpowering it, creating a polished, cohesive look that reflects your personal taste.
Can I Use Paint or Stain on the Trim?
Yes, you can use paint or stain on the trim. Before applying paint, guarantee proper paint preparation by cleaning and lightly sanding the trim for smoothness. For stain application, sand the trim thoroughly to open the wood pores, then apply the stain evenly with a brush or cloth. Follow each with a protective topcoat to enhance durability. Both options give your trim a fresh, polished look that complements your feature wall.
How Do I Ensure the Trim Is Level and Even?
Achieving perfectly level and even trim feels like balancing on a tightrope over a canyon of uneven wall texture. To do this, you’ll want to measure carefully, use a level or laser guide, and mark your lines precisely. Secure the trim with nails or adhesive, then double-check with the level before finalizing. This guarantees your decorative accents frame your feature wall flawlessly, creating a polished, professional look that elevates the entire room.
What Are Common Mistakes to Avoid When Trimming?
When trimming your wall, avoid common mistakes like misaligning decorative accents or ignoring wall texture considerations. Don’t rush measurements or cut corners, which can lead to uneven gaps. Make sure to choose the right trim style that complements your wall’s texture, and test fit pieces before securing. Overlooking these details can ruin the clean, polished look you’re aiming for, so take your time and double-check everything.
As an affiliate, we earn on qualifying purchases.
Conclusion
Now that you know how to use trim to frame a feature wall, you’re all set to transform your space with confidence. Just remember, a little attention to detail goes a long way—don’t be afraid to take your time and make adjustments along the way. With patience and precision, you’ll turn a simple wall into a stunning focal point. So go ahead, give it your best shot and watch your room come alive!
wall paneling kits for feature walls
As an affiliate, we earn on qualifying purchases.
As an affiliate, we earn on qualifying purchases.
caulk and wood filler for wall trim
As an affiliate, we earn on qualifying purchases.
As an affiliate, we earn on qualifying purchases.
Halloween Picks
halloween
As an affiliate, we earn on qualifying purchases.