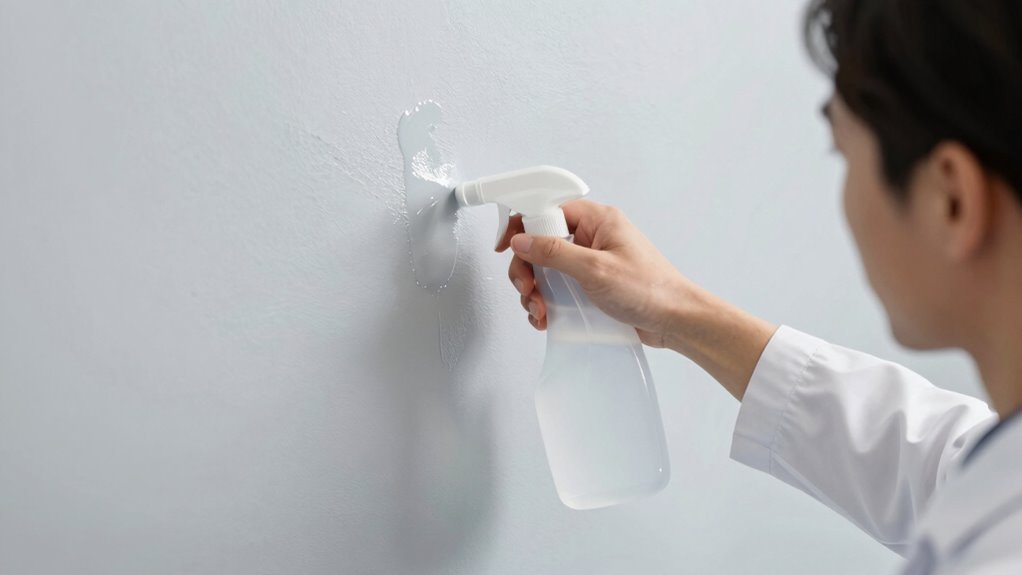

To prevent adhesion issues when cleaning walls, start at the top and work down in a systematic order. Use gentle cleaning methods and rinse thoroughly after washing to remove any soap or residue. As you work, make sure you’re not spreading dirt or moisture to already cleaned areas. Pay attention to drying each section completely before moving on. Following these steps will help maintain your wall’s surface. Keep exploring to learn more tips for perfect wall care.

Get furniture and decor delivered free with Prime
- Fast, free delivery on millions of items
- Prime Video, Amazon Music and more included
- Member-only deals all year
Key Takeaways
- Start cleaning from the top of the wall and work downward to prevent streaks and dirt transfer.
- Rinse the wall thoroughly after cleaning to remove soap residues that can impair adhesion.
- Ensure the wall is completely dry before applying paint or coatings to avoid bubbling or peeling.
- Remove loose or peeling paint before cleaning to promote better adhesion of new paint.
- Protect surrounding surfaces during cleaning to prevent contamination that could affect paint adhesion.
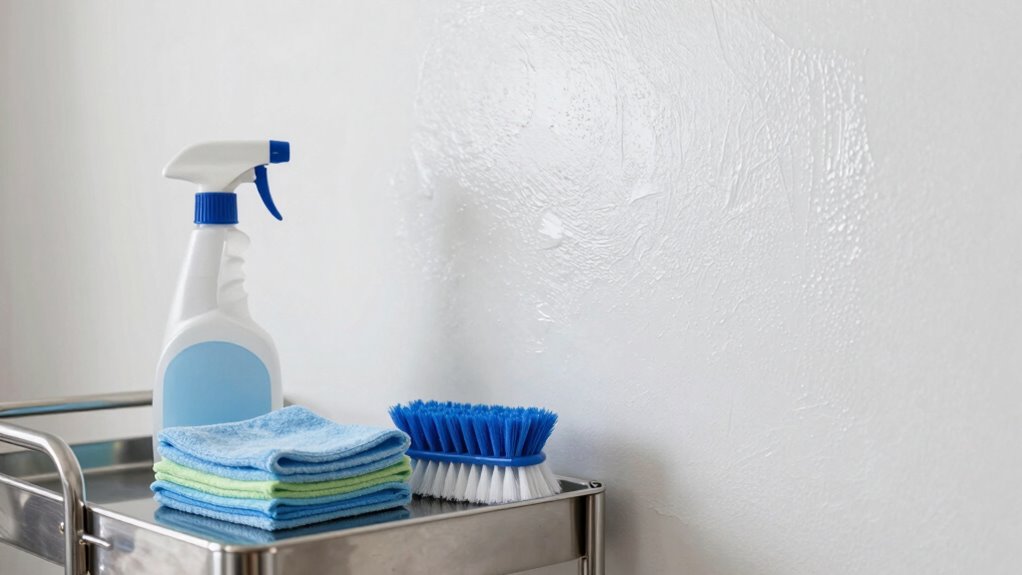
Have you ever wondered what the most effective way to clean walls is? The truth is, proper wall cleaning begins long before you pick up a sponge or cloth. It starts with understanding the importance of paint preparation and the right cleaning techniques. When you approach wall cleaning in the correct order, you not only restore the surface’s appearance but also prevent adhesion issues that can cause peeling, bubbling, or uneven paint coverage.
First, assess the type of paint on your walls. Different finishes and paints require specific preparation and cleaning methods. For example, matte paints are more porous and may need gentler cleaning, while semi-gloss or gloss paints can handle more robust cleaning techniques. Before you start, remove any furniture or fixtures to give yourself clear access. Cover remaining items with drop cloths to prevent water or cleaning solution splashes. This initial step helps you work more efficiently and keeps the space tidy.
Assess your wall’s paint type and prepare by clearing space and protecting furniture for efficient cleaning.
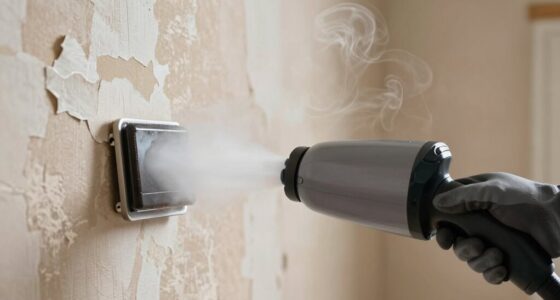
Next, focus on paint preparation by inspecting the walls for loose or peeling paint. If you find any, scrape or sand these areas smooth before cleaning. This step guarantees that when you apply new paint later, it adheres properly without trapping debris or air bubbles. Now, move on to cleaning techniques. Use a soft sponge or microfiber cloth with a mild cleaning solution—warm water mixed with a gentle detergent or vinegar for tougher grime. Avoid harsh chemicals that can damage the paint or make it more prone to adhesion problems in the future. Work from the top of the wall downward, rinsing your sponge frequently to prevent spreading dirt around. For stubborn stains, gently scrub in circular motions, but never use abrasive tools that could scratch or peel the paint.
As you clean, pay close attention to the order of operations. Always start with the highest points of the wall and work your way down. This method prevents dirty water from running onto already cleaned areas, which could cause streaks or spots. Additionally, consider proper drying techniques to ensure no residual moisture remains, as moisture can compromise paint adhesion later on, leading to peeling or bubbling when you repaint. Using appropriate cleaning solutions can also help preserve the integrity of your paint and surface. It’s also important to consider surface condition, as damaged or uneven surfaces may require additional prep work for optimal results. It’s also helpful to ensure good ventilation during and after cleaning to facilitate faster drying and reduce humidity that can impact paint adhesion. Once the walls are thoroughly cleaned, rinse with plain water to remove any residual soap or cleaning agents, then dry the surface with a clean towel or allow it to air dry. This step is vital because residual moisture can compromise paint adhesion later on, leading to peeling or bubbling when you repaint.
As an affiliate, we earn on qualifying purchases.
Frequently Asked Questions
How Often Should Walls Be Cleaned to Prevent Adhesion Issues?
You should clean your walls at least every six months to prevent adhesion issues, especially if they have textured surfaces. Regular cleaning removes dust, dirt, and grease that can interfere with paint or wallpaper adhesion. Adjust cleaning frequency based on your wall texture and exposure to dirt or moisture. For heavily used areas or textured walls, more frequent cleaning—every three to four months—may be necessary to maintain proper adhesion.
Are Specific Cleaning Solutions Better for Wall Preparation?
Yes, specific cleaning agents are better for wall preparation. Select gentle, degreasing cleaning solutions like trisodium phosphate or mild detergent to effectively remove dirt, grease, and oils. Proper surface preparation guarantees ideal adhesion, so avoid harsh chemicals that could damage the wall surface. Use a soft sponge or cloth to clean, then rinse thoroughly. This approach enhances paint or coating durability and prevents adhesion issues.
Can Cleaning Walls Prevent Future Paint Peeling?
Think of your wall surface as a canvas for a masterpiece. When you clean walls properly, you’re preparing the canvas, ensuring paint adhesion is strong. This process removes dirt, grease, and loose paint, preventing future peeling. Regular cleaning acts like a protective primer, safeguarding your walls from adhesion issues down the line. So yes, diligent cleaning today helps keep your paint intact and your walls looking fresh for years to come.
What Tools Are Recommended for Effective Wall Cleaning?
For effective wall cleaning, you should use soft sponges or microfiber cloths to gently remove dirt and dust without damaging the surface. A mild detergent mixed with water works well for dirt removal and surface preparation. For stubborn stains, consider using a gentle scrub brush. Always rinse with clean water afterward to guarantee no residue remains. Proper tools and careful cleaning help create an ideal surface for painting, preventing future adhesion issues.
Does Wall Cleaning Affect Different Wall Types Differently?
Yes, wall cleaning affects different wall types differently. For porous surfaces like unpainted drywall, you need gentle cleaning to avoid damage, as porosity allows dirt to penetrate deeper. Painted surfaces require compatibility checks to prevent paint stripping or discoloration. Always consider surface porosity and paint compatibility before cleaning, using appropriate cleaners and techniques. Doing so guarantees you maintain wall integrity and finish quality, preventing adhesion issues later.
mild cleaning solution for walls
As an affiliate, we earn on qualifying purchases.
As an affiliate, we earn on qualifying purchases.
Conclusion
By following the proper wall-cleaning order, you create a pristine backdrop free of smudges and streaks. Imagine a smooth, spotless surface—your reflection perfectly clear—standing in stark contrast to the chaos of dirt and grime. As you finish, the wall’s fresh, clean appearance offers a calm, inviting space. This simple routine transforms a mundane task into a satisfying moment of accomplishment, leaving your walls not just clean, but truly renewed and ready to shine.
As an affiliate, we earn on qualifying purchases.
As an affiliate, we earn on qualifying purchases.
Halloween Picks
halloween
As an affiliate, we earn on qualifying purchases.