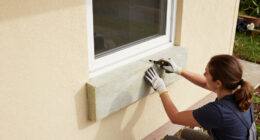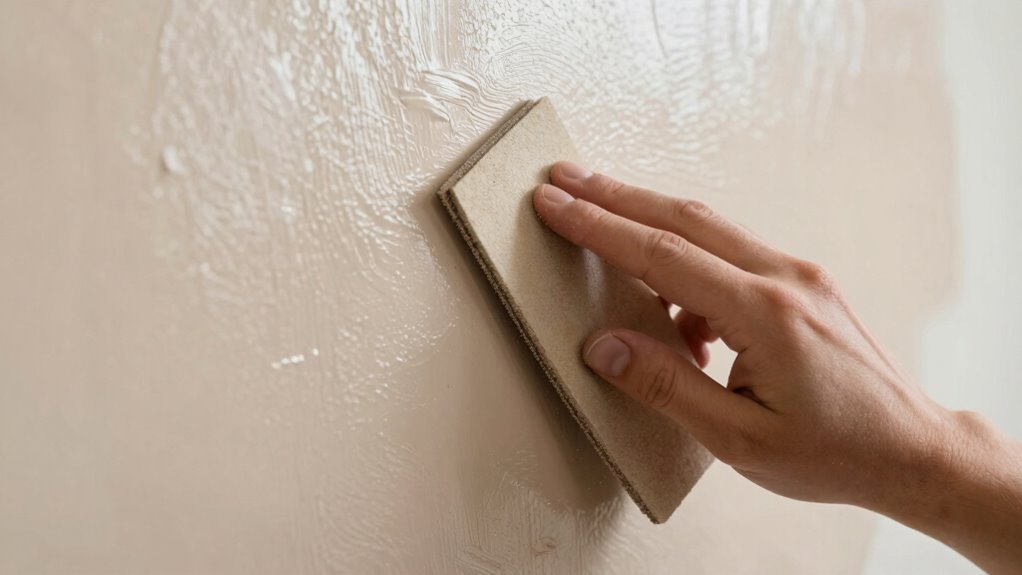

To prep glossy walls, start by cleaning them thoroughly with a mild detergent or degreaser, then rinse well and let them dry completely. Lightly sand the high-gloss areas with fine-grit sandpaper to create a rough surface for better paint adhesion, and wipe away dust with a damp cloth or tack cloth. Applying a suitable primer afterward guarantees a strong bond and a smoother finish. Keep going to discover more essential tips for professional results.

Get furniture and decor delivered free — and shop member deals
- Fast, free delivery on millions of items
- Access to Prime Big Deal Days deals on October 6–7
- Prime Video, Amazon Music and more included
Key Takeaways
- Clean the walls thoroughly with a mild detergent or degreaser, then rinse and allow to dry completely.
- Lightly sand glossy areas with fine-grit sandpaper to create a rough surface for better paint adhesion.
- Wipe down the sanded surface with a damp cloth or tack cloth to remove dust and debris.
- Apply a suitable primer designed for glossy surfaces to enhance paint bonding and durability.
- Ensure the surface is smooth, dust-free, and fully dry before applying the final coat of paint.
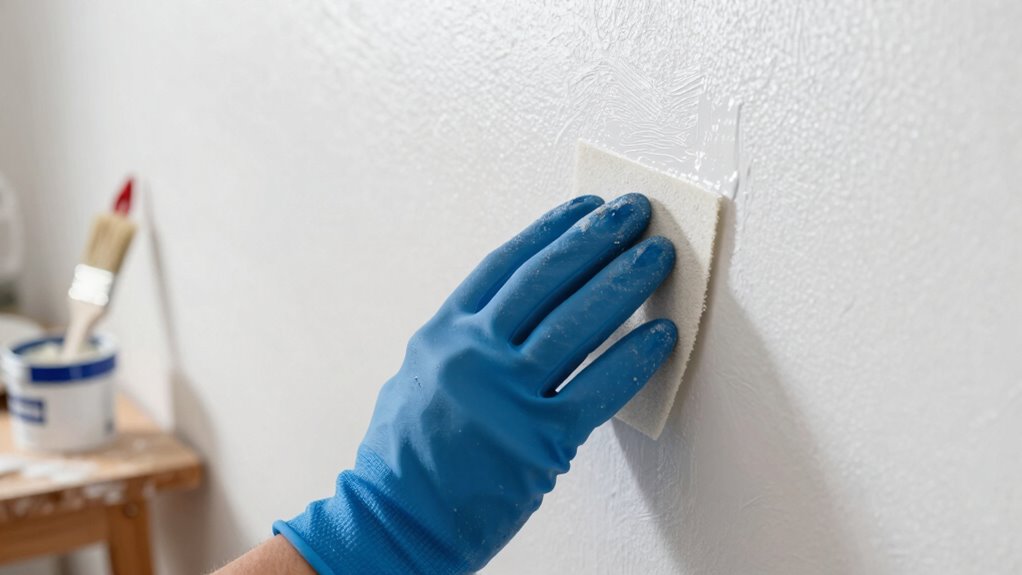
Have you ever tried painting over glossy walls only to find that the paint refuses to stick? This common frustration happens because glossy surfaces are designed to be smooth and resistant to paint adhesion. Before you toss your brush aside, understanding the right prep steps can make all the difference. The key lies in properly preparing the surface—starting with thorough surface cleaning. Dirt, grease, and grime accumulate over time, creating a barrier that prevents paint from bonding effectively. Use a mild detergent or a degreasing cleaner to scrub the walls. Rinse with clean water and let the surface dry completely. This process not only removes surface contaminants but also guarantees a clean base for better adhesion.
Thorough cleaning creates a clean base, essential for better paint adhesion on glossy surfaces.
Once the surface is clean and dry, you’ll need to address the glossy finish itself. The shiny coating acts like a slick barrier, so you must create a rougher texture to improve paint adhesion. Lightly sanding the walls with fine-grit sandpaper is essential. This doesn’t mean stripping the paint entirely, but rather scuffing the surface enough to give the new paint something to grip onto. Focus on areas with high gloss or uneven sheen, and make sure to sand evenly. After sanding, wipe down the walls with a damp cloth or tack cloth to remove dust and debris. This step guarantees a smooth, dust-free surface, which is *vital* for a professional-looking finish. Using the right type of primer for glossy surfaces can further enhance adhesion and durability. Proper surface preparation is a fundamental part of paint adhesion and ensures your project’s success. Additionally, selecting the correct prep products can help streamline the process and improve results. Incorporating the right surface treatment techniques can also significantly improve your painting outcome. Being aware of meticulous preparation is essential to achieving the best results when painting over glossy walls.
mild detergent for wall cleaning
As an affiliate, we earn on qualifying purchases.
As an affiliate, we earn on qualifying purchases.
Frequently Asked Questions
Can I Skip Sanding Glossy Walls Before Painting?
You shouldn’t skip sanding glossy walls because it’s essential for good paint adhesion and surface texture. Glossy surfaces are smooth, making it hard for paint to stick properly. By lightly sanding, you create tiny scratches that help the new paint bond better, preventing chipping or peeling later. Skipping this step can lead to uneven finishes and reduced durability, so take the time to prep your walls for a smooth, long-lasting paint job.
How Long Should I Wait After Cleaning Before Painting?
You should wait at least 1 to 2 hours after cleaning glossy walls before painting, ensuring the surface dries completely. This pause allows any residual moisture to evaporate, preventing issues with wall texture and improving paint durability. Rushing this step can cause paint to bubble or peel. Proper drying time guarantees your paint adheres well and lasts longer, giving your walls a smooth, durable finish.
Is There a Specific Primer Recommended for Glossy Surfaces?
For glossy surfaces, you should use a bonding primer designed to improve surface adhesion. Look for primer types labeled as bonding or adhesion primers, as they are formulated specifically for slick finishes. These primers create a rougher texture and promote better paint grip, guaranteeing your new coat adheres well and lasts longer. Always follow the manufacturer’s instructions for best results and confirm the surface is clean and dry before application.
Can I Use Peel-And-Stick Wallpaper on Glossy Walls?
Yes, you can use peel-and-stick wallpaper on glossy walls, but you need to check adhesive compatibility first. Glossy surfaces can be tricky, so opt for removable options designed for high-sheen surfaces. Make sure to clean and lightly sand the wall to improve adhesion. If you choose a removable adhesive, it’ll come off easily later without damaging your paint or surface, making the whole process smoother and more successful.
What Tools Are Best for Cleaning Glossy Walls Effectively?
You should use soft sponges or microfiber cloths for cleaning glossy walls to avoid scratches. For wall cleaning techniques, gentle circular motions work best. Use suitable cleaning products like a mix of mild dish soap and water or a specialized wall cleaner, avoiding harsh chemicals. Always test a small area first, and dry the surface with a clean cloth afterward to prevent streaks and maintain the glossy finish.
fine grit sandpaper for wall prep
As an affiliate, we earn on qualifying purchases.
As an affiliate, we earn on qualifying purchases.
Conclusion
Properly prepping glossy walls guarantees your paint job lasts longer and looks flawless. Remember, about 70% of homeowners find that spending extra time on prep reduces the need for touch-ups later. So, take your time to clean, sand, and prime thoroughly. Skipping these steps might save a little time upfront, but it often leads to more work down the road. With the right prep, you’ll enjoy a smooth, professional-looking finish that truly stands out.
As an affiliate, we earn on qualifying purchases.
dust removal cloth for painting prep
As an affiliate, we earn on qualifying purchases.
As an affiliate, we earn on qualifying purchases.
Halloween Picks
halloween
As an affiliate, we earn on qualifying purchases.