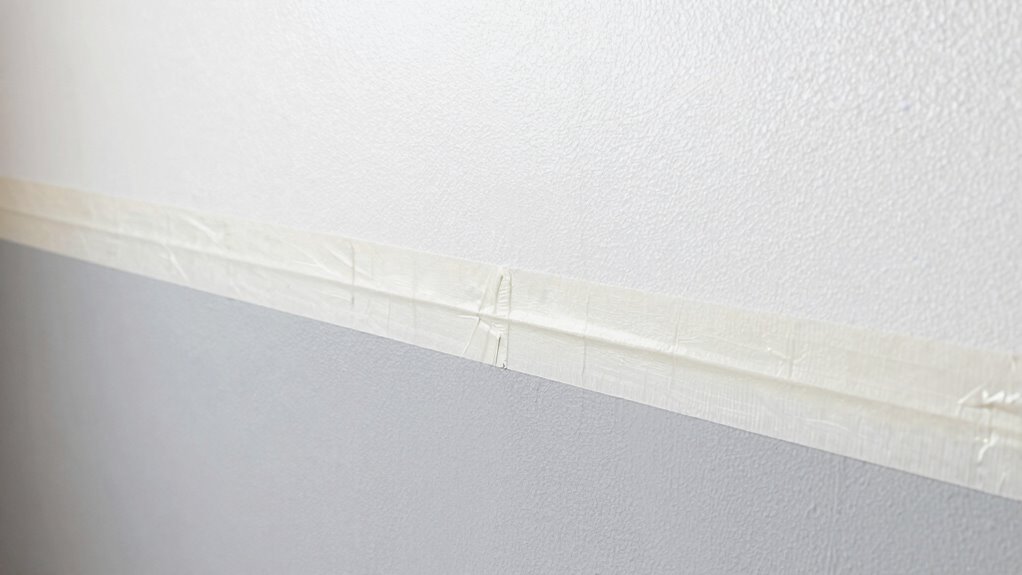
The key masking step that makes sprayed walls look cleaner is applying painter’s tape carefully along the edges and pressing it down firmly. This step creates a tight bond between the tape and the wall, preventing paint from seeping underneath. Proper application guarantees sharp, crisp lines and a professional finish. Taking your time with tape placement plays an essential role in the final look, and if you continue, you’ll discover more tips to perfect your masking technique.
Key Takeaways
- Applying high-quality painter’s tape carefully along edges ensures sharp, clean lines for sprayed walls.
- Pressing the tape firmly with a putty knife prevents paint bleeding and creates a tight seal.
- Proper surface preparation—cleaning and sanding—enhances tape adhesion and overall finish.
- Using the right tape designed for spray painting reduces seepage and produces smoother boundaries.
- Removing the tape immediately after spraying prevents paint smudges and maintains crisp lines.
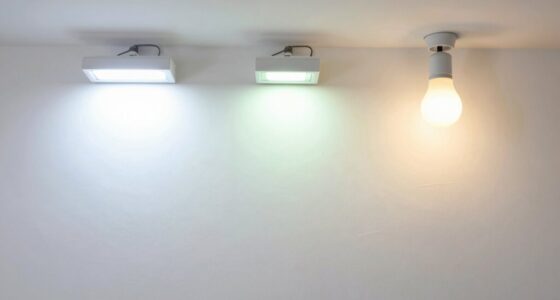
Are you ready to achieve crisp, clean walls with a professional finish? The key to that flawless look often comes down to one simple but essential masking step. While many focus on the actual painting process, neglecting proper masking can lead to uneven lines, paint bleed, and a less polished appearance. The step I’m talking about is carefully masking all edges and surfaces that shouldn’t be painted. This isn’t just about aesthetics; it’s about guaranteeing surface preparation is ideal and paint adhesion is maximized. When you mask properly, you create a clean boundary, which makes the finished wall look sharp and professional.
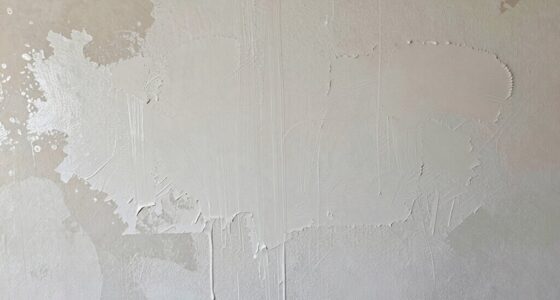
First, you want to make sure your surface is thoroughly prepared before masking. Clean the walls to remove dust, grease, or old paint flakes. A smooth, clean surface ensures that your masking tape adher well and doesn’t lift or peel during painting. Proper surface preparation directly impacts paint adhesion, so spend a few extra minutes cleaning and sanding if necessary. When surfaces are well-prepared, the masking tape sticks firmly, preventing paint from seeping underneath and creating uneven edges. This step is fundamental because no matter how skilled you are with your brush or roller, poor surface prep can sabotage your results. Surface preparation is crucial for achieving a flawless finish. Additionally, a well-prepared surface helps to minimize the need for touch-ups after painting. Using quality tools and materials during this process also contributes to a more professional-looking result.
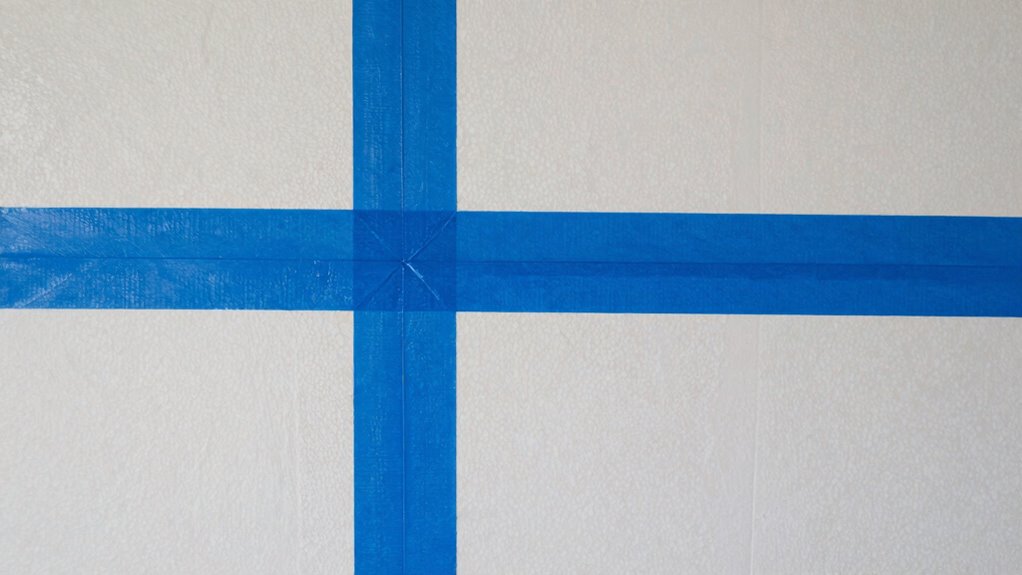
Once your surface is ready, choose high-quality painter’s tape designed for clean lines. Applying the tape correctly is just as important as selecting it. Use a putty knife or your finger to press the tape down firmly along every edge. This extra step ensures the tape bonds tightly to the surface, blocking paint from bleeding through. When you mask meticulously, you’re actively controlling where the paint goes, which results in sharper lines and a more professional finish. The tape acts as a barrier, but only if it’s applied properly and pressed down securely. Proper application of masking tape is an essential step in achieving professional-looking results. Remember that tape application is a skill that improves with patience and practice, ultimately leading to cleaner and more precise lines.

ScotchBlue Original Multi-Surface Painters Tape, 2 Inch Wide (1.88 in. x 60 Yds), 1 Roll Blue Paint Tape Protects Surfaces & Removes Easily, Masking Tape for Indoor and Outdoor Use (2090-48NC)
BLUE PAINTER'S TAPE: Includes One 1.88 in x 60 yd roll of ScotchBlue Original Painter's Tape, a blue…
As an affiliate, we earn on qualifying purchases.
As an affiliate, we earn on qualifying purchases.
Frequently Asked Questions
How Long Should Masking Tape Stay on Before Painting?
You should leave masking tape on for at least 24 hours before painting to guarantee proper wall preparation. This allows the tape to adhere securely, preventing paint bleed and ensuring clean lines. During your painting techniques, take your time to press down the tape firmly, especially along edges. Removing the tape too soon can result in smudges or peeling paint, so patience guarantees a professional-looking finish.
What Type of Masking Tape Is Best for Painted Walls?
Perfectly peelable painter’s tape is your best bet for pristine painted walls. Choose painter’s tape with just the right adhesive strength—strong enough to stick but gentle enough to peel without damage. This guarantees clean, crisp lines and prevents paint bleeding. When you select quality painter’s tape, you avoid messy mishaps, making your painting project look professional and polished. Trust the tape that sticks just right for flawless results.
Can Masking Tape Damage Freshly Painted Surfaces?
Masking tape can damage freshly painted surfaces if it doesn’t have proper paint protection or if tape adhesion is too strong. To prevent damage, choose painter’s tape designed for delicate surfaces, and remove it promptly after painting. This reduces the risk of peeling or lifting paint, ensuring your wall remains smooth and clean. Always test a small area first, especially on new paint, to avoid unwanted damage.
How Do I Remove Masking Tape Without Peeling Paint?
To remove masking tape without peeling paint, act quickly when tape adhesion is weakest—usually after several hours or a day. Gently peel back the tape at a 45-degree angle, like revealing a gift. Use a small blade if needed, but be cautious. This mask removal technique minimizes paint damage, ensuring your freshly sprayed walls look clean and smooth. Patience and gentle handling make all the difference!
Is Masking Necessary for Textured Wall Finishes?
Masking isn’t always necessary for textured wall techniques, especially if you’re confident in your skills. However, masking tape alternatives like painter’s plastic or specialized edging tools can help achieve clean lines without damaging the texture. If you prefer a crisp finish, masking provides protection and precision. Ultimately, your choice depends on your project’s complexity and your comfort level, but experimenting with alternatives can yield excellent results.
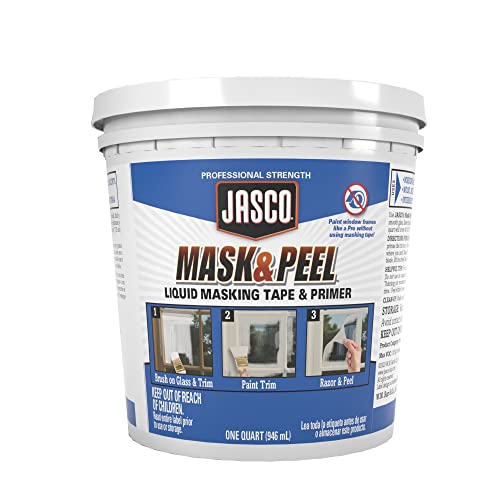
JASCO Liquid Mask & Peel, Liquid Masking Tape, 1 Quart
LIQUID MASKING TAPE AND PRIMER: Faster and easier than taping, Mask & Peel primes and seals window trim…
As an affiliate, we earn on qualifying purchases.
As an affiliate, we earn on qualifying purchases.
Conclusion
Think of masking as the shield that guards your walls’ pristine beauty. When you carefully tape and cover before spraying, you’re creating a clear boundary—a silent promise to keep your walls flawless. Without this step, stray paint becomes a stubborn stain, chaos in disguise. So, embrace the masking process like a loyal guardian, ensuring your walls stay as pristine as a blank canvas awaiting its masterpiece. Your careful preparation transforms a messy task into artful perfection.

Putty Knife, 4Pcs Spackle Knife Set (2, 3, 4, 5 in), Stainless Steel Paint Scraper, Taping Knife Tool for Repairing Drywall, Removing Wallpaper, Applying Putty, Plaster, Cement, Adhesive
Sturdy Design: The blade and handle in our drywall knife are processed in one piece, which is very…
As an affiliate, we earn on qualifying purchases.
As an affiliate, we earn on qualifying purchases.

9" Drywall Sander with 360° Swivel Head – Premium Manual Hand Sander for Walls & Ceilings – Hook & Loop Sanding Pad for Smooth Wall Cleaning, Polishing & Drywall Repair
Versatile Sanding Tool – This 9-inch drywall pole sander is perfect for large-area sanding, making it ideal for…
As an affiliate, we earn on qualifying purchases.
As an affiliate, we earn on qualifying purchases.