To avoid lap marks on large walls, make certain your surface is smooth and well-prepped, free of dust and cracks. Use high-quality rollers, load them properly, and work in sections with overlapping strokes in a “W” or “M” pattern. Keep a wet edge and blend new paint into wet areas, avoiding stops mid-section. Patience and proper technique are key; if you keep these tips in mind, you’ll achieve a flawless, lap mark-free finish and discover more helpful pointers.

Get furniture and decor delivered free — and shop member deals
- Fast, free delivery on millions of items
- Access to Prime Big Deal Days deals on October 6–7
- Prime Video, Amazon Music and more included
Key Takeaways
- Work in small sections with overlapping “W” or “M” patterns to maintain a wet edge.
- Keep a consistent paint thickness and avoid overloading the roller to prevent uneven drying.
- Reload the roller frequently and blend painted areas for seamless transitions.
- Avoid stopping mid-section; complete each area before moving to the next.
- Use proper tools and techniques, like high-quality brushes or rollers, for smooth, uniform coverage.
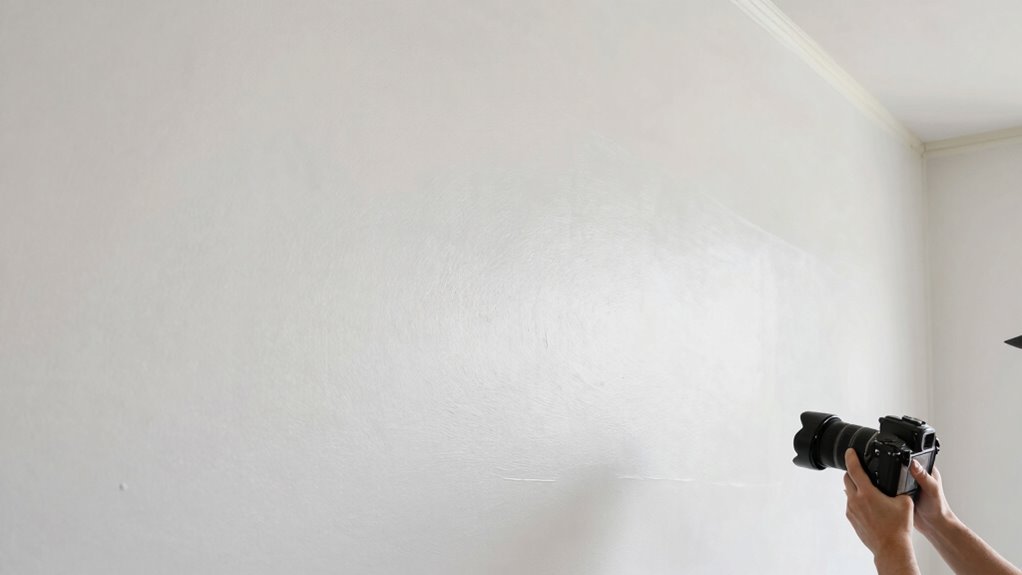
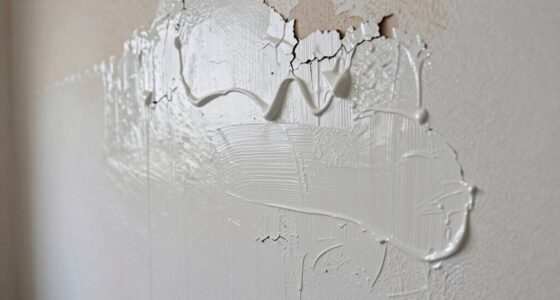
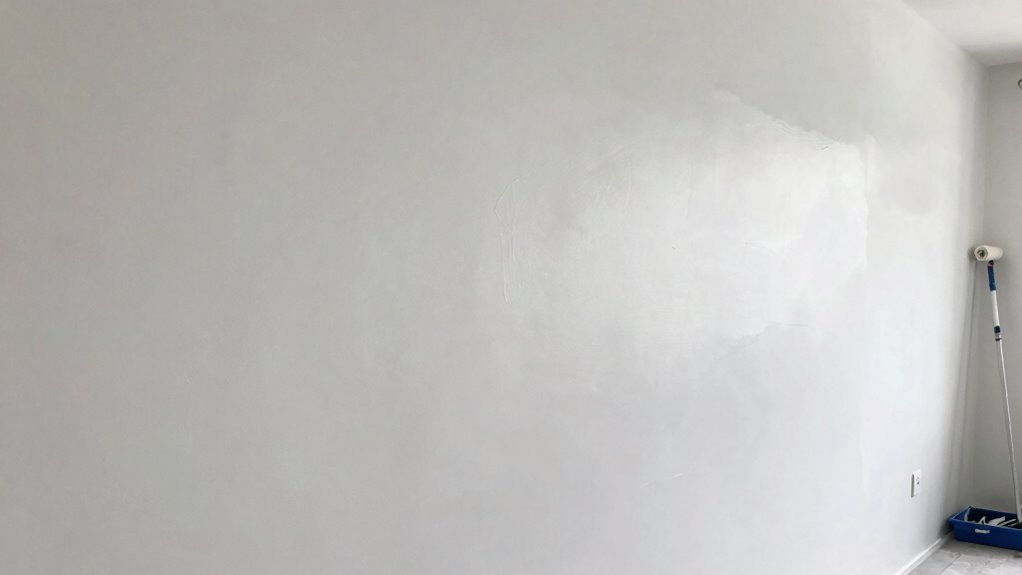
Have you ever noticed unsightly lap marks ruining the smooth finish on your large walls? If so, you’re not alone. These marks often appear when paint is applied unevenly, creating visible lines that distract from the overall look. To prevent this, mastering proper painting techniques and guaranteeing adequate wall preparation are essential. The first step is wall preparation. You want to start with a clean, smooth surface. Remove dust, dirt, and grease using a mild detergent or a mixture of water and vinegar. Fill any holes or cracks with spackle, then sand the patches until they’re flush with the wall. Sanding creates a smooth surface that allows the paint to adhere evenly, reducing the chances of lap marks. Also, tape off edges and trim to keep the painting area neat and prevent paint from bleeding onto unwanted surfaces. Once your wall is prepared, focus on your painting techniques, which play a vital role in avoiding lap marks. Use high-quality, thick-nap rollers or appropriate brushes for large surfaces. When applying paint, always load your roller generously but avoid overloading, which can cause drips and uneven coverage. It’s better to work in sections, starting at one corner of the wall and rolling in a consistent, overlapping “W” or “M” pattern. This method ensures even distribution of paint across the surface. Maintain a wet edge at all times; don’t let the paint dry before you finish a section. If you notice the paint starting to dry, lightly reload your roller and blend the new paint into the wet area with gentle, even strokes. Keep your roller moving smoothly, avoiding stopping in the middle of a section, as this creates lap lines. When working on large walls, it’s helpful to work from the top down and use a ladder or scaffolding for consistent height and control. Also, consider thinning your paint slightly if it’s too thick; this helps it spread more evenly. Additionally, paying attention to paint consistency can improve application and reduce lap marks. Using the right tools and techniques and paying attention to paint application techniques can significantly improve your results. Remember, patience is key. Rushing through the job increases the risk of lap marks. Taking your time and understanding the importance of proper paint application techniques can significantly improve your results. Using the right tools and techniques can also help in achieving a more uniform finish. Apply a second coat once the first is dry for a more polished look. Proper paint application techniques and preparation help ensure a flawless finish. By combining proper wall preparation with effective painting techniques, you’ll achieve a flawless, professional-looking finish on your large walls—free of those annoying lap marks that can ruin even the best paint job.
high-quality paint rollers for walls
As an affiliate, we earn on qualifying purchases.
As an affiliate, we earn on qualifying purchases.
Frequently Asked Questions
What Tools Are Best for Painting Large Walls?
You should choose high-quality rollers and brushes suited for large walls, like a 9-inch roller for even coverage. Use a roller with the right nap length to match your wall surface, and select a brush for edges and corners. Employ consistent roller techniques, such as overlapping strokes and maintaining a wet edge, to minimize lap marks and guarantee a smooth, professional finish on expansive walls.
How Does Humidity Affect Wall Painting?
They say “a dry wall is a happy wall,” and humidity levels play a big role in that. When humidity is high, excess moisture affects your paint’s adhesion and drying time, leading to uneven finishes or lap marks. To guarantee a smooth coat, control moisture levels by using dehumidifiers or proper ventilation. Moisture control helps your paint dry uniformly, preventing issues caused by fluctuating humidity during your wall painting project.
Can Primer Prevent Lap Marks?
Yes, primer can help prevent lap marks. When you choose a primer with good adhesion, it creates a uniform surface, reducing the chance of lap mark causes like uneven drying or color differences. Applying primer evenly guarantees the paint adheres well and blends smoothly, making it easier to maintain consistent coverage. This reduces visible lap lines and results in a more professional finish on large open walls.
What’s the Ideal Drying Time Between Coats?
Think of drying time as the heartbeat of your painting process. You should wait about 2-4 hours between coats, but it depends on your paint’s consistency and the humidity. Use smooth brush techniques and make certain your paint isn’t too thick or thin. If you rush, lap marks may appear; if you wait too long, paint may lose adhesion. Patience helps create a flawless, professional finish.
How to Fix Existing Lap Marks Effectively?
To fix existing lap marks, you should lightly sand the affected area to smooth out ridges. Then, adjust your brush techniques by using a consistent, slightly thinned paint to blend the marks seamlessly. Apply a thin, even coat over the lap marks, feathering the edges to blend with the surrounding wall. Maintaining proper paint consistency and gentle brushing helps prevent future lap marks and guarantees a smooth, professional finish.
As an affiliate, we earn on qualifying purchases.
Conclusion
By mastering these tips, you’ll turn your wall painting into a seamless work of art, like a master painter’s brushstroke that flows effortlessly. Think of your walls as a canvas waiting for your touch—avoid lap marks, and they’ll shine with even color and smooth finish. Remember, patience and technique are your best brushes. With each careful stroke, you’ll create a masterpiece that looks like it was painted by an expert, leaving lap marks nowhere to hide.
wall preparation tools for painting
As an affiliate, we earn on qualifying purchases.
As an affiliate, we earn on qualifying purchases.
As an affiliate, we earn on qualifying purchases.
Halloween Picks
halloween
As an affiliate, we earn on qualifying purchases.