
To wallpaper over lath and plaster, start by inspecting for cracks, loose sections, and peeling paint. Fill small cracks with patching compound and reattach any loose areas with suitable adhesive. Clean and prime the surface to guarantee proper adhesion and minimize future peeling. Smoothing out uneven spots will give you a flat surface. For more detailed steps to prepare effectively and ensure a durable finish, keep exploring further tips and techniques.
Key Takeaways
- Inspect lath and plaster for cracks, loose areas, or peeling paint; repair and secure before wallpapering.
- Remove any existing wallpaper using scoring, steaming, and adhesive loosening techniques to ensure a clean surface.
- Clean and lightly sand the plaster to create a smooth, stable surface for better adhesion.
- Apply a suitable primer or sizing to seal porous plaster and improve wallpaper bonding.
- Use a heavy-duty adhesive designed for uneven surfaces to ensure strong, lasting attachment over lath and plaster.
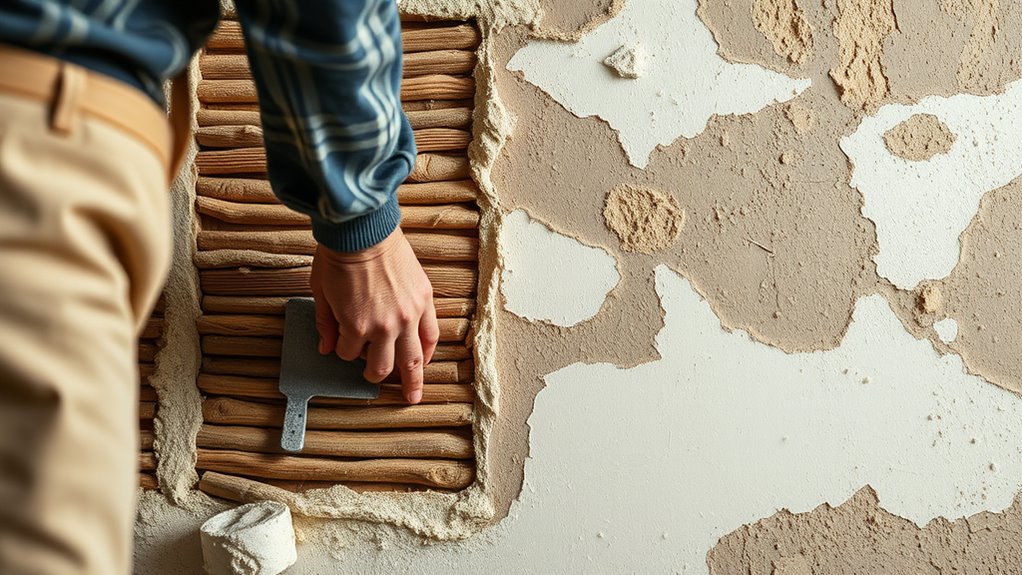
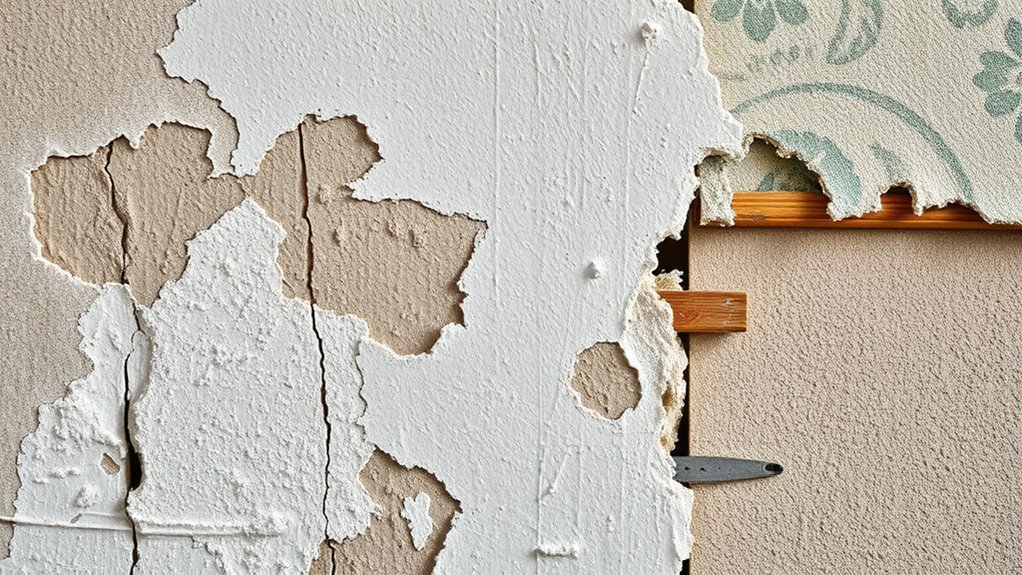
Applying wallpaper over lath and plaster can be a practical way to update your walls without removing the old finish. However, before you start hanging new wallpaper, you need to prepare the surface properly. The key is to guarantee the plaster is clean, stable, and receptive to adhesive. First, examine the wall for any cracks, loose plaster, or peeling paint. Small cracks can be filled with a suitable patching compound, and loose sections should be firmly reattached using appropriate adhesive options. This step prevents future problems like bubbling or peeling.
Ensure plaster is clean, stable, and crack-free before wallpapering over lath and plaster walls.
When it comes to removal techniques, you might think about stripping the old wallpaper completely. But if the existing wallpaper is well-adhered and not damaged, you can often wallpaper over it. If removal is necessary, steaming or scoring techniques can loosen the adhesive, making the process easier. Steaming involves using a wallpaper steamer to soften the glue, allowing you to peel off the paper with minimal damage. Scoring involves making tiny holes in the wallpaper surface with a scoring tool, then applying a perforating solution or a wallpaper removal solution that penetrates the adhesive underneath. These methods help loosen stubborn glue and prepare the surface for new wallpaper.
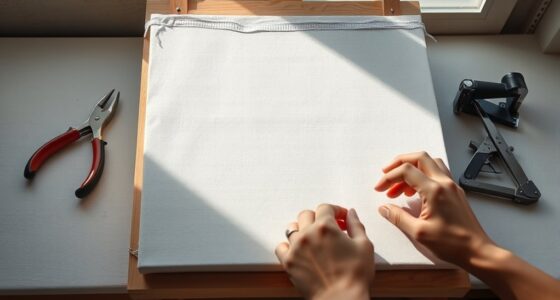
Once the old wallpaper is removed or prepared, you need to address the adhesive options for your new wallpaper. Standard wallpaper adhesives include pre-mixed paste and powdered adhesives. For lath and plaster walls, a heavy-duty adhesive might be necessary to assure a secure bond, especially if the surface is uneven or porous. You may want to opt for a high-quality, fiber-reinforced adhesive that provides extra stickiness and flexibility. Applying the right adhesive is critical — it should be spread evenly using a roller or brush, covering the entire backing of the wallpaper. This ensures good adhesion and minimizes bubbles or wrinkles.
Before hanging your wallpaper, consider applying a primer or sizing solution to the wall. This step helps seal the surface and creates a better bonding surface for the adhesive. It also reduces the risk of the wallpaper peeling or developing air pockets over time. When you’re ready to hang, start from a corner and carefully align the wallpaper, smoothing it out with a brush or smoothing tool to eliminate air bubbles. Using proper removal techniques and selecting the right adhesive options will give you a smooth, durable finish that revitalizes your walls without the mess and effort of removing the old plaster.

Roman Ultra Clear Strippable Wallpaper Adhesive for Most Types of Wallpaper, Clear PRO-880, 32 Ounce, 80 Sq. Ft.
VERSATILE – Ideal for hanging most types and weights of wallcoverings including vinyl, solid-vinyl, non-woven, paste-the-wall, paste-the-paper, and…
As an affiliate, we earn on qualifying purchases.
As an affiliate, we earn on qualifying purchases.
Frequently Asked Questions
Can I Wallpaper Over Existing Wallpaper on Lath and Plaster?
Yes, you can wallpaper over existing wallpaper on lath and plaster, but first you need to evaluate its condition. Use removal techniques like scoring and steaming to strip loose areas. Once removed, clean the surface thoroughly to eliminate dust, grease, or chalky residue. Make sure the surface is smooth and dry. Applying a high-quality primer or bonding agent ensures proper adhesion, giving your new wallpaper a lasting, professional finish.
What Tools Are Best for Scoring Lath and Plaster?
You should use a utility knife or scoring tool with sharp blades for scoring lath and plaster. Focus on gentle, consistent scoring techniques to prevent damage. Tool recommendations include a straight utility knife, a scoring blade, or a drywall rasp. These tools help create controlled cuts, allowing better adhesion for wallpaper. Be cautious and work slowly to avoid cracking or damaging the plaster beneath.
How Long Does the Prep Process Typically Take?
The prep process usually takes about 1 to 2 days, depending on the room size and condition. You’ll spend time scoring, applying a bonding agent, and allowing it to dry thoroughly. The prep timeline includes surface preparation, scoring, and applying primer or bonding solutions, with drying time between coats. Make sure to follow manufacturer instructions for drying times to guarantee a smooth, long-lasting wallpaper application.
Is Special Primer Necessary Before Wallpapering?
Think of your wall as a garden needing the right soil. A special primer acts like nutrient-rich compost, ensuring your wallpaper adheres firmly and lasts longer. Primer considerations are vital for surface adhesion, especially over lath and plaster, which can be uneven or porous. Skipping this step risks bubbles, peeling, or poor adhesion, so investing in a quality primer creates a solid foundation for a flawless, lasting finish.
How Do I Handle Cracks or Uneven Surfaces?
To handle cracks or uneven surfaces, start by inspecting the wall thoroughly. Use crack filling compound to seal any cracks, then sand the area smoothly for surface smoothing. For larger uneven spots, apply a patch or joint compound, let it dry, and sand it down until flush with the wall. This prep guarantees your wallpaper adheres properly and looks flawless. Always clean the surface afterward before priming and wallpapering.
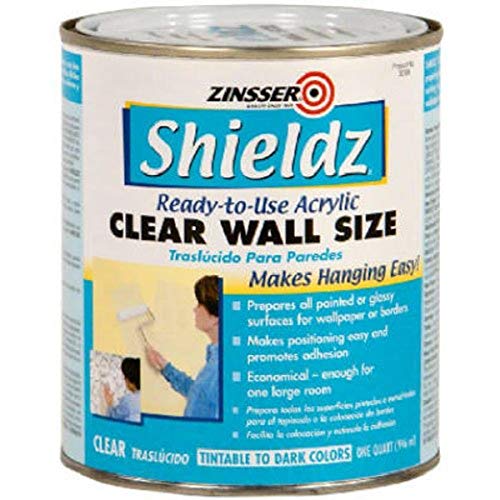
qt Zinsser 2104 Clear Shieldz Water-Based Acrylic Wallpaper Primer
Prepares all painted or glossy surfaces for wallpaper or borders
As an affiliate, we earn on qualifying purchases.
As an affiliate, we earn on qualifying purchases.
Conclusion
Once you’ve properly prepared your lath and plaster surface, applying wallpaper becomes much easier. For example, imagine transforming an old, cracked wall into a stunning feature by following these steps. With the right prep, your wallpaper will adhere smoothly and last longer. So, take your time with the prep work—it’s the key to a flawless finish. Trust me, your future self will thank you for the beautiful, professional-looking results.
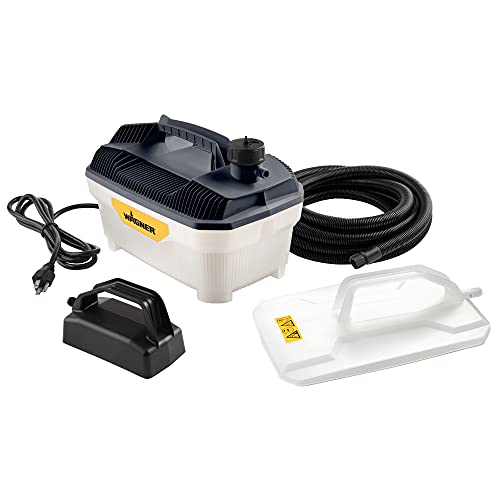
Wagner Spraytech 2439019 725 Wallpaper Steamer, Steam Cleaner for Easy Wallpaper Removal, 2 Steam Plates Included
CHEMICAL FREE WALLPAPER REMOVER: Just add distilled water to this Wagner steam cleaner for a natural and environmentally…
As an affiliate, we earn on qualifying purchases.
As an affiliate, we earn on qualifying purchases.

ROMAN Heavy Duty Clear Wallpaper Adhesive, Non-staining, Clear, PRO-838, (1 Gallon – 280 sq. ft.)
VERSATILE – Ideal for installing medium-weight to heavyweight wallpaper, such as vinyl and non-woven
As an affiliate, we earn on qualifying purchases.
As an affiliate, we earn on qualifying purchases.