
To prepare textured walls for murals, start by smoothing the surface with primer and applying a skim coat or patching uneven areas with drywall compound. Use tools like putty knives and sanding blocks to create a more even surface. Priming seals porous textures and improves adhesion, while choosing the right adhesive helps guarantee the mural sticks well. Proper surface prep prevents issues like peeling or bubbling, and if you continue exploring, you’ll find effective techniques to achieve a flawless finish.
Key Takeaways
- Use a skim coat or primer to level textured surfaces before mural application.
- Sand or apply drywall compound to smooth bumps, ridges, and uneven areas.
- Seal porous or uneven surfaces with appropriate primers to improve adhesion.
- Select adhesives suited for textured or porous walls, and apply evenly with tools like notched trowels.
- Proper surface preparation prevents peeling, bubbling, and ensures mural durability on textured walls.
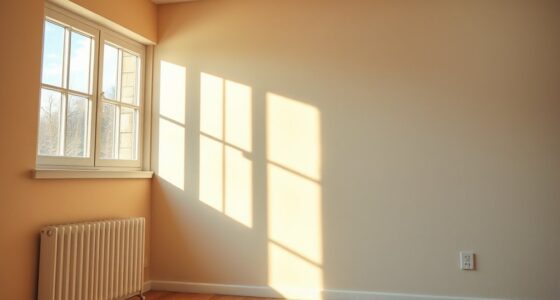
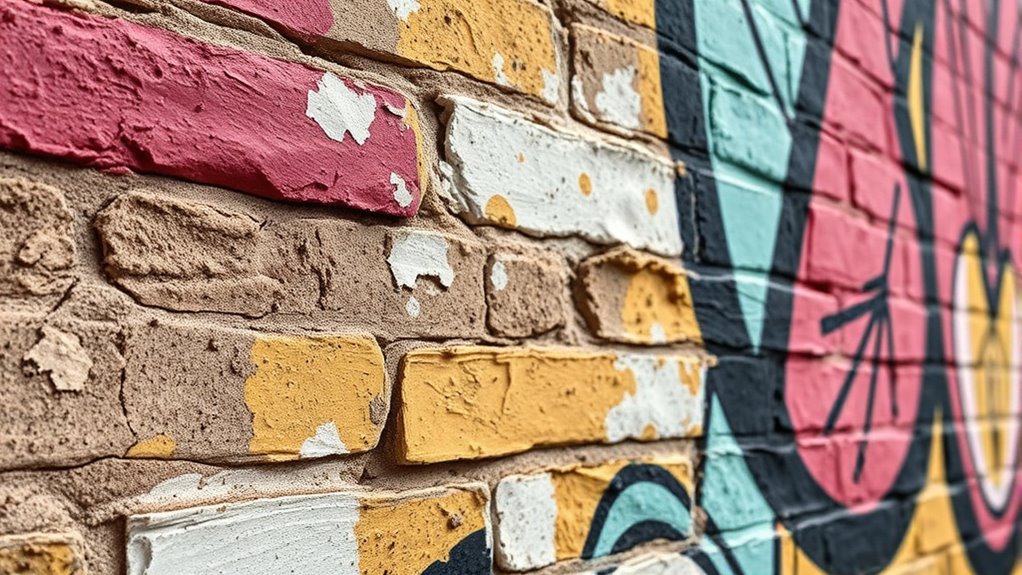
Have you ever wondered how murals can transform textured walls into stunning works of art? It all starts with proper surface preparation. When working on textured walls, your first step is addressing surface smoothing. Textured surfaces, whether they involve stippling, popcorn finishes, or uneven plaster, can pose challenges for murals. To guarantee your artwork adheres properly and looks flawless, you need a smooth, even surface. You might consider applying a skim coat or a primer designed for textured surfaces. These products help level out the irregularities, creating a more uniform background that will make your mural pop. Keep in mind that the smoother the surface, the easier it is to work with and the better the paint or adhesive will bond. Additionally, understanding the surface preparation process can significantly impact the durability and appearance of your mural over time.
Proper surface smoothing ensures your textured wall mural adheres flawlessly and looks stunning.
Beyond surface smoothing, adhesive selection plays a vital role in mural success. Choosing the right adhesive depends on the texture and material of your wall. For heavily textured or rough surfaces, heavy-duty adhesives or specialized mural pastes work best, providing the grip needed to keep your artwork in place over time. If you’re installing wallpaper murals, guarantee you select adhesives formulated for textured or porous surfaces. Some adhesives are designed specifically to fill in surface irregularities, ensuring a secure, long-lasting bond. Additionally, the type of mural material matters—vinyl, fabric, or painted murals all have different requirements. Read the manufacturer’s recommendations carefully to pick an adhesive that offers strong adhesion without damaging the wall or mural itself.
Preparing your surface thoroughly isn’t just about smoothing; it’s about creating a reliable foundation. Skipping or rushing this step can lead to issues down the line, like peeling, bubbling, or uneven colors. When smoothing, use tools like putty knives, sanding blocks, or even a drywall compound to level out bumps and ridges. Once the surface is adequately smoothed, apply a primer compatible with your chosen mural material and adhesive. Primers help seal porous areas and improve adhesion, preventing future peeling or bubbling.
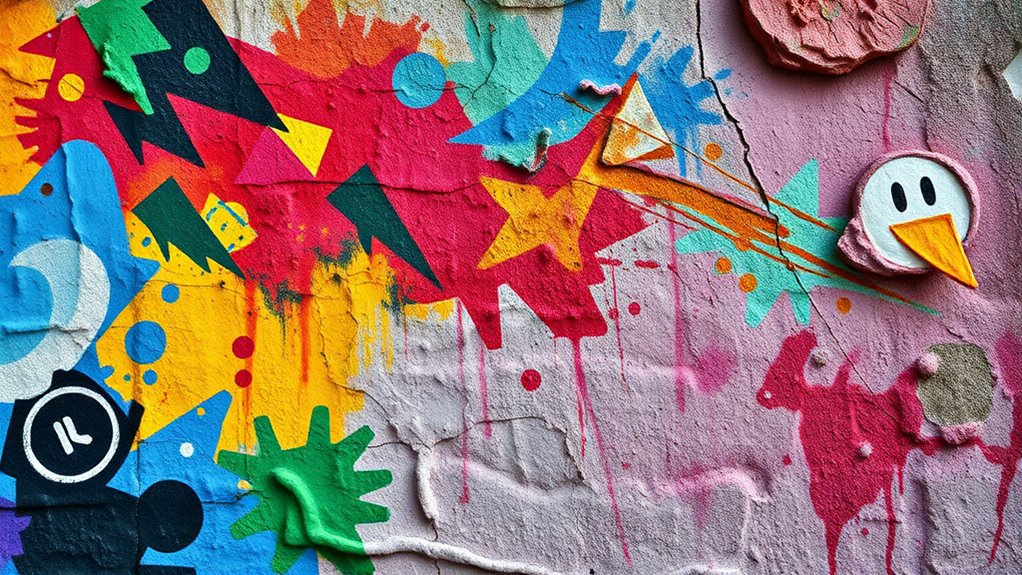
In terms of adhesive application, follow the instructions meticulously—use a notched trowel for even spreading and apply pressure when mounting to eliminate air pockets. Take your time to ensure the adhesive is distributed uniformly, especially on textured surfaces, to avoid weak spots. Remember, investing effort in surface smoothing and carefully selecting your adhesive can make all the difference in achieving a professional-looking mural that lasts. Your textured wall can become a mesmerizing canvas, transforming a challenging surface into a stunning piece of art with the right prep work and materials.
Frequently Asked Questions
Can Murals Be Removed Easily From Textured Walls?
Removing murals from textured walls isn’t always easy, as wall adhesion can be strong, especially if the mural was applied well. The textured surface can complicate removal, potentially damaging the paint or wall underneath. If you want to preserve mural longevity and avoid damage, consider professional removal methods. Keep in mind, you might need to touch up the wall afterward, and removal difficulty varies based on the mural’s adhesion and wall texture.
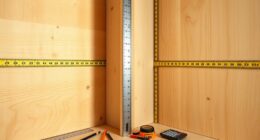
What Are the Best Tools for Prepping Textured Surfaces?
You should use a putty knife or sanding sponge for surface smoothing textured walls before mural installation. For texture removal, a drywall sander or a scraper works best to level the surface. Always wear safety gear, like masks and goggles, to protect yourself from dust. These tools help create a smooth, even surface, ensuring your mural adheres properly and looks professional.
How Long Does Surface Preparation Typically Take?
Surface preparation usually takes a few hours, depending on the texture’s severity. You’ll start with surface smoothing, which involves cleaning and possibly sanding the wall to create a flat, even surface. This step is vital for paint adhesion, ensuring your mural sticks well and lasts. Allocate enough time for thorough cleaning, patching any holes, and sanding, so the final result looks professional and vibrant.
Are There Specific Paints That Work Better on Textured Walls?
Imagine your mural transforming a rough canvas into a masterpiece. For textured walls, you’ll want paints that cling and deliver a smooth finish. Look for high-quality acrylic or latex paints designed for textured surfaces. Also, primer selection is essential—choose a bonding primer that seals uneven surfaces, ensuring your mural stays vibrant and intact. These choices help you overcome the texture and achieve a stunning, lasting mural.
Can Murals Be Applied Directly Over Existing Textured Paint?
You can apply murals directly over existing textured paint, but for best texture adhesion and mural durability, proper surface preparation is key. First, clean the wall thoroughly, then lightly sand to smooth rough areas. Using a high-quality primer designed for textured surfaces helps improve adhesion. This prep ensures your mural sticks well and lasts longer, even on uneven surfaces. Proper prep makes all the difference in creating a vibrant, durable mural.
Conclusion
So, when tackling murals on textured walls, think of surface prep as your secret weapon. With the right techniques, you can turn a rough canvas into a smooth masterpiece waiting to be revealed. Don’t let texture be a mountain you can’t climb—see it as a hurdle you can clear with patience and the right tools. Remember, with proper prep, your mural will stand out like a lighthouse amid troubled waters.