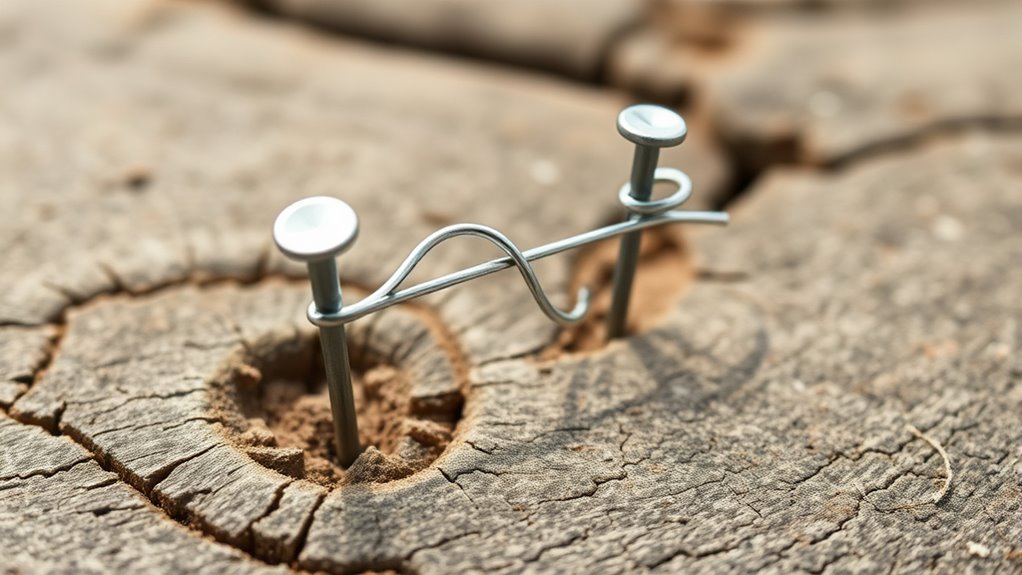

To level objects using “two nails, one wire,” start by firmly driving two nails into the wall at fixed distances to mark your intended placement. Thread the wire through or around the nails, then pull it taut, adjusting the tension so the wire stays straight and even. This technique guarantees stability and accurate leveling with less effort. Keeping everything secure, you’ll find the process easier; learn more tips to perfect your setup as you continue.
Key Takeaways
- Drive two nails at equal, fixed distances for consistent tension and levelness.
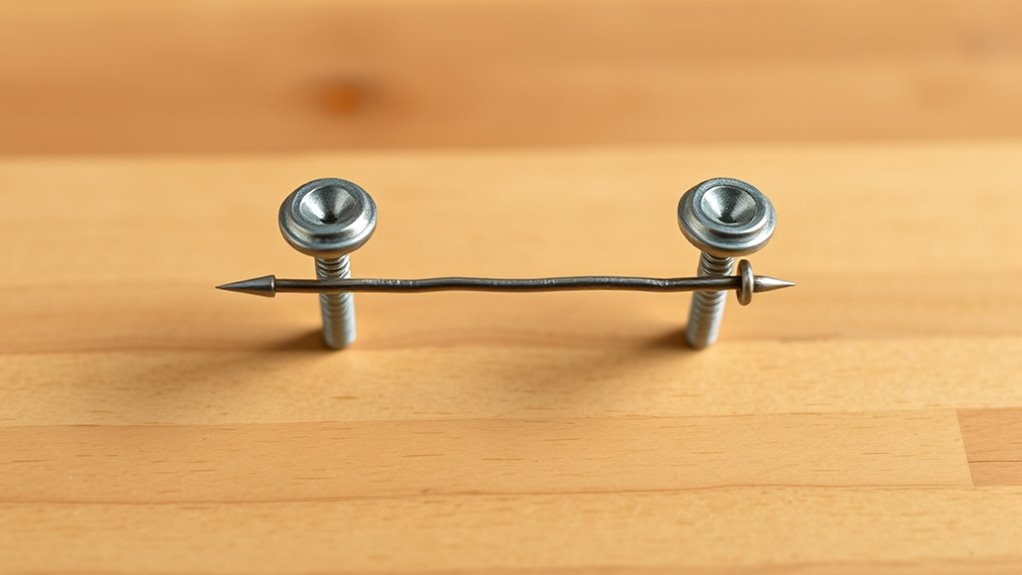
- Thread the wire through or around both nails, ensuring it stays taut.
- Adjust wire tension gradually to achieve a level line without loosening nails.
- Use a level or plumb line to verify the wire’s alignment during tensioning.
- Confirm nails are securely anchored to prevent shifting and maintain even tension.
Ever wondered how some players reach higher levels faster than others? It often comes down to mastering simple yet effective tricks that give you an edge. One such trick is “Two Nails, One Wire,” which may seem straightforward but requires precision and proper preparation. Before diving into the method itself, it’s essential to understand the importance of drill bit selection and wall surface prep. These steps can make or break your success, guaranteeing your work is clean, secure, and efficient.
Start with drill bit selection. Choosing the right drill bit is crucial because it influences how easily you create holes and how well your nails or hooks will hold. For example, if you’re working with drywall, a standard carbide-tipped drill bit works well, providing durability without causing unnecessary damage. For tougher surfaces like brick or concrete, opt for masonry drill bits designed to handle the abrasive material. Using the correct drill bit prevents slipping, reduces effort, and guarantees your holes are precise—saving you time and frustration in the long run.
Choosing the right drill bit ensures precise holes and secure hooks, making your project easier and more efficient.
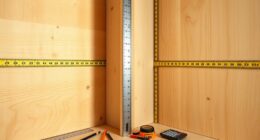
Next, focus on wall surface prep. This step is often overlooked but is essential for a smooth process. Before drilling, inspect your wall for obstacles like wires, pipes, or uneven spots. Mark the exact spots where you plan to insert the nails, ensuring they align properly and are spaced evenly. If you’re working on a wall surface that’s textured or uneven, consider lightly sanding or smoothing the area to create a flat surface. This helps the nails grip better and prevents the wire from slipping or sagging later. Also, use a level or a plumb line to keep your nails aligned perfectly, especially when hanging multiple items.
Once your surface is prepped and your drill bit is chosen correctly, you can proceed confidently with the “Two Nails, One Wire” trick. First, drive two nails into the wall at a fixed distance apart, making sure they’re firmly anchored. Then, thread the wire through or around these nails, adjusting the tension to keep your items level. The key is to pull the wire taut enough to hold weight securely but not so tight that it causes the nails to loosen or pop out. This setup allows you to hang objects evenly and securely, often with less effort than traditional methods.
Frequently Asked Questions
Can This Technique Be Used on Uneven Surfaces?
Yes, you can use this technique on uneven surfaces, but you need to contemplate surface irregularities carefully. It works best when the surface material is compatible with the nails and wire you’re using, ensuring a secure hold. Adjust the wire tension to accommodate bumps or dips, and make sure the nails are firmly anchored. This method helps create a level surface despite irregularities, as long as you adapt it to the specific material and surface conditions.
What Tools Are Essential for This Leveling Trick?
You’ll need a few essential tools for this leveling trick. Start with good nail selection—choose nails that are sturdy yet easy to drive in. Make sure the wire has flexibility, so you can bend and shape it easily to match the surface. A hammer helps with nails, and pliers are useful for adjusting the wire. Keep these tools handy to guarantee precise leveling, even on uneven surfaces.
How Durable Is the Wire in Long-Term Use?
Think of the wire as a sturdy bridge—you want it to hold strong over time. In long-term use, it can be quite durable if you pick high-quality wire with good tensile strength. However, watch out for wire corrosion, which can weaken its integrity. With proper care and corrosion-resistant material, your wire can last for years, maintaining its strength and reliability in your leveling projects.
Is This Method Suitable for Outdoor Applications?
Yes, this method is suitable for outdoor applications if you choose weather-resistant wire to withstand the elements. You’ll want to contemplate aesthetic considerations too, ensuring the wire blends well with your environment or design. Using corrosion-resistant materials and proper insulation helps maintain durability and appearance over time. With these precautions, your setup will stay functional and visually appealing outdoors, even in varying weather conditions.
What Are Common Mistakes to Avoid?
You should avoid common mistakes like improper nail placement and uneven wire tension. If you place nails too close or too far apart, your leveling will be off, creating instability. Similarly, uneven wire tension can cause slack or tight spots, ruining the setup. Always double-check nail positioning and maintain consistent tension on the wire. These small mistakes can lead to big issues, so take your time and stay precise.
Conclusion
Remember, sometimes less is more, and simplicity can be your greatest tool. With just two nails and a wire, you’ve learned a clever trick to level surfaces efficiently. Keep experimenting, and you’ll find that the right technique turns a challenging task into a quick, satisfying fix. Don’t forget, a little ingenuity goes a long way—after all, “simplicity is the ultimate sophistication.” Happy leveling!