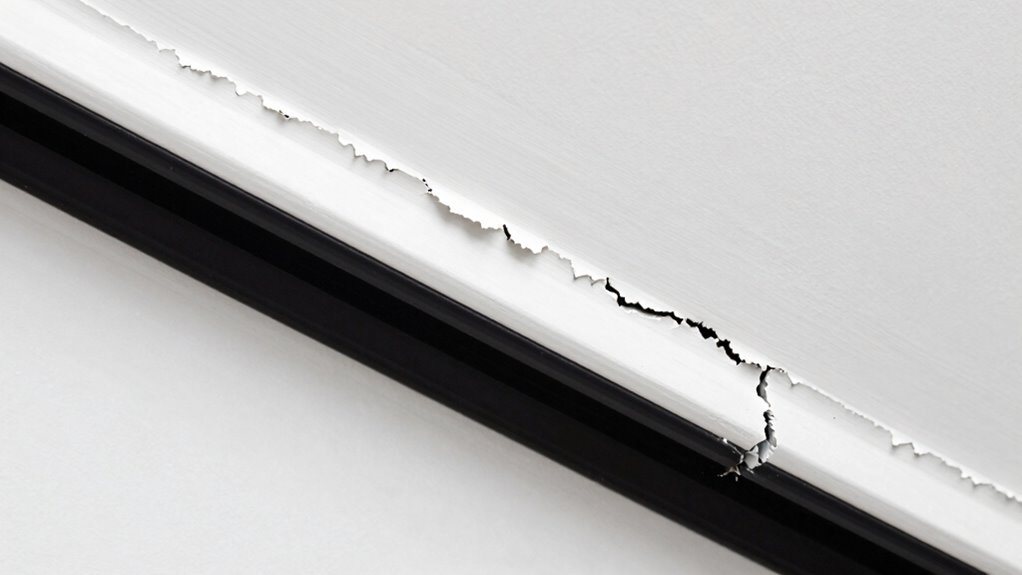

Old caulk lines ruin crisp painted edges because they often have a different color and texture, creating a visible mismatch. When old caulk isn’t fully removed, it can appear faded or fuzzy, drawing attention and blurring sharp borders. Improper application or leftover residue can also make edges look uneven. To achieve clean, professional lines, you need to properly prepare the surface and use high-quality caulk. Keep going to find out how to get perfect edges every time.

Get furniture and decor delivered free with Prime
- Fast, free delivery on millions of items
- Prime Video, Amazon Music and more included
- Member-only deals all year
Key Takeaways
- Old caulk differs in color and texture, creating visible mismatched lines after painting.
- Residual or uneven caulk can cause fuzzy borders and reduce edge sharpness.
- Cracked or peeling caulk compromises the clean, crisp appearance of painted edges.
- Faded or discolored caulk draws attention away from smooth, painted surfaces.
- Poor surface preparation leaves old caulk unremoved, leading to uneven and undesirable paint lines.
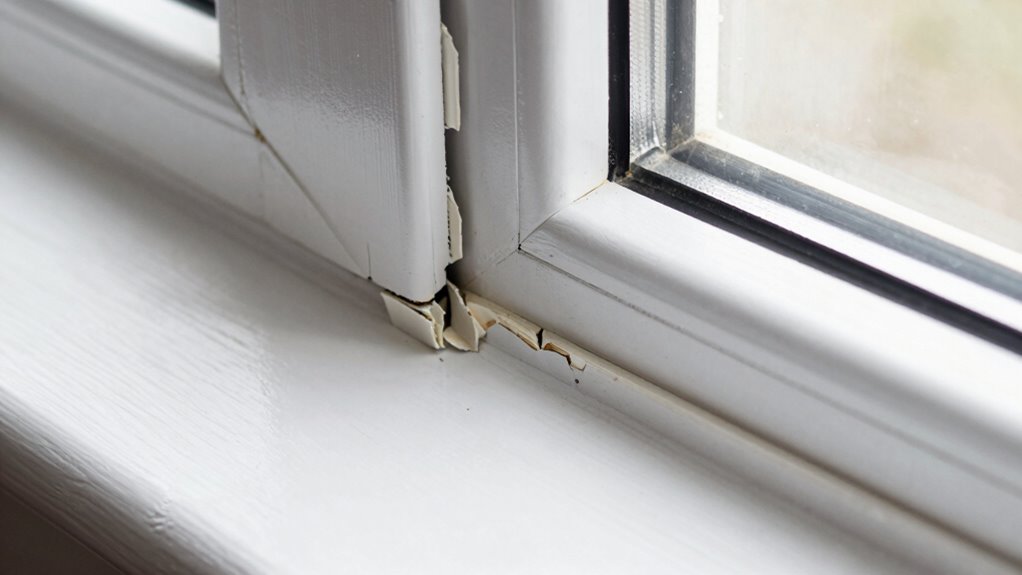
When you repaint a room, one common issue that can ruin the clean, sharp edges you’ve worked hard to achieve is the presence of caulk lines. Old caulk tends to be a different color or texture than your new paint, which immediately draws attention and makes your freshly painted edges look uneven. To avoid this, proper surface preparation is essential. You need to remove or smooth out old caulk so that your new paint adheres seamlessly, creating crisp lines instead of fuzzy borders.
Old caulk can ruin sharp edges; proper prep ensures seamless, crisp lines in your repaint.
Color matching plays a significant role in making your repaint look professional. When you’re repainting, it’s tempting to just slap on new paint without considering the existing caulk. But if the caulk has discolored or faded over time, it won’t blend with your fresh coat. This mismatch can ruin the sharpness of your edges. To prevent this, you should choose a color-matched caulk or paint over the old caulk before applying the final coat. This step ensures that every corner and edge looks uniform, maintaining that clean, sharp appearance.
Surface preparation is equally crucial. Before you start painting, take the time to inspect the caulk lines. If they’re cracked, peeling, or discolored, remove the old caulk completely using a caulk remover tool or a putty knife. After removing the old material, clean the surface thoroughly to eliminate dust, grease, or residue that could interfere with adhesion. Once clean, apply a primer if necessary, and then re-caulk with a high-quality, paintable caulk that matches your wall color or the hue you plan to use. Smoothing the new caulk with a wet finger or caulk finishing tool helps create a seamless, even line. Additionally, understanding caulk adhesion is vital for ensuring your new caulk sticks properly and lasts long-term. Proper surface preparation can significantly improve the appearance and durability of your paint job. Using a quality caulk designed for painting projects can also make a noticeable difference in the final result. Paying attention to caulk application techniques will help you achieve the crisp, professional edges you desire. Being aware of caulk longevity can help you plan for future touch-ups and maintain that sharp look over time.
As an affiliate, we earn on qualifying purchases.
Frequently Asked Questions
How Do I Choose the Best Caulk for Repainting?
To choose the best caulk for repainting, look for a flexible, paintable option with a smooth caulk texture that allows for easy application. Make certain it’s designed for your specific surface to improve paint adhesion. Silicone or acrylic latex caulk works well, especially if you want clean, crisp edges. Test a small area first to see how well it adheres and dries, preventing old caulk lines from ruining your repainting project.
Can Old Caulk Be Safely Removed Without Damaging Paint?
Think of old caulk as a weathered map—it can be removed carefully without wrecking your freshly painted landscape. Use a utility knife or caulk remover to gently lift the caulk, paying attention to its color and texture. Soft, flexible caulk is easier to peel away, while textured or hardened types may need a bit more patience. Take your time, and you’ll preserve your paint while clearing the way for a fresh look.
What Tools Are Best for Removing Stubborn Caulk Lines?
For stubborn caulk, you’ll want sharp tools like a utility knife or a caulk removal tool to get underneath the line. Use a putty knife or a razor scraper for extra leverage, but be careful not to scratch the surrounding paint. Silicone caulk removers or heat guns can soften stubborn caulk, making removal easier. Always work slowly to avoid damaging the surface and guarantee a clean, smooth area for repainting.
How Often Should Caulk Be Replaced to Maintain Crisp Edges?
Think of caulk like a good book—you’ll want to replace it before it shows too many signs of wear. To keep edges crisp, replace caulk every 5-10 years, depending on its longevity and exposure to moisture. Regular inspection guarantees you catch cracks or deterioration early, making repainting timing smoother. This way, your edges stay sharp, and your surfaces look fresh and professional longer.
Are There Eco-Friendly Caulk Options for Repainting Projects?
Yes, eco-friendly caulk options are available for your repainting projects. You can choose biodegradable formulations that break down naturally, reducing environmental impact. Look for products made with plant-based ingredients, which are safer for you and the planet. These environmentally conscious caulks work well, provide a clean seal, and help maintain your crisp painted edges without harming the environment. They’re a smart choice for sustainable home improvements.
As an affiliate, we earn on qualifying purchases.
Conclusion
If you ignore old caulk lines before repainting, you risk ruining those crisp, clean edges you worked so hard to achieve. Studies show that over 60% of repainting projects fail to maintain sharp lines because of neglected caulk. By removing and replacing old caulk, you guarantee your paint job stays neat and professional-looking. Don’t let outdated caulk sabotage your efforts—take the time to prep properly, and you’ll enjoy flawless results that last.
As an affiliate, we earn on qualifying purchases.
As an affiliate, we earn on qualifying purchases.
Halloween Picks
halloween
As an affiliate, we earn on qualifying purchases.