
When you apply a finish too soon, you risk cracks, peeling, and uneven surfaces. Rushing the drying process leaves moisture trapped, causing problems later. Proper drying gives the plaster time to set fully, ensuring a smooth, durable finish. Factors like thickness, temperature, and humidity affect how long it takes. Patience now prevents costly rework and poor results later. If you want to understand how to get the best finish, there’s more to take into account.
Key Takeaways
- Premature finishing can cause cracks, peeling, and surface imperfections, compromising durability and appearance.
- Proper drying time ensures the plaster fully cures, enhancing adhesion of paint or wallpaper.
- Rushing increases the risk of moisture being trapped, leading to future issues like bubbling or flaking.
- Adequate patience allows surface preparation that promotes smooth, long-lasting finishes.
- Factors like temperature, humidity, and coat thickness influence drying time, requiring patience for optimal results.

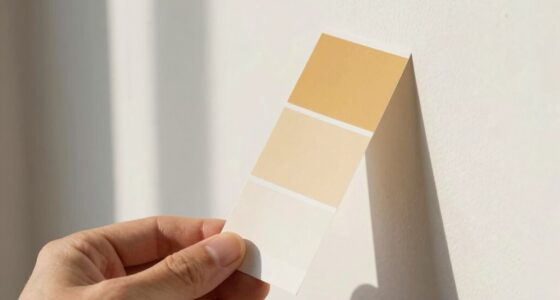
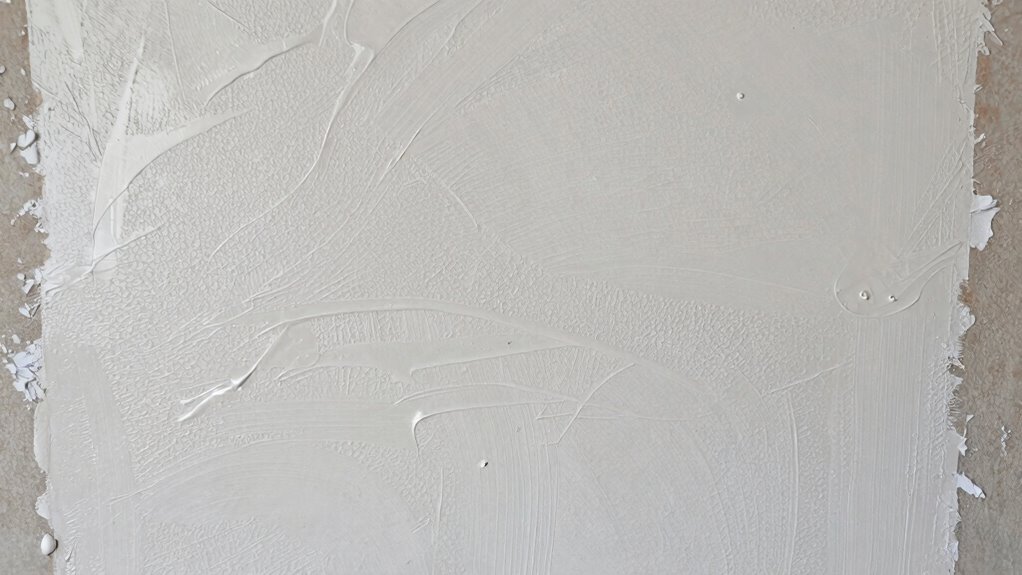
Have you ever rushed to finish plastering a wall only to regret it later? It’s a common mistake, especially when you’re eager to see the finished result. But patience is essential when working with plaster. The key reason is plaster drying. If you try to apply a finish before the plaster has fully dried, you risk cracks, uneven textures, and poor adhesion. Wet or damp plaster can cause your paint or wallpaper to peel or bubble, leading to more work down the line. So, it’s important to give the plaster enough time to dry completely. This might take a few days, depending on the thickness of the coat, room temperature, and humidity levels. Rushing this process can compromise the entire project. Additionally, understanding proper drying times for different plaster types can help prevent common issues and ensure a smoother finish. Proper drying not only affects the appearance but also impacts the long-term durability of your work. Another important factor that influences the quality of your finish is surface preparation. Before applying any topcoat, you need to verify that the plaster surface is properly prepared. This means checking that the surface is smooth, free of dust, grease, or loose particles, and has been properly cured. If the surface isn’t adequately prepared, the finish won’t adhere well, and you’ll likely face peeling or flaking later. Proper surface preparation involves gently sanding the plaster to remove any imperfections and to create a slightly rough texture that helps the paint or finishing material bond better. Cleaning off dust and debris afterward is equally important. You want a clean, dry surface that’s ready to accept the finish. Giving the plaster adequate curing time ensures that it reaches its full strength and reduces the risk of future issues. Additionally, allowing sufficient ventilation during drying can significantly speed up the process and improve the quality of the finish. Patience during plaster drying and surface preparation isn’t just about avoiding problems; it’s about setting the stage for a durable, professional-looking finish. When you wait for the plaster to dry thoroughly, you reduce the risk of cracks and unevenness. Taking your time to carefully prepare the surface ensures the finish will go on smoothly and last longer. It might feel tempting to speed through these steps, especially if you’re eager to complete your project, but doing so often leads to setbacks and rework. The extra effort upfront saves you time in the long run. Remember, good results come from patience and attention to detail. In the end, rushing plaster drying or neglecting proper surface preparation can undo all your hard work. Give the plaster enough time to dry completely, and always prepare the surface carefully before applying any finish. These simple steps may require patience, but they’re the key to achieving a sleek, long-lasting result that looks professional and stands the test of time. Proper techniques for surface preparation are essential to ensure your project’s success and longevity.
plaster drying time monitor
As an affiliate, we earn on qualifying purchases.
As an affiliate, we earn on qualifying purchases.
Frequently Asked Questions
How Long Should I Wait Before Painting New Plaster?
You should wait at least 2 to 3 weeks before painting new plaster, depending on its composition and drying conditions. This allows the plaster to fully cure and guarantees proper adhesion. During this time, the plaster’s moisture content decreases, preventing cracks or peeling. Use proper finishing techniques, like sealing with a primer, to enhance paint adhesion. Patience here guarantees a smooth, long-lasting finish and prevents future issues.
Can I Speed up the Drying Process?
Speeding up drying is like trying to rush a delicate flower; it risks damage. You can’t truly accelerate the process without compromising quality. Using plaster additives designed for faster drying might help, but they often lead to cracks or weak spots. The best approach is to improve airflow, control humidity, and let nature take its course. Patience ensures your finish stays flawless and durable in the long run.
What Are Signs of Improperly Dried Plaster?
If your plaster is improperly dried, you’ll notice signs like cracking and an uneven finish. Cracks often form when the plaster dries too quickly or unevenly, causing stress. An uneven surface indicates inconsistent drying or application. You might also see peeling or bubbling. To avoid these issues, it’s essential to wait patiently for the plaster to dry thoroughly, ensuring a smooth, durable finish when you do apply paint or other finishes.
Is It Okay to Sand New Plaster?
Yes, you can sand new plaster, but only after it’s fully dried and cured. Rushing to sand can damage the surface, so patience is vital. Proper plaster mixing and taping techniques ensure a smooth finish, reducing the need for excessive sanding. When you do sand, use fine-grit paper gently to avoid gouging or creating uneven surfaces. Remember, a well-prepared base leads to a flawless finish.
How Does Humidity Affect Plaster Drying Time?
Humidity levels directly impact plaster drying time, so higher humidity slows the process, while lower humidity speeds it up. When humidity is high, your plaster takes longer to dry because moisture stays trapped, risking cracking or uneven surfaces. To guarantee proper drying, monitor humidity levels closely, and consider using dehumidifiers or fans in damp environments, giving the plaster enough time to cure thoroughly before applying any finishes.

Art3d Smoothing Tool Kit for Applying Peel and Stick Wallpaper, Vinyl Backsplash Tile
【Set of basic tools】: Package includes craft art knife with 5 replaceable blades, red smoother, blue smoother with…
As an affiliate, we earn on qualifying purchases.
As an affiliate, we earn on qualifying purchases.
Conclusion
So, next time you’re enthusiastic to slap on that final coat, remember—your new plaster is just playing hard to get. It’s not stubbornness; it’s nature’s way of saying, “Patience, my friend.” Rushing might save time now, but it’ll cost you more later. Ironically, taking it slow actually speeds up the process of achieving a flawless finish. So, sit back, resist the urge, and let patience do its quiet magic—you’ll thank yourself later.

Romeda 8-Pack Sanding Sponge, Four Grits Per Pack 60/80/120/220, Washable and Reusable Handmade Sandpaper Block, Drywall Sandpaper Blocks for Wooden Drywall Sheetrock and Metal Glazing
【ASSORTED GRIT SANDING BLOCKS】 8 sand blocks, 4 sizes from coarse to ultra-fine sand, 60/80/120/220 grit, 2 blocks…
As an affiliate, we earn on qualifying purchases.
As an affiliate, we earn on qualifying purchases.

Meoded Paint & Plaster | Quartz Primer | Primer for Venetian & Lime Plasters | Interior & Exterior
Premium-quality, water-based, 100% acrlyic, quick-drying textured primer
As an affiliate, we earn on qualifying purchases.
As an affiliate, we earn on qualifying purchases.