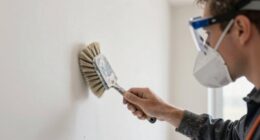

To bridge hairline cracks effectively, start by cleaning and lightly sanding the wall surface to remove dust and loose paint. Cut the wall liner slightly larger than the crack, then apply adhesive or jointing compound to secure it in place. Press out air bubbles and wrinkles for a smooth finish. Once dry, lightly sand the liner for an even surface, helping prevent future cracks and creating a strong base for your paint. Explore further tips to achieve the best results.
Key Takeaways
- Cut the wall liner slightly larger than the hairline crack for complete coverage.
- Use suitable adhesive or jointing compound to securely fix the liner over the crack.
- Firmly press out air bubbles and wrinkles to ensure smooth embedding of the liner.
- Allow the liner to dry fully before lightly sanding to create an even surface.
- Applying wall liner over cracks provides a stable base, preventing further expansion and improving wall appearance.
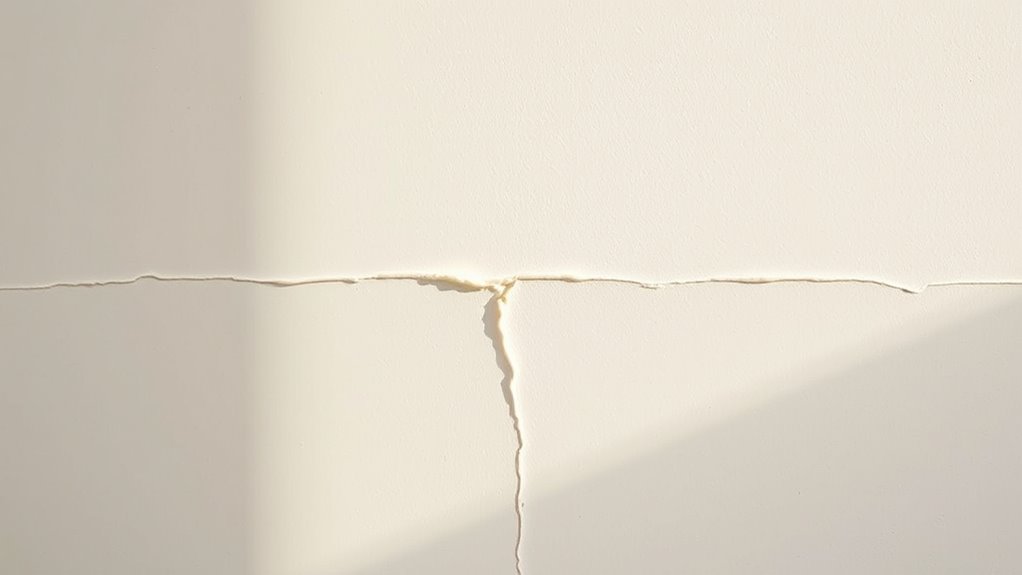
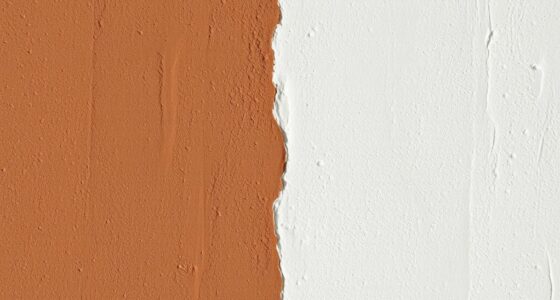
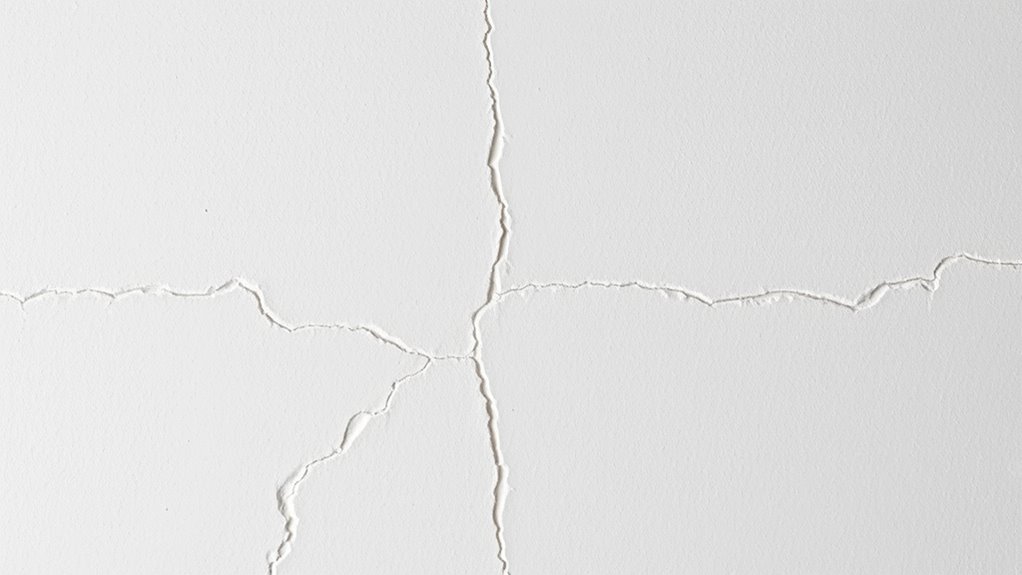
Hairline cracks in walls can be unsightly and raise concerns about the structural integrity of your space. When you notice these tiny fissures, it’s natural to want a quick fix that looks good and lasts. Using a wall liner to bridge hairline cracks is an effective method that not only improves the appearance but also helps prevent further damage. Before applying the wall liner, it’s essential to focus on paint preparation. This means cleaning the wall surface thoroughly to remove dust, grease, or loose paint. Proper preparation ensures that the liner adheres well and creates a smooth, durable surface. During this process, take the time to sand the area lightly, especially around the crack, to remove any uneven edges. This step is vital for crack prevention, as it helps the liner bond seamlessly and reduces the chances of the crack reappearing. Additionally, understanding the importance of structural stability can guide you in addressing underlying issues that may cause cracks to reoccur.
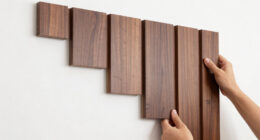
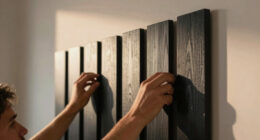
Once you’ve prepared the wall, you can apply the wall liner. This material acts as a bridging layer over the hairline crack, providing a stable base for paint and plaster. You want to cut the liner slightly larger than the crack itself and affix it firmly with a suitable adhesive or jointing compound. Make sure to press out any air bubbles or wrinkles as you go. A key aspect of crack prevention is ensuring the liner is smoothly embedded into the wall, preventing future movement or cracking. After the liner is in place, let it dry completely before sanding it lightly to achieve an even surface. This step is crucial for ensuring that your final coat of paint will go on smoothly and look flawless.
EZVALO Picture Light for Wall, 4800mAh Rechargeable Wireless Remote Battery Lights for Painting, 16In Dimmable Magnetic LED Art Display Light, Colors Temperatures, for Gallery, Living Room,Hallway
USB Rechargeable & Easy Charge: Our picture light with with built-in 4800mAh large-capacity battery and comes with a...
As an affiliate, we earn on qualifying purchases.
Frequently Asked Questions
Can Wall Liner Be Painted Immediately After Installation?
Yes, you can paint immediately after installing wall liner if you’ve properly prepared the surface. First, guarantee you prime the liner to improve adhesion and achieve a smooth finish. Also, apply a waterproof sealing coat to protect against moisture, especially in damp areas. Wait for the primer and sealer to dry completely, usually 24 hours, before painting. This process guarantees a durable, professional-looking result.
Is Wall Liner Suitable for Outdoor Use?
Wall liner isn’t typically suitable for outdoor use because it lacks the necessary exterior durability and UV resistance. If you’re looking to improve outdoor walls, you should opt for materials specifically designed for exterior conditions. These products withstand weather, sunlight, and temperature changes better, ensuring your walls stay protected and maintain their appearance over time. Using the right materials helps prevent future damage and extends your wall’s lifespan.
How Long Does Wall Liner Typically Last?
Wall liner typically lasts 10 to 15 years, depending on durability factors like exposure to moisture, sunlight, and temperature fluctuations. To extend its lifespan, you should follow maintenance tips such as cleaning it regularly, repairing minor damages promptly, and ensuring proper ventilation. Proper installation also plays a key role in durability, so make sure it’s correctly applied to prevent peeling or cracking over time.
Can Wall Liner Be Applied Over Textured Walls?
Think of your textured wall as a canvas waiting to be transformed. Yes, you can apply wall liner over textured walls, but prep is key. First, clean and sand the surface to guarantee proper adhesion. Then, use a suitable primer. Wall liner will help smooth out imperfections and create a solid base, making your textured wall ready for painting or further finishing. Just take your time, and you’ll achieve a flawless look.
What Are Common Mistakes to Avoid When Applying Wall Liner?
When applying wall liner, avoid skipping surface preparation and primer application, as these are vital for a smooth finish. Make sure to clean the wall thoroughly and repair any major cracks before starting. Don’t rush the process; apply the liner evenly without stretching or overworking it. Also, guarantee the surface is dry and dust-free to prevent bubbles or peeling later. These steps help you achieve a professional, long-lasting result.

LYTARA Dimmable Cordless Picture Light with Controller and Timer, Rechargeable 5000mAh Battery Wall Sconce for Wall Pictures, Gallery Artwork, Paintings, Portraits, Dartboards (Gold)
LYTARA Dimmable Cordless Picture Light: Illuminate your wall pictures, gallery artwork, paintings, portraits, and dartboards with our elegant...
As an affiliate, we earn on qualifying purchases.
Conclusion
Using wall liner to bridge hairline cracks is a smart, effective solution. It not only helps prevent further damage but also saves you time and money on major repairs. Did you know that over 60% of homeowners have faced minor wall cracks at some point? By applying wall liner early, you can keep your walls looking fresh and strong. So, next time those tiny cracks appear, remember this simple fix to maintain your home’s beauty and integrity.

Aipsun 4 Pack Black Modern LED Wall Sconce Hardwired Indoor Wall Lights Up and Down Wall Mount Light for Living Room Bedroom Hallway Corridor Conservatory Warm White 3000K(with G9 Bulbs)
Soft and homely:The wall sconce supplied with a Energy-saving and Non-flickering 9W LED G9 bulb (3000K warm white)...
As an affiliate, we earn on qualifying purchases.

Hivone 40X32 LED Bathroom Mirror with Lights, Anti-Fog, Dimmable, Backlit + Front Lit, Smart Bathroom Vanity Mirror, Memory Function, Shatterproof, Tempered Glass (Horizontal/Vertical)
[Double Lighting Sources,Super Bright]: Hivone LED bathroom mirror built-in double light LED strips with backlit and front light...
As an affiliate, we earn on qualifying purchases.