
To create perfect scalloped paint borders, start by selecting quality painter’s tape and prepping your walls thoroughly. Design or find templates that match your pattern and wall size, then use them to mark your border accurately. Follow step-by-step painting techniques for clean curves and edges, and always finish with precise masking for sharp lines. For expert tips on colors and fixing issues, continue exploring—these tricks will help you achieve a flawless look.
Key Takeaways
- Use customizable templates or create your own with grid paper or digital tools for consistent scalloped patterns.
- Select high-quality painter’s tape and press firmly along curves for clean, sharp borders.
- Lightly pencil in the scallop shape before painting to ensure precision and symmetry.
- Apply paint with a steady hand, using minimal paint on angled brushes for smooth, even edges.
- Fix imperfections by re-masking, sanding, or touch-up painting to maintain a flawless scalloped border.

4 Rolls Premium Painters Tape, Blue Tape, Masking Tape, Paint Tape for Multi-Purpose, Painting, Painter's, DIY Crafts Arts (88yd =0.94IN*22yd*4) Decoration Labeling No Residue, Easy Removal
Professional Mask Tape – Multi-Surface adhesive tape made of high quality blue crepe paper not easy to lift…
As an affiliate, we earn on qualifying purchases.
As an affiliate, we earn on qualifying purchases.
Selecting the Right Materials for Your Border
Choosing the right materials for your scalloped paint border is essential to achieve a smooth, professional-looking finish. You want materials that offer excellent material durability, guaranteeing your border stays intact over time without cracking or peeling. Select high-quality painter’s tape designed for curved edges to maintain clean, crisp lines and prevent paint bleed. The tape’s durability directly affects paint adhesion, so opt for brands known for sticking well without damaging surfaces when removed. For the paint itself, choose a high-adhesion primer if you’re working on tricky surfaces, and select a durable, high-quality paint that adheres smoothly and resists chipping. Using the proper materials will make your project easier, improve the final appearance, and guarantee your scalloped border lasts beautifully.

ScotchBlue Original Multi-Surface Painters Tape, 2 Inch Wide (1.88 In. x 60 Yds), 1 Roll Blue Paint Tape Protects Surfaces & Removes Easily, Masking Tape for Indoor and Outdoor Use (2090-48NC)
READY. SET. PAINT!: 1 roll of 1.88 inch wide ScotchBlue Original Painter's Tape, a multi-surface solution for preparing…
As an affiliate, we earn on qualifying purchases.
As an affiliate, we earn on qualifying purchases.
Choosing the Perfect Design and Pattern

When selecting your scalloped border’s design, think about the shape styles that best suit your space and style. Coordinating color palettes help tie everything together, making your border stand out beautifully. Consider how these elements will complement your room to create a cohesive, eye-catching look. Incorporating design coordination strategies can also help you plan and visualize how your design choices will come together effectively. Additionally, understanding branding and marketing principles can inspire you to create a distinctive and memorable border pattern that enhances your overall decor theme.
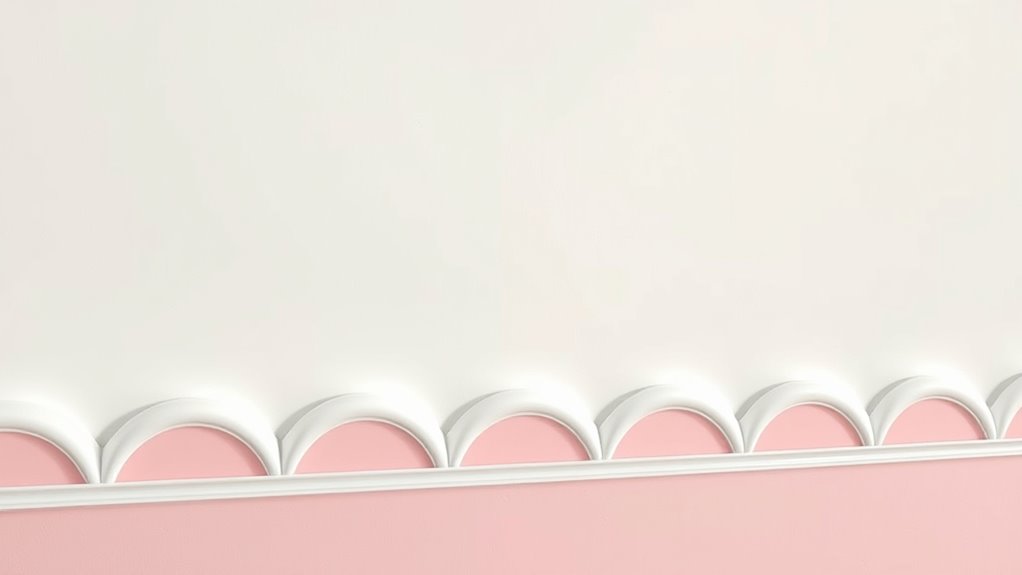
Selecting Shape Styles
Selecting the right shape style for your scalloped paint borders can dramatically enhance the overall look of your space. You want to choose a design that complements your room’s style and personality. Floral motifs add a soft, elegant touch, perfect for traditional or romantic interiors. They bring a sense of nature and delicacy. Geometric patterns, on the other hand, offer a modern, clean look that suits contemporary spaces. They create bold lines and structured shapes, making your border a focal point. Consider the size of your room and existing decor when selecting a pattern. Small, intricate floral designs work well in cozy spaces, while larger geometric patterns can make a statement in open areas. Your choice should reflect your style and create harmony within the room. Additionally, exploring different shape styles can help you find the perfect balance between creativity and harmony. Incorporating design consistency ensures that your border complements other decorative elements in your space. To achieve a cohesive look, researching popular styles used in Water Parks can offer fresh inspiration for your design choices. Understanding color coordination can also play a crucial role in making your scalloped border seamlessly blend with the overall room palette.
Coordinating Color Palettes
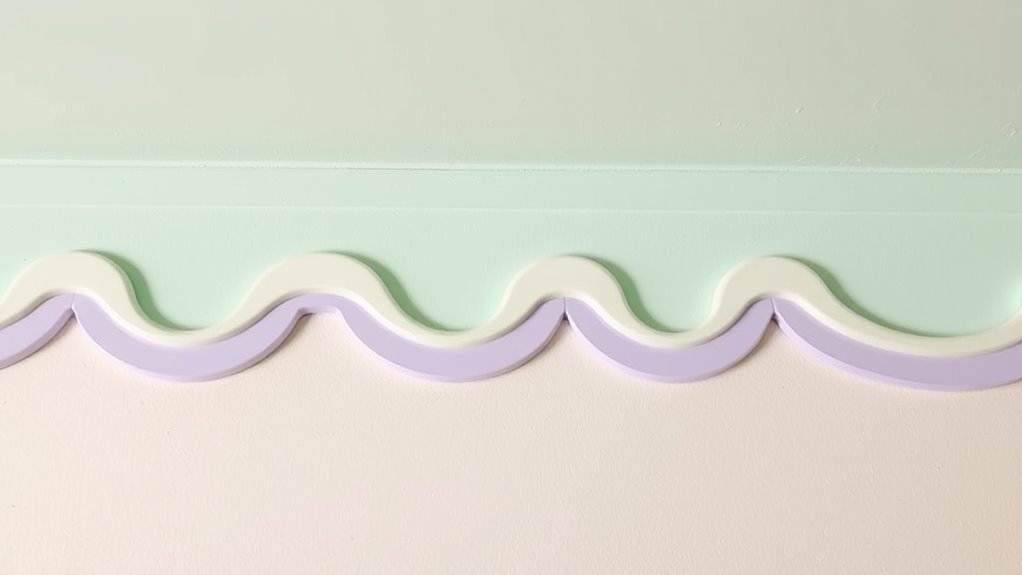
Once you’ve picked a shape style that matches your room’s vibe, the next step is to coordinate color palettes that enhance your scalloped paint borders. Focus on achieving color harmony by choosing colors that complement each other and create visual balance. For example, soft pastels paired with neutral shades offer a subtle, elegant look, while bold hues add vibrancy and energy. Use the table below to inspire your choices:
| Color Combinations | Effect |
|---|---|
| Soft blue & cream | Calm, soothing atmosphere |
| Mint green & blush | Fresh, lively feel |
| Warm beige & terracotta | Cozy, inviting vibe |
| Gray & yellow | Modern, cheerful tone |
| Navy & gold | Elegant, sophisticated |
Select colors carefully to guarantee your border enhances your room without overwhelming it. Incorporating color coordination principles can help ensure your design remains cohesive and visually appealing. Additionally, understanding color psychology can guide you in choosing hues that evoke the desired mood in your space, especially by considering color harmony techniques for balanced design. Exploring auras and their influence on emotional ambiance can also inspire your color choices to create a harmonious environment.

Fuutreo 6 Pcs 15.7 ft Vinyl Sticky Scallop Stencil for Wall Removable Scallop Edge Paint Border Self Adhesive Wall Stencil for Home Living Room Nursery Bohemia DIY Painting Decor (Weak Tack)
Please Note: tailor your choice with our 2 adhesion levels to suit your surface; The weak tack sticker…
As an affiliate, we earn on qualifying purchases.
As an affiliate, we earn on qualifying purchases.
Creating or Finding Effective Templates

You can create custom templates to match your exact design, or you might find ready-made options that fit your project. Consider which approach saves you time and offers the best accuracy for your scalloped borders. Whichever you choose, having a reliable template is key to achieving a polished look. Utilizing efficient general ledger coding principles can help streamline your design process and ensure consistency. Paying attention to angel number meanings can also inspire more meaningful and harmonious border designs that resonate with your intended aesthetic. Additionally, practicing stillness can foster greater focus and patience during your creative process.
Designing Custom Templates
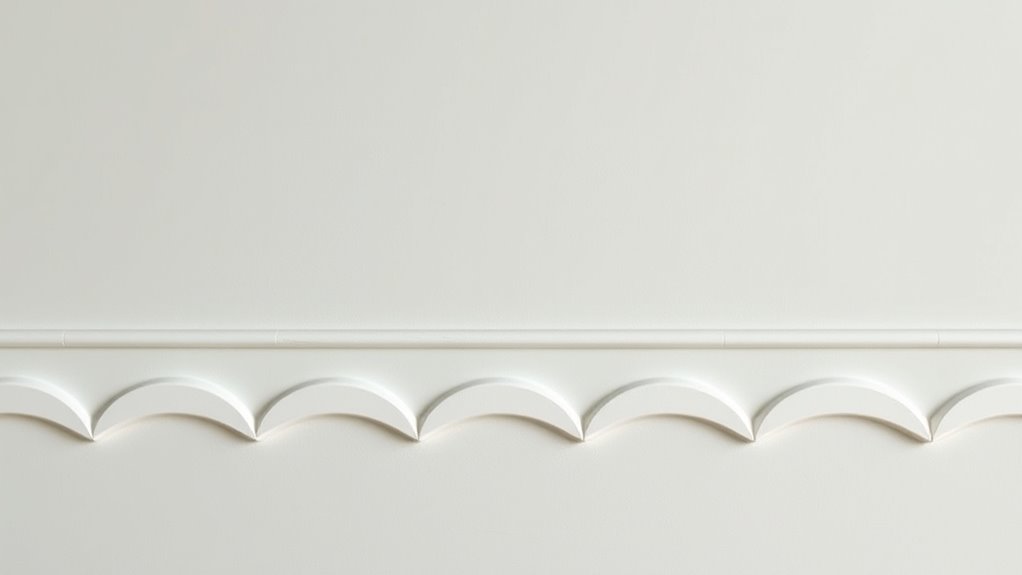
Creating effective custom templates begins with understanding your specific design goals and the space where the scalloped paint borders will be applied. Focus on pattern customization to make certain your template reflects the style you envision, whether it’s delicate, bold, or intricate. When designing your template, consider the shape, size, and repetition of the scallops to create a balanced look. Use simple tools like grid paper or digital design software to sketch out your pattern, making adjustments until it fits your space perfectly. Keep in mind that a well-planned template simplifies the painting process and enhances the final appearance. Additionally, understanding pattern consistency techniques can help you anticipate potential challenges and improve your template design for more precise results. Incorporating visual symmetry principles can further enhance the harmony of your scalloped borders, ensuring a polished and cohesive look. Paying attention to design principles and thoughtful template creation can help you achieve a professional finish every time. By paying attention to pattern customization and thoughtful template design, you’ll create a guide that ensures consistent, professional-looking scalloped borders every time.
Sourcing Ready-Made Options
Finding ready-made templates for scalloped paint borders can guarantee you time and assure a professional look. These options offer quick solutions rooted in DIY inspiration, making it easier to achieve precise, consistent patterns without starting from scratch. You can explore online marketplaces, craft stores, or design websites for pre-made templates inspired by historical origins, which often feature classic scalloped motifs. Using these templates saves you the hassle of creating your own from paper or cardboard, streamlining your project. Additionally, many ready-made options come in various styles, allowing you to select designs that suit your interior aesthetic. Sourcing these templates not only simplifies your process but also helps you produce a polished, high-quality border that elevates your space effortlessly. Templates for interior design can also serve as a foundation for customizing unique patterns that match your home’s style.

Coltree 3 Pack Trim Paint Brush Set, Small Paint Brushes for Walls, Trim, Touch Up, and Edging – Round Paint Brush for Corners, Baseboards & Furniture, 10.8”, 9.5”, 9.5”, Paint Brushes for Detail Work
3 Sizes for Precise Painting: This paint brush set includes three brushes (10.8”×1.2”, 9.5”×0.8”, 9.5”×0.6”), perfect for edging,…
As an affiliate, we earn on qualifying purchases.
As an affiliate, we earn on qualifying purchases.
Preparing Your Walls for a Smooth Finish
Before applying your scalloped paint borders, it’s essential to prepare your walls thoroughly. Start with wall preparation by cleaning the surface to remove dust, dirt, and grease, ensuring paint adheres properly. Sand any rough spots or imperfections to create a smooth surface. Filling holes or cracks with spackle and sanding them down will help achieve an even finish. Once your walls are clean and smooth, apply a primer to seal the surface and enhance paint adhesion. Primer application is especially important if you’re painting over dark colors or uneven surfaces. Using a high-quality primer can improve the overall durability of your paint job. Additionally, selecting water-based paints can make cleanup easier and help achieve a more uniform appearance. Proper wall preparation and primer application set the foundation for a flawless scalloped border, reducing the risk of uneven edges or peeling paint later on. Incorporating proper tools and techniques can also make the process more efficient and ensure cleaner lines.
Step-by-Step Guide to Painting Scalloped Borders
Once your walls are prepped and primed, it’s time to start painting your scalloped borders. Begin by choosing the right brush and practicing your brush techniques on scrap paper. Use smooth, even strokes to follow your stencil pattern or freehand your scallops. To visualize your work, imagine this table:
| Step | Action | Details |
|---|---|---|
| 1 | Mark your scallop pattern with a pencil | Light guidelines for precision |
| 2 | Load your brush with paint | Avoid excess to prevent drips |
| 3 | Start at one point and follow the stencil pattern | Use consistent brush strokes |
| 4 | Keep a steady hand | Maintain even pressure |
| 5 | Fill in gaps or uneven edges | Touch up with small brush |
Mastering brush techniques and stencil patterns ensures clean, professional-looking scalloped borders.
Tips for Achieving Clean, Precise Edges

Achieving clean, precise edges when painting scalloped borders begins with careful preparation and steady technique. Start by applying edge masking tape along the border line to prevent paint bleed and create a sharp boundary. Press down firmly to ensure a snug seal, especially along curves. When using brush techniques, opt for a high-quality, angled brush to follow the scalloped pattern smoothly. Use light, controlled strokes, gently feathering the paint along the edges to avoid overloading the brush. Keep a steady hand and work slowly, frequently reloading your brush for consistent coverage. If needed, go back with a small detail brush to tidy up any uneven spots. These tips help you achieve crisp, professional-looking scalloped borders with minimal hassle.
Incorporating Colors and Finishes for a Unique Look

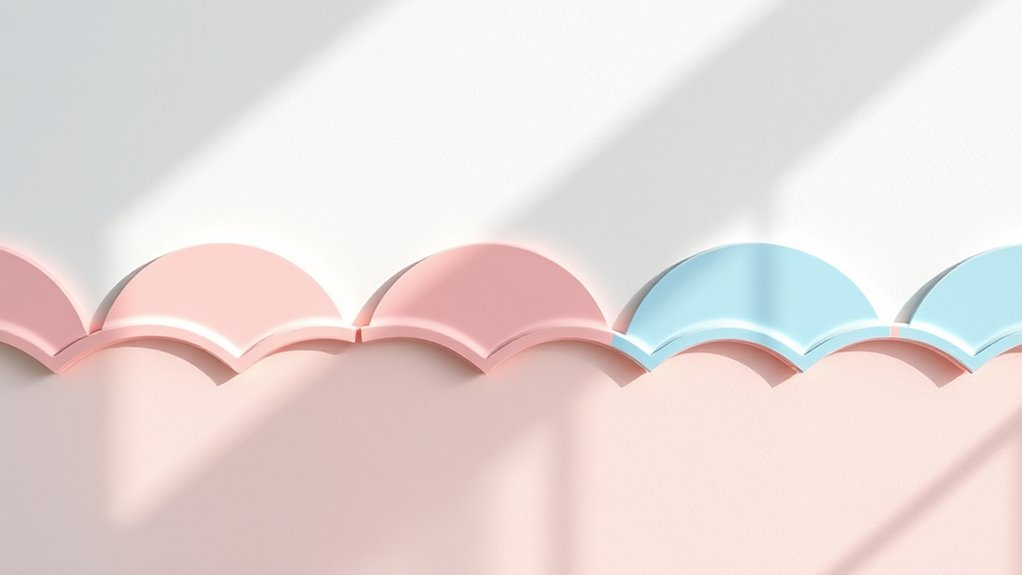
Adding colors and finishes to your scalloped borders can transform their appearance and make your space truly unique. Choosing the right color combinations enhances the visual impact, whether you opt for bold contrasts or subtle harmonies. Finish textures, like matte, glossy, or satin, add depth and dimension, giving your borders a distinctive feel. Experiment with pairing a soft pastel with a shiny finish for a delicate look or combining deep hues with matte textures for a modern vibe. Below is a table with ideas to inspire your choices:
| Color Combination | Finish Texture | Effect |
|---|---|---|
| Light blue and white | Satin | Elegant and soft |
| Deep green and gold | Glossy | Luxurious and vibrant |
| Pastel pink and gray | Matte | Subtle and sophisticated |
| Bright yellow and black | Semi-gloss | Bold and striking |
Troubleshooting Common Challenges During Painting
Painting scalloped borders can present unique challenges, but addressing common issues early on guarantees a smooth process. One common problem is uneven edges, which you can fix with proper edge masking methods. Use painter’s tape carefully aligned along your scallop template, ensuring sharp, clean lines. When it comes to brush stroke techniques, avoid heavy pressure that causes drips or uneven paint distribution. Instead, use light, controlled strokes to maintain a smooth, consistent finish. If paint bleeds under the tape, wait for it to dry and gently sand or trim the excess. Practice your brush control and edge masking methods beforehand to prevent mishaps. Being mindful of these techniques helps you tackle issues quickly, resulting in beautifully crisp scalloped borders without frustration.
Maintaining and Touching Up Your Scalloped Borders

To keep your scalloped borders looking their best, regular maintenance and timely touch-ups are essential. Start by ensuring your brushes are well-maintained; clean them thoroughly after each use to prevent dried paint from affecting future strokes. When touching up, focus on color mixing to match your original shade precisely. Keep a small container of your mixed paint handy for quick repairs, avoiding the need to remix every time. If you notice chips or fading, lightly sand the affected area before applying fresh paint, blending seamlessly into the existing border. Use a steady hand and a fine brush for precise touch-ups, especially along the scalloped edges. Proper upkeep preserves the elegance of your design and prolongs the vibrant look of your painted borders.
Frequently Asked Questions
How Long Does It Typically Take to Complete a Scalloped Border?
It usually takes about 1-3 hours to complete a scalloped paint border, depending on your skill level and the border’s length. If you’re a beginner, expect to spend more time practicing and perfecting your curves. Experienced painters can finish faster, around an hour or less. Remember, proper preparation and patience can make the process smoother and guarantee a cleaner, more professional look.
Can I Customize Templates for Specific Wall Sizes or Shapes?
Yes, you can customize templates for specific wall sizes or shapes. Simply modify the template to fit your wall’s dimensions, considering wall shape considerations like curves or angles. Use adjustable tools or digital design software to create precise custom template modifications. This guarantees your scalloped paint borders will align perfectly, giving your space a polished, tailored look. Always measure carefully and double-check before applying the template to avoid errors.
What Are the Best Paint Types for Durability and Ease of Touch-Ups?
You’ll love the durability and ease of touch-ups with latex or acrylic paints, especially with a satin or semi-gloss finish. These finishes resist stains and are simple to clean, making your scalloped borders last longer. When choosing colors, opt for high-quality paints that maintain vibrancy over time. The right paint finish and thoughtful color selection guarantee your borders stay beautiful, even as life’s little accidents happen.
How Do I Fix Mistakes or Uneven Edges During the Process?
If you notice mistakes or uneven edges, don’t worry. Use touch-up techniques like lightly sanding the area to smooth out imperfections, then carefully reapply paint with a small brush for precise edge correction. Keep a steady hand, and work in thin layers to blend seamlessly. For sharp scalloped borders, use painter’s tape as a guide during touch-ups, ensuring your edges stay crisp and professional-looking.
Are There Eco-Friendly or Low-Voc Paints Suitable for Borders?
Yes, you can choose eco-friendly paints and low VOC options for borders. Look for brands that specify low VOC content and eco-friendly ingredients on their labels. These paints reduce harmful fumes and are better for your indoor air quality. You’ll find a variety of sustainable paints in hardware stores or online, making it easy to create beautiful, healthy borders without compromising your commitment to environmentally responsible choices.
Conclusion
With your brushes dancing along your walls like a painter’s symphony, your scalloped borders will transform any room into a masterpiece. Think of each stroke as a brushstroke of personality, turning blank canvases into vibrant stories. As you step back, admire your handiwork—your walls now whisper elegance and charm. Keep your tools ready for touch-ups, and let your creativity flow freely, turning simple borders into timeless works of art that brighten your home’s personality.