
To create beautiful Roman clay walls, start by gathering natural earth tone colors, quality tools, and preparing your workspace. Clean and smooth the surface, then mix your clay with pigments carefully for even color. Apply the mixture in small sections with a trowel or sponge, maintaining steady pressure for texture. Let the wall cure properly, inspect for touch-ups, and finish with gentle blending. Keep practicing with techniques detailed further to master the authentic look.
Key Takeaways
- Prepare and clean the wall surface thoroughly for proper adhesion and smooth application.
- Mix high-quality Roman clay with pigments to achieve desired earthy or vibrant tones.
- Apply the clay evenly in small sections using trowels or sponges, maintaining consistent pressure.
- Experiment with techniques like troweling, sponging, or combing to create textures and finishes.
- Allow the wall to cure for at least 48 hours, then inspect and perform touch-ups for a durable finish.
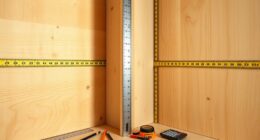
Gathering Your Materials and Tools
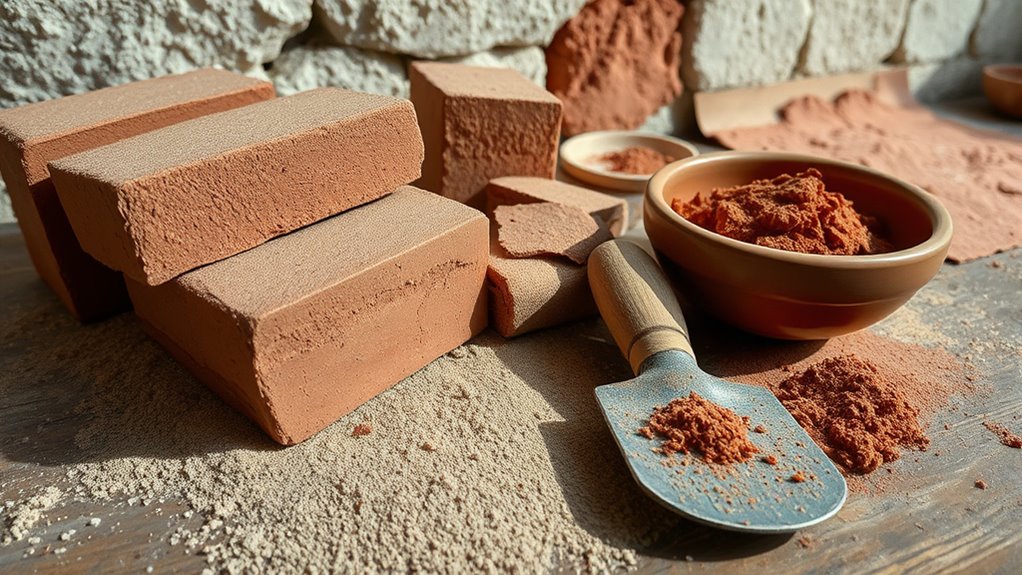
Before you begin building your Roman-style clay walls, gather all the necessary materials and tools. Start by choosing your color selection carefully; natural earth tones work best for authentic Roman finishes. Once you’ve decided on your shades, gather high-quality tools like trowels, sponges, and mixing buckets. Proper tool cleaning is essential—clean tools thoroughly after each use to prevent clay buildup, which can affect the smoothness and consistency of your application. Keep your workspace organized to streamline the process. Double-check that you have enough clay mixture prepared to avoid interruptions. Remember, well-maintained tools and thoughtful color choices lay the foundation for a beautiful, durable Roman clay wall. Proper preparation ensures your project progresses smoothly and looks professional. Additionally, understanding the benefits of using quality tools can enhance your overall results and efficiency.
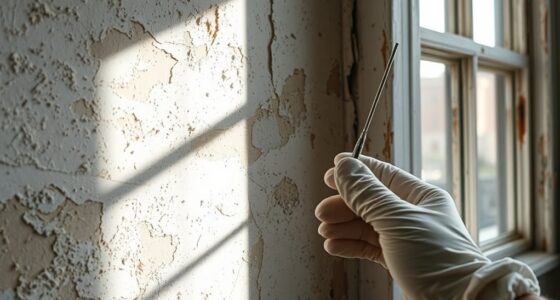
Preparing the Surface for Application
To guarantee your Roman clay walls adhere properly and achieve a smooth finish, you need to prepare the surface thoroughly. Start by cleaning the wall to remove dust, grease, or loose paint, ensuring a solid base. If your surface has texture options like rough patches or uneven areas, sand or smooth these spots for better adhesion. Filling holes or cracks with a suitable filler creates an even surface and prevents imperfections from showing through. When the surface is smooth and clean, you can consider color customization options, like applying a primer or base coat, to enhance color vibrancy and consistency. Proper preparation helps the clay bond well, reduces the risk of cracks, and allows you to achieve the desired finish and texture options for your project. Additionally, understanding sound healing science can inspire calming visual and tactile choices that promote relaxation during your workspace setup. Using proper appliance maintenance techniques during preparation can also help ensure your tools and equipment function efficiently, contributing to a smoother application process. Incorporating knowledge about electric power generation with bike generators can even provide sustainable energy solutions for powering your tools if needed. Being mindful of pimple patches and their proper use might seem unrelated but maintaining a clean workspace can help prevent contamination and ensure a flawless application of your clay.
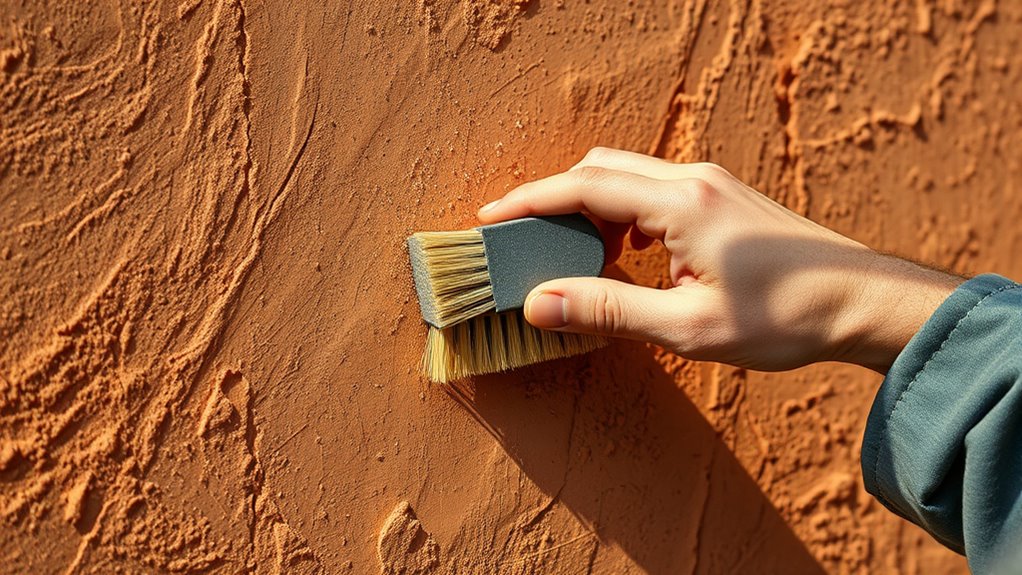
Mixing and Applying the Roman Clay
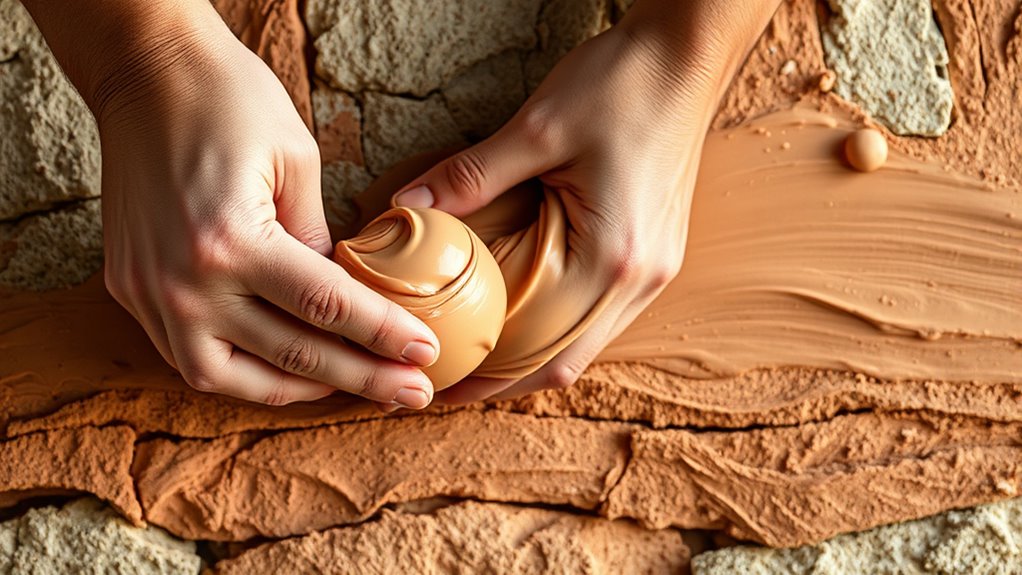
Mixing and applying Roman clay requires careful attention to guarantee a smooth, even finish. Start by choosing your color palette, ensuring the pigments are well combined into the clay to prevent streaks. Use clean tools and gradually add water to achieve a creamy, workable consistency. Wear safety precautions such as gloves and a mask, especially when handling powders or pigments, to avoid irritation. Mix thoroughly to prevent lumps and ensure uniform color and texture. When applying, use a trowel or sponge to spread the clay evenly across the surface, working in small sections. Maintain consistent pressure and direction to achieve a cohesive look. Proper preparation, mixing, and safety measures are essential for a professional-looking Roman clay wall. Additionally, understanding the composition of Roman clay can help in selecting the right materials for a durable finish. Incorporating goal tracking techniques, such as regular assessments, can also enhance your project’s success by helping you stay organized and motivated throughout the process. To achieve the best results, pay attention to air quality, which can impact the drying process and overall finish of your wall. Being aware of legislative changes related to materials can also ensure compliance and safety in your project.
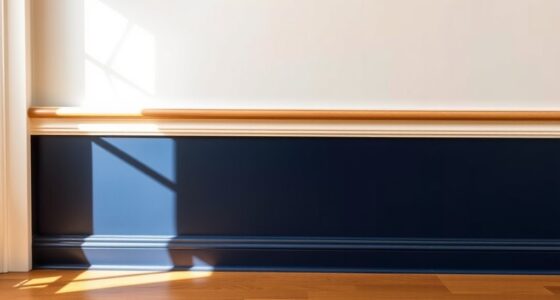
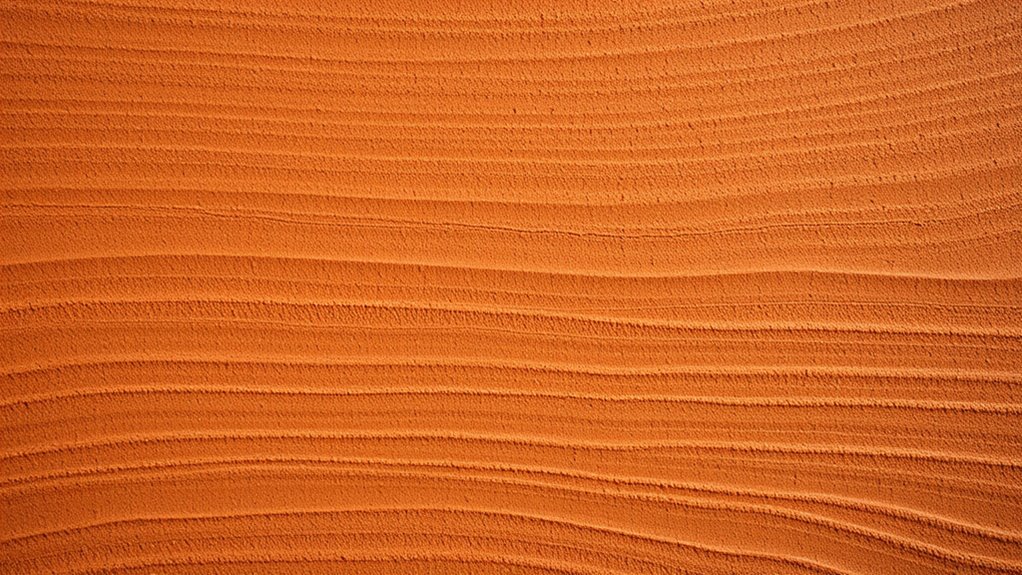
Achieving the Desired Finish and Texture
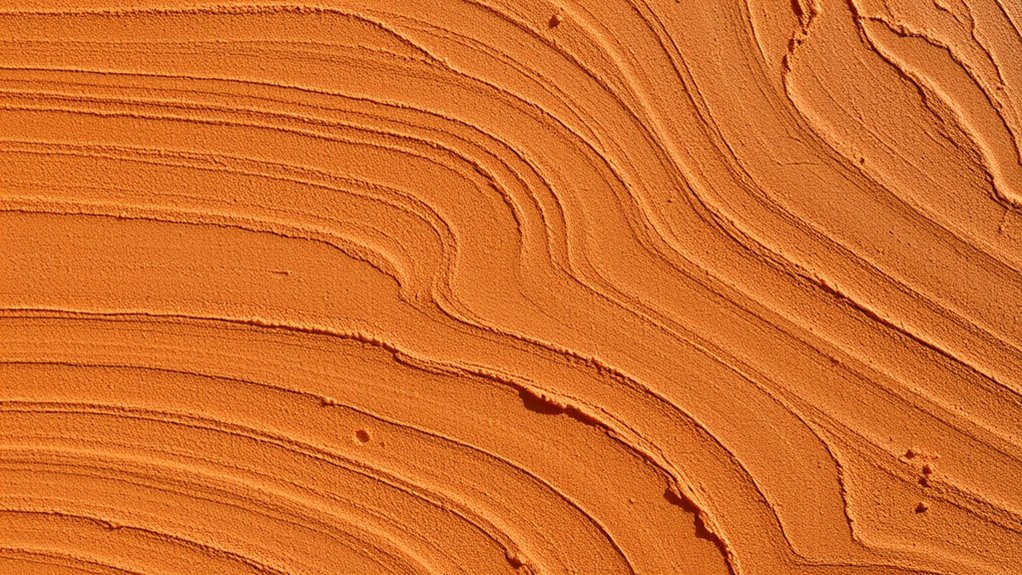
Achieving the desired finish and texture with Roman clay involves careful control during application and finishing techniques. You can select from various color options to match your style, whether you prefer earthy tones or vibrant hues. To create unique textures, experiment with different texture techniques, such as troweling, sponging, or combing, to add depth and personality to your walls. Consistent application pressure guarantees an even finish, while varying your technique yields diverse textures. Use a finishing sponge or brush to subtly blend colors or add highlights for a more dynamic look. Properly managing the application process allows you to achieve the specific finish you envision, whether smooth, matte, or richly textured. Practice and patience are key to mastering these techniques for beautiful, personalized Roman clay walls. Additionally, understanding surface preparation is essential to ensure the clay adheres properly and achieves the desired outcome. It is also helpful to familiarize yourself with different application tools to enhance the consistency and quality of your finish. Learning about texture techniques can further help you customize your walls to reflect your personal style. Incorporating self watering plant pots into your space can complement the aesthetic and create a lush, inviting environment, especially if you choose planters that match or contrast with your wall finish.
Curing, Maintenance, and Final Touches
Once your Roman clay walls are applied and have dried, proper curing is essential to guarantee durability and the best appearance. During this stage, you’ll want to ensure the wall properly sets by controlling the drying time, which varies with thickness and humidity. To achieve the perfect finish, consider these steps:
- Keep the wall protected from direct sunlight and drafts during curing.
- Wait at least 48 hours before applying any maintenance or additional treatments.
- Explore different color options to customize your look, but choose colors compatible with Roman clay.
- Final touches include cleaning the surface gently and inspecting for cracks or uneven spots that may need touch-ups.
- Proper passive voice detection can help ensure your instructions are clear and more engaging for readers.
- Maintaining consistent humidity levels during curing helps prevent cracks and ensures even drying.
- Monitoring temperature during curing can also contribute to a uniform finish and prevent issues caused by temperature fluctuations.
- Using appropriate tools and techniques during application and finishing can further enhance the durability and aesthetic quality of your walls.
Following these guidelines ensures your walls retain their beauty and strength over time.
Frequently Asked Questions
Can Roman Clay Walls Be Applied Outdoors?
Yes, you can apply Roman clay walls outdoors, but you need to take into account clay wall maintenance to ensure durability. Proper sealing and weatherproofing protect the surface from moisture and temperature changes. With a variety of Roman clay color options available, you can customize your outdoor space. Regular maintenance helps preserve the look and integrity of your outdoor Roman clay wall, keeping it vibrant and intact for years to come.
What Are Common Mistakes to Avoid During Application?
Avoid common mistakes by paying close attention to mixing consistency and surface preparation. You want a smooth, even mix, not too runny or too thick, to prevent cracking or uneven application. Always prep the surface properly by cleaning, sanding, and priming. Don’t rush the drying process or skip testing small areas. Focus on consistent mixing, thorough surface prep, and patience to ensure a flawless, durable Roman clay wall.
How Long Does a Roman Clay Wall Last?
A Roman clay wall can last 10-15 years with proper maintenance. To guarantee longevity, you should regularly clean it, avoid harsh chemicals, and touch up any chips or cracks promptly. Follow maintenance tips like sealing the surface every few years to enhance color retention and prevent moisture damage. Proper care helps maintain its appearance and durability, so you can enjoy your beautiful Roman clay wall for years to come.
Is Special Ventilation Needed During Application?
You don’t need special ventilation during application, but proper ventilation is important for a smooth process. Guarantee the application environment has good airflow to help the clay dry evenly and prevent moisture buildup. Keep the area well-ventilated by opening windows or using fans if necessary. Good ventilation requirements help achieve the best finish and durability for your Roman clay wall while keeping the workspace safe and comfortable.
Can Roman Clay Be Used on Curved Surfaces?
Yes, you can use Roman clay on curved surfaces, and it enhances historical authenticity. To guarantee a smooth application, you need proper surface preparation, including cleaning and priming the curves. Use flexible tools to follow the contours, and apply the clay in thin, even layers. This approach preserves the authentic look while accommodating the shape, making your project both beautiful and true to traditional techniques.
Conclusion
Like an artist completing a masterpiece, you’ve now mastered the art of applying Roman clay walls. With patience and care, each layer and texture come together to create a timeless, stunning finish—reminiscent of ancient frescoes that have stood the test of time. As you step back and admire your work, remember that like a well-crafted mosaic, your effort has transformed a simple surface into a work of enduring beauty.