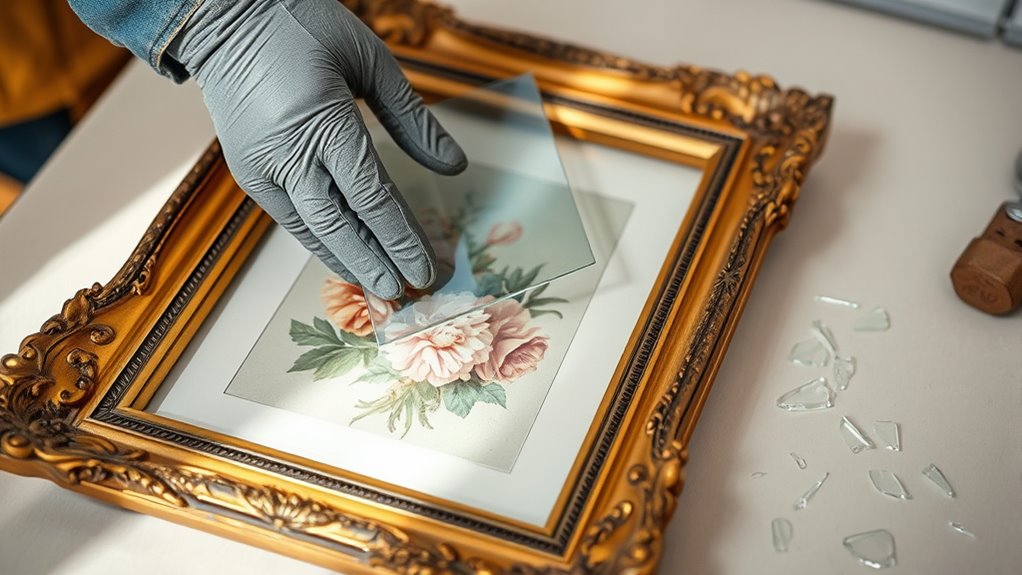

To replace broken glass in frames safely, wear gloves and safety glasses, handle the glass carefully, and work on a stable surface. Measure precisely, score the new glass with a glass cutter, and gently snap it along the score line. Clean the edges before fitting it into the frame, securing it firmly without forcing. Following these steps will help you confirm safety and success—continue for more detailed tips on making your replacement smooth and secure.
Key Takeaways
- Wear gloves and safety glasses to protect against glass shards during removal and replacement.
- Carefully measure and score the new glass to ensure a precise, clean cut without excessive force.
- Handle broken glass cautiously, working on a stable surface and using tools properly to prevent injuries.
- Secure the new glass with glazier’s points or clips without applying undue pressure that could cause cracks.
- Clean the glass and frame thoroughly before installation, and work patiently to ensure safety and proper fit.

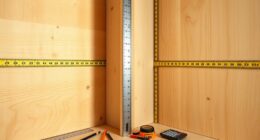
When your picture frame’s glass breaks, it can be frustrating, but replacing it is a straightforward process. The key is to prioritize DIY safety and use proper glass cutting techniques to get the job done efficiently and safely. Before you start, gather all necessary tools—gloves, safety glasses, a ruler, a glass cutter, and a clean cloth. Wearing gloves and safety glasses is essential to protect your hands and eyes from sharp shards. Take your time to prepare the workspace, ensuring it’s clean and free of clutter to prevent accidents.
Once you have everything ready, carefully remove any remaining glass pieces from the frame, handling them with caution. When measuring for the new glass, use the old piece as a template if it’s intact or measure the frame’s opening precisely with a ruler. When it comes to glass cutting techniques, score the glass with a glass cutter held at a consistent pressure, making a clean, continuous line. Avoid applying too much pressure, as this can cause the glass to shatter unpredictably. Once scored, gently tap along the score line with a push or break the glass by applying even pressure on both sides of the score, allowing the glass to snap cleanly.
During this process, your focus on DIY safety is essential. Keep your hands protected with gloves, and work on a stable, flat surface. If the glass doesn’t break cleanly, don’t force it—try scoring again or use pliers to gently snap the glass along the score line. Remember, patience is imperative; rushing increases the risk of injury or damaging the new piece. When your glass is cut to size, wipe it down with a clean cloth to remove any dust or debris, and carefully place it into the frame. Use glazier’s points or small clips to hold the glass securely in place, avoiding undue pressure that could cause the glass to crack again. Additionally, being aware of home security statistics and safety measures can help in preventing accidents during DIY projects.
Frequently Asked Questions
What Safety Equipment Is Recommended During Glass Replacement?
You should wear protective gear like cut-resistant gloves and safety goggles to prevent injuries from glass shards. Follow safety protocols by working on a stable surface and carefully handling the glass to avoid slips or breaks. Using a dust mask can also shield you from glass dust or debris, especially if you’re cutting or grinding. Prioritizing safety equipment ensures you stay protected throughout the glass replacement process.
How Do I Remove Stubborn Old Glass Securely?
Removing stubborn old glass is like peeling away stubborn wallpaper; patience is key. Start by carefully scoring the glass edges with a glass cutter, then gently loosen the glass using a putty knife or chisel. For difficult spots, apply gentle tapping around the frame to weaken the bond. During frame removal, take your time to avoid damaging the frame, and always wear safety gloves for protection.
Can I Replace Glass Without Removing the Frame?
Yes, you can replace glass without removing the frame by carefully working within it. Use proper glass cutting techniques to measure and cut the new pane accurately. Protect the frame’s finish during restoration, and guarantee the glass fits snugly. You may need to gently loosen or tape the frame edges. This approach saves time and preserves the frame’s integrity while allowing effective glass replacement.
What Are the Best Adhesives for Securing New Glass?
To secure new glass with maximum adhesive strength and maintain crystal-clear glass clarity, you should choose high-quality, UV-rated mirror adhesive or epoxy designed for glass. These adhesives form an unbreakable bond, ensuring your replacement stays put forever, no matter what. Apply a thin, even layer to avoid smudges or bubbles. With the right adhesive, your frame will look flawless and hold the glass securely, making your project a stunning success.
How to Handle Broken Glass if I Don’T Have Gloves?
If you don’t have gloves, handle broken glass carefully by wearing protective clothing like long sleeves and sturdy pants. Use a broom and dustpan to sweep up larger pieces and a damp cloth for tiny shards. Dispose of the glass in a puncture-proof container or thick trash bag to prevent injuries. Always wash your hands thoroughly afterward and keep the area clear until all fragments are safely removed.
Conclusion
Replacing broken glass in frames might seem tricky, but it’s straightforward once you know the steps. Imagine you’re restoring a cherished family photo that shattered during a move—you carefully remove the old glass, clean the frame, and insert new, clear glass. Just like that, your frame is restored and ready to display again. With caution and patience, you can keep your cherished memories safe and beautiful for years to come.