
To remove stubborn wallpaper paste residue, start by choosing an eco-friendly solvent free of VOCs that loosens adhesive safely. Gently prepare the surface by removing loose parts and lightly sanding for better contact. Mix the solvent with water per instructions, then apply it with a sponge or spray, letting it sit for 10-15 minutes. Carefully scrub with a soft brush and reapply if needed. Rinse thoroughly and dry. Keep in mind, proper prep and gentle handling make a big difference—continue for more tips.
Key Takeaways
- Use an eco-friendly solvent mixed with water, applied generously to soften stubborn residue effectively.
- Gently scrub with a soft-bristled brush or sponge after allowing the solvent to penetrate for 10-15 minutes.
- Reapply the solvent and repeat the process for particularly stubborn paste, avoiding metal tools to prevent wall damage.
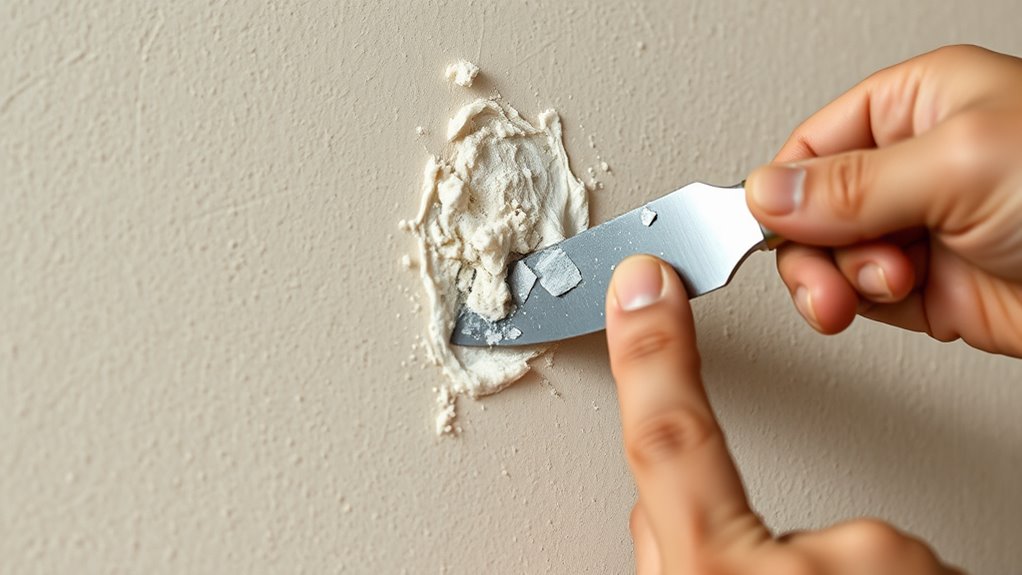
- Remove loosened paste with a plastic scraper or putty knife, then rinse with clean water or a damp cloth.
- Ensure the surface is thoroughly dry before priming or painting to achieve a smooth, clean finish.

Removing wallpaper residue can be a challenging task, but with the right approach, you can restore your walls to a smooth, clean surface. The key lies in choosing eco friendly solvents and mastering proper surface preparation techniques. Eco friendly solvents are a safer, environmentally conscious alternative to harsh chemical removers. They effectively loosen stubborn adhesive without emitting toxic fumes or damaging your walls. When selecting a solvent, look for products labeled as biodegradable and free from volatile organic compounds (VOCs). These options help protect your indoor air quality and the planet while getting the job done.
Before applying any solvent, it’s essential to prepare your surface properly. Start by removing any loose wallpaper or peeling edges gently with a putty knife or your fingertips. This prevents bulk residue from interfering with the solvent’s effectiveness. Next, lightly sand the wall with fine-grit sandpaper to create a slightly rough surface, which enhances the bond between the adhesive and the solvent. Dust off the debris thoroughly to ensure nothing hinders the cleaning process. If your walls have peeling paint or delicate finishes, take extra care to avoid damaging the surface during this step.
Once your surface is prepped, mix your chosen eco friendly solvent with water according to the manufacturer’s instructions. Usually, applying the solution with a sponge or spray bottle allows for even coverage. Be generous but avoid oversaturating the wall, as excess moisture can lead to damage. Let the solution sit for about 10-15 minutes to penetrate and loosen the stubborn paste residue. During this time, you can gently scrub the wall with a soft-bristled brush or sponge, working in small sections for better control. Additionally, understanding the importance of contrast ratio in projector image quality can help when choosing lighting conditions for your room, ensuring the best visual experience.
After the residue softens, use a plastic scraper or putty knife to gently lift away the loosened paste. Avoid metal tools, which can gouge or scratch the drywall. If any residue remains, reapply the eco friendly solvent and repeat the process. Once you’ve removed the bulk of the paste, rinse the wall with clean water or a damp cloth to remove any lingering residue or solvent traces. Dry the surface thoroughly with a towel or cloth to prepare it for priming or painting.
Frequently Asked Questions
Can I Use a Steam Cleaner to Remove Wallpaper Paste?
Yes, you can use a steam cleaner for wallpaper removal, including stubborn paste. Steam cleaning loosens the adhesive, making it easier to peel away the wallpaper and residue. Just be careful to keep the steam at a safe distance and avoid saturating the wall, which can cause damage. Using a steam cleaner is an effective, chemical-free method to tackle stubborn wallpaper paste and achieve a cleaner surface.
Is It Safe to Use Vinegar for Residue Removal?
Using vinegar for residue removal is generally safe, but you should exercise caution. Think of vinegar like a gentle cleaning ninja—powerful yet safe when used properly. Vinegar safety depends on proper dilution, avoiding prolonged contact, and testing on a small area first. While it’s effective for some residues, it might not work on all. Always guarantee you follow guidelines for safe use to avoid damaging your walls.
How Long Should I Wait Before Repainting After Removal?
You should wait at least 24 to 48 hours after removing wallpaper and doing drywall repair before repainting. This ensures the surface is completely dry and free of residual moisture, which is essential for proper paint preparation. Rushing this step can cause paint to peel or bubble. Make sure you’ve sanded and cleaned the surface thoroughly, and consider using a primer to guarantee a smooth, long-lasting finish.
Will Removing Wallpaper Paste Damage My Drywall?
Removing wallpaper paste residue can potentially cause drywall damage if you’re too aggressive, but gentle scraping and proper cleaning minimize that risk. Be careful not to gouge or tear the drywall surface, as this can lead to residue staining or even structural issues. Use soft tools, and apply a gentle cleaning solution to avoid damaging your drywall, ensuring a smooth finish for your repainting project.
Are There Eco-Friendly Products for Residue Removal?
Yes, eco-friendly products for residue removal do exist. You can choose eco-friendly solvents that are safe for your home and the environment, or opt for natural removal methods like vinegar, baking soda, or citrus-based cleaners. These options effectively break down stubborn wallpaper paste residue while reducing your chemical footprint. By selecting eco-conscious products, you protect your family’s health, preserve the environment, and achieve a clean, residue-free surface naturally and safely.
Conclusion
Now that you’ve learned how to tackle stubborn wallpaper paste residue, you’ll feel confident in restoring your walls to their original beauty. With patience and the right tools, you can make the process much easier than you might think. Remember, every difficult task has a solution—aren’t you glad you’re equipped to handle this one? So go ahead, roll up your sleeves and enjoy a fresh, clean space once again!