To prepare walls for wallpaper, start by thoroughly cleaning the surface to remove dirt, grease, and old residues. Smooth out any rough or uneven textures with light sanding or filling. Use the appropriate sizing product based on your wall’s texture and paint type, applying it evenly and allowing it to dry completely. Follow with a compatible primer to seal the surface and guarantee better adhesion. Keep in mind proper techniques and curing times to avoid future issues—more tips await to help you achieve the best finish.
Key Takeaways
- Assess wall condition, including texture, moisture, and existing paint, before starting surface preparation.
- Remove dirt, grease, loose paint, and old wallpaper residues to ensure proper adhesion.
- Smooth rough or uneven textures with filler or light sanding for a flat surface.
- Choose the appropriate primer or sizing product based on wall material and condition.
- Apply primer or sizing evenly in sections, following manufacturer instructions, and allow full drying before wallpapering.
Understanding the Importance of Wall Preparation
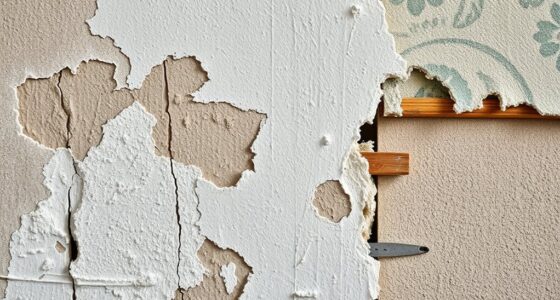
Before applying wallpaper, understanding why proper wall preparation matters can save you time and prevent future problems. Your wall texture plays a significant role; rough or uneven surfaces can cause bubbles and wrinkles in your wallpaper. Smoothing out the wall ensures a clean, flat surface that adheres properly. Moisture control is equally vital—excess moisture can lead to peeling, mold, or warping over time. Check for damp spots or leaks before starting, and fix any issues to create a stable environment. Proper wall prep also involves removing dirt, grease, or old wallpaper residues that can interfere with adhesion. When you prioritize surface readiness, you reduce the chances of wallpaper failure and ensure a smooth, long-lasting finish. Incorporating appropriate wall preparation techniques can further enhance the adhesion quality of your wallpaper installation. Additionally, using suitable primers and sealers can help improve adhesion and protect your walls from future damage.
Choosing the Right Sizing Products for Your Walls
Selecting the appropriate sizing product is a crucial step in guaranteeing your wallpaper adheres smoothly and lasts longer. When choosing, consider your wall’s texture options—smooth surfaces may need a lightweight, clear sizing, while textured walls might require a coarser formula for better adhesion. Additionally, check paint compatibility; if your walls are painted, guarantee the sizing won’t react negatively or cause peeling. Some products are specifically designed for primed or painted surfaces, providing a better bond without damaging the existing finish. Properly matched sizing helps reduce bubbles and wrinkles, creating a uniform base. Using the right type based on your wall’s condition and texture, and always following the manufacturer’s instructions for ideal results, is essential for a successful wallpaper project. Proper surface preparation can significantly influence the overall outcome and durability of your wallpaper. Taking the time to select the right vetted products can ensure optimal adhesion and longevity of your wallpaper. Additionally, considering your remote work environment by creating a well-prepared wall space can boost your focus and productivity during your decorating projects. Ensuring your walls are properly prepared with the right wall prep techniques can prevent issues like peeling or bubbling over time.
Preparing the Wall Surface Before Sizing

Preparing the Wall Surface Before Sizing
Properly preparing your wall surface sets the foundation for a smooth and long-lasting wallpaper application. Before sizing, assess your wall’s condition, paying attention to wall texture and moisture barriers. Remove any loose paint, dirt, or grease to guarantee proper adhesion. If your wall has a rough or uneven texture, smooth it out with a filler or sand it lightly. Check for moisture issues; if present, address leaks or dampness to prevent future problems. Use a damp cloth to clean the surface, ensuring it’s free of dust and debris. This step ensures the sizing will bond well, providing a uniform surface. Proper preparation minimizes bubbles, wrinkles, and peeling, making your wallpaper last longer and look better. Additionally, understanding wall surface types can help you select the appropriate primer and techniques for optimal results. Conducting a simple adhesion test can help verify that the surface is properly prepared before applying wallpaper. Performing a thorough surface assessment can help identify hidden issues that may affect adhesion and durability. When in doubt, consulting wall preparation guidelines can further improve your results and durability.
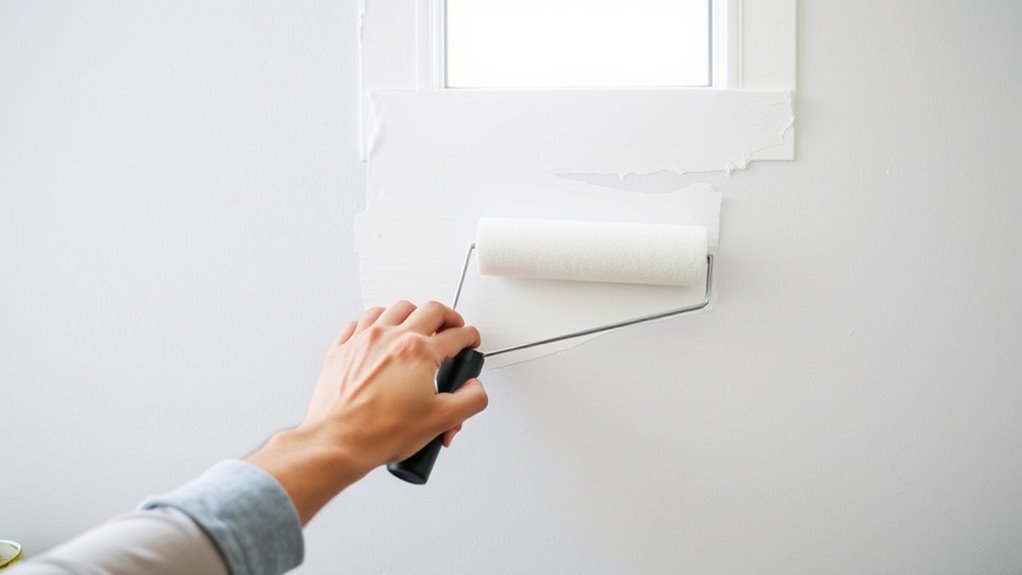
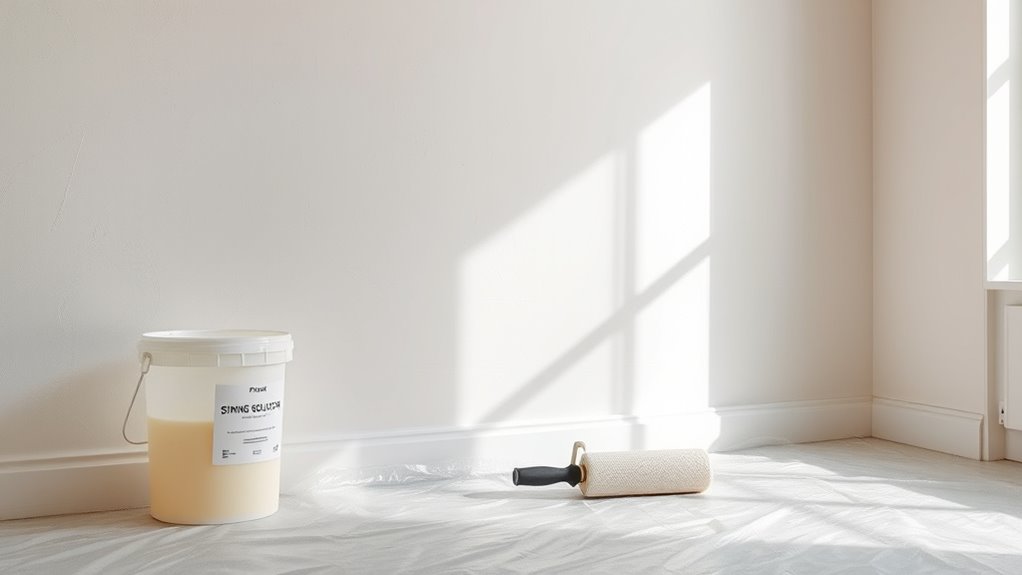
Applying Wall Size: Step-by-Step Instructions

Before applying wall size, make sure your surface is clean and smooth. Next, mix the solution according to the instructions, then evenly apply it across the wall. This step guarantees the wall is properly prepared for a smooth wallpaper finish. Using the right primer type can also improve adhesion and longevity of your wallpaper. Incorporating sound healing science principles can help you create a calming and focused environment during your decorating process.
Preparing the Surface
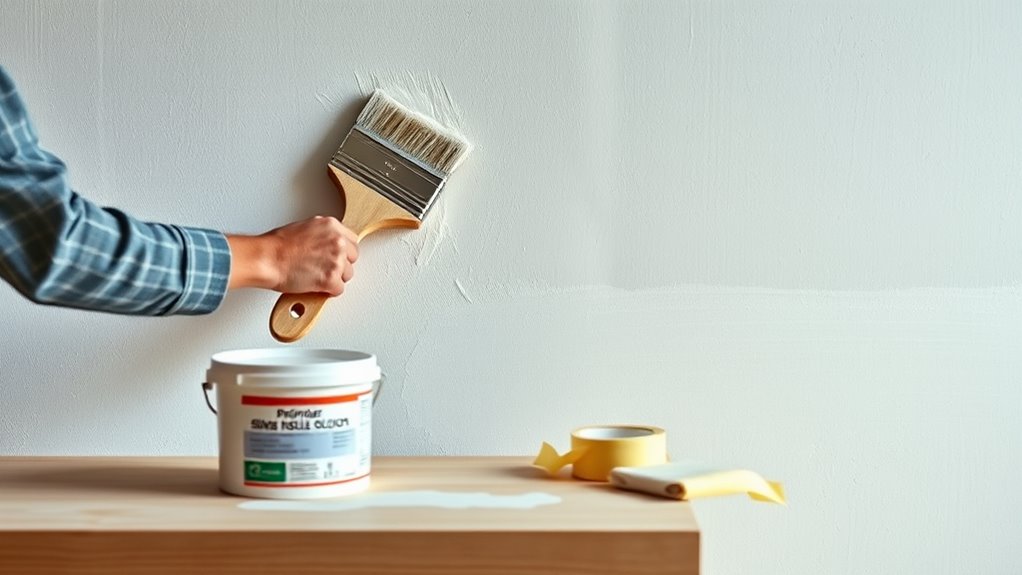
To guarantee your wallpaper adheres smoothly and lasts longer, applying wall size is a crucial step. It prepares the surface by sealing the wall’s texture and improving paint compatibility, guaranteeing a flawless finish. Proper preparation minimizes bubbles, wrinkles, and peeling. Before applying, check for any uneven patches or dust, and smooth out imperfections. Use a roller or brush to evenly distribute the wall size, focusing on seams and corners. Wait for it to dry completely before proceeding. Remember, a well-sized wall creates a stable base for your wallpaper, preventing future issues. Ensuring the wall surface is free of dust and debris is essential for optimal adhesion and a professional-looking result for a perfectly smooth finish.
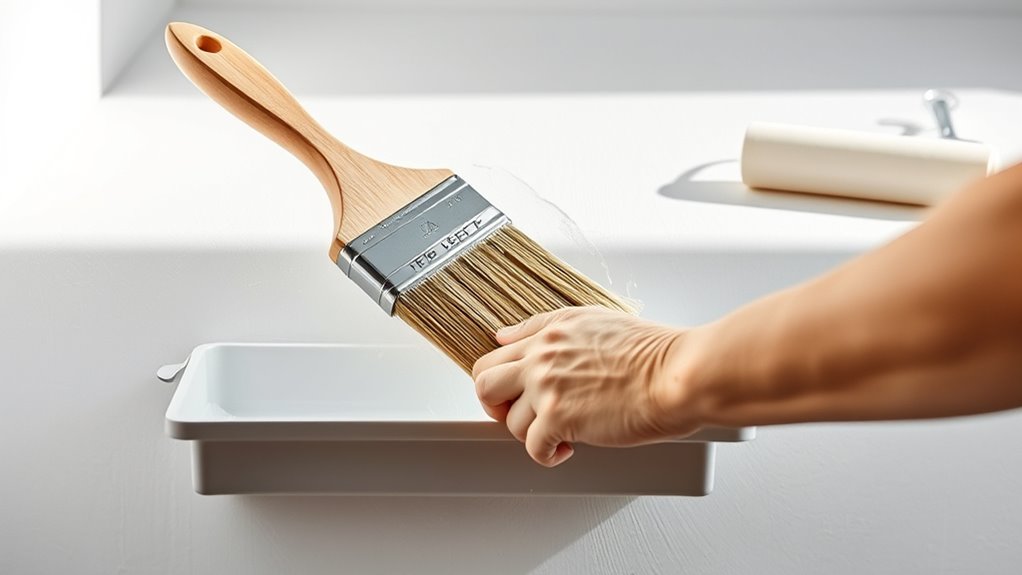
Applying the Solution
Now it’s time to apply the wall size evenly across the surface. Use a roller or brush to spread the solution, guaranteeing coverage over the wall texture without leaving streaks. Maintain a wet edge to prevent lap marks. Be mindful of paint compatibility; check that the wall size is suitable for your existing paint finish. If your wall has a rough or uneven texture, apply the solution carefully to avoid missed spots. Work in sections to keep the application smooth and consistent. Allow the wall size to dry completely before proceeding, typically for at least one to two hours. Proper application ensures the wall surface is primed for wallpaper adhesion, resulting in a smooth, durable finish. Using the right application technique can also help prevent issues like overwatering or uneven absorption, similar to how self watering plant pots operate to maintain consistent moisture levels. Additionally, ensuring the wall size is compatible with hydrogen energy concepts can improve overall efficiency and safety during the process. Understanding the Power of Imagination can inspire more innovative approaches to surface preparation, leading to better results. Being aware of philosophical insights can also help in understanding the importance of proper preparation for long-term results.
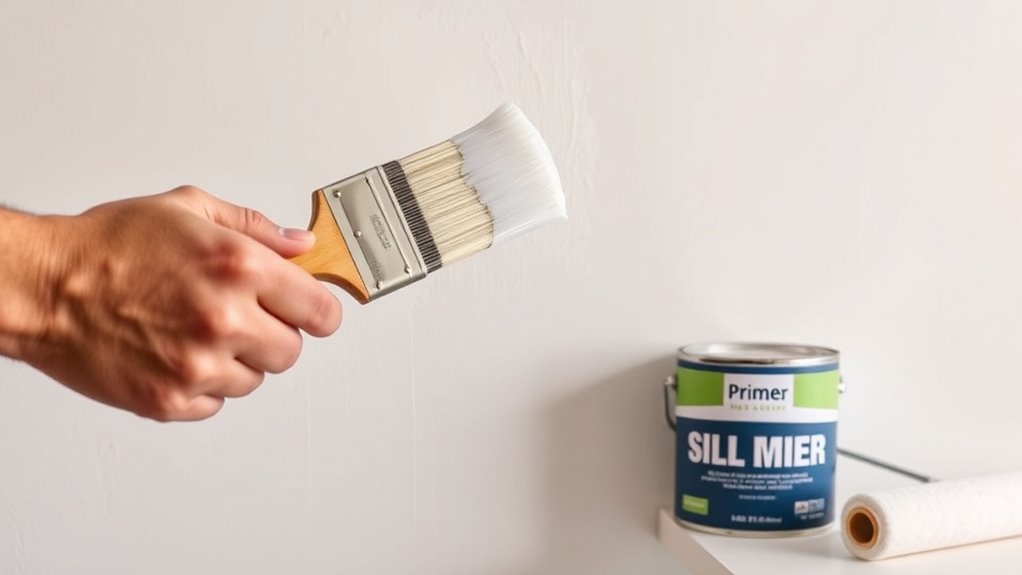
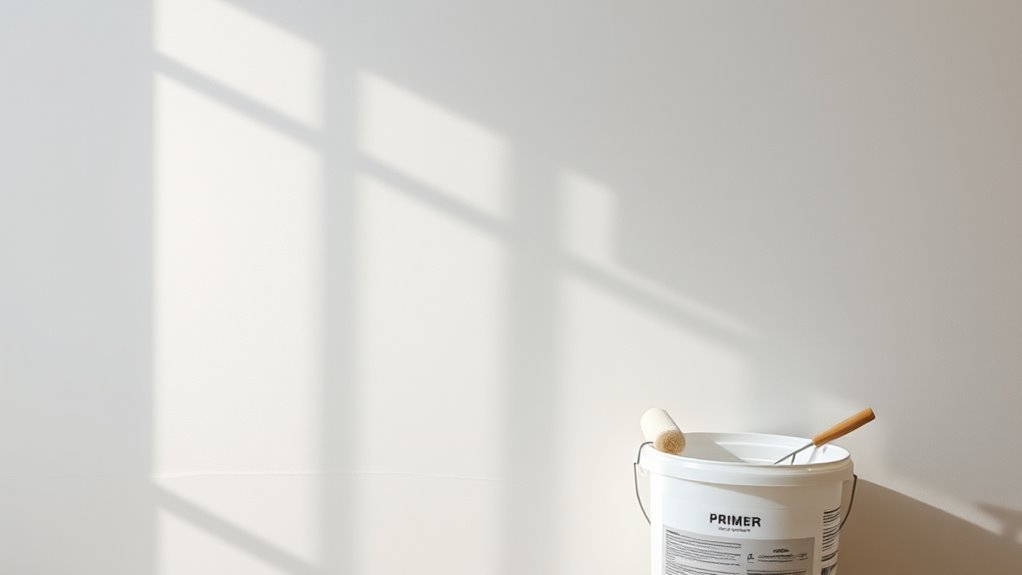
Selecting the Appropriate Primer for Wallpaper Installation
Choosing the right primer is essential for ensuring your wallpaper adheres properly and lasts over time. The right primer selection helps seal the wall, creating a smooth, uniform surface that prevents bubbling or peeling. When selecting a primer, consider your wall’s material and condition to match the primer’s properties. A high-quality primer not only enhances wall sealing but also improves the adhesive’s grip. Additionally, understanding emotional support can be beneficial if you’re feeling overwhelmed by the process, as it encourages patience and confidence. Being aware of toilet flushing mechanisms and how they function can also help you prepare your walls effectively for wallpaper installation, especially in environments where water-related issues are common. Staying informed about AI advancements can inspire innovative solutions for home improvement projects, making the process more efficient and enjoyable. Moreover, selecting a primer with moisture-resistant properties is crucial for areas prone to humidity, ensuring the longevity of your wallpaper.
Surface Preparation Tips for Priming
Before applying primer, you need to prepare the wall surface thoroughly to guarantee ideal adhesion. First, assess the wall texture—smooth or textured surfaces may require different prep methods. Remove any loose or peeling paint completely, as paint removal ensures a flat, stable base for primer. Use a scraper or sandpaper to smooth rough patches and eliminate flaking paint. Clean the wall to remove dust, dirt, and grease that can interfere with primer bonding. Pay special attention to areas with uneven wall texture, as these may trap air or primer, reducing adhesion. Proper surface preparation eliminates potential issues later, helping your wallpaper adhere smoothly and last longer. Additionally, considering the use of appropriate primers can enhance adhesion and durability. Using a high-quality primer designed for your wall type can also prevent issues like bubbling or peeling over time. Taking these steps ensures a clean, even surface ready for effective priming and ultimately, beautiful wallpaper results.
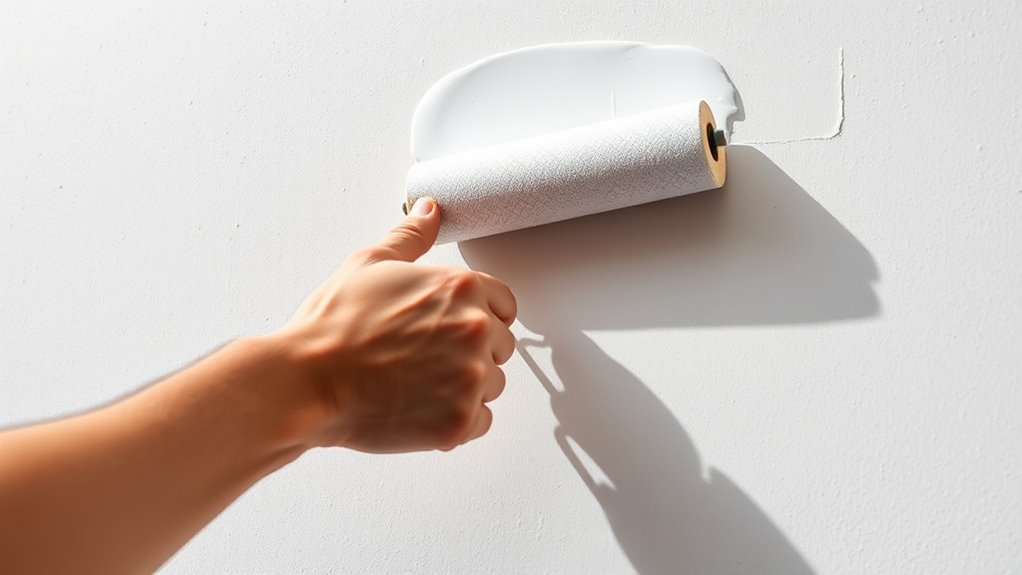
Proper Techniques for Applying Primer
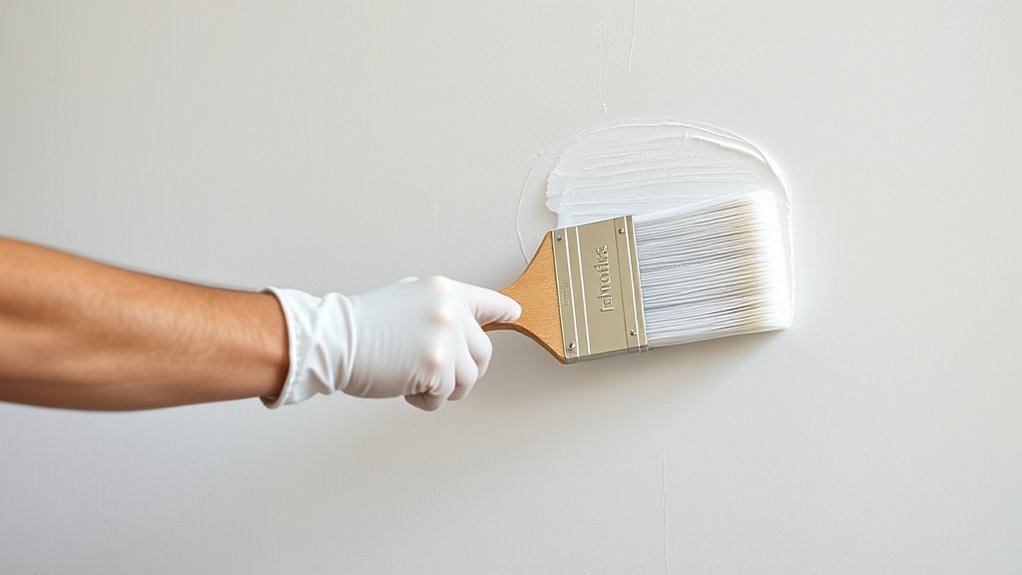
Applying primer correctly is essential for a smooth wallpaper finish. You need to select the right type, prepare your surface properly, and use proper application techniques. Let’s explore the key steps to guarantee your primer job sets the stage for perfect wallpaper.
Surface Preparation Steps
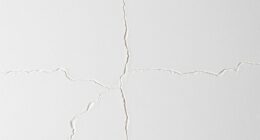
To guarantee your wallpaper adheres smoothly and lasts longer, applying primer correctly is essential. Proper surface preparation ensures good adhesion, especially on walls with varying wall texture or moisture issues. First, inspect your walls for imperfections like cracks or holes—repair and sand them smooth. Next, choose the right primer designed for your wall type and consider moisture barriers if needed. When applying, use a roller or brush to spread an even coat, working from top to bottom. Avoid over-application to prevent drips. Finally, allow the primer to dry completely before hanging wallpaper. This step creates a uniform surface, reduces uneven absorption, and enhances adhesion for a flawless finish.
- Prepare the surface thoroughly before priming
- Use appropriate primer for wall texture and moisture control
- Ensure complete drying before wallpapering
Choosing the Right Primer
Choosing the right primer is crucial to make sure your wallpaper sticks properly and looks smooth. Your primer selection should match the paint compatibility of your wall surface and wallpaper adhesive. Selecting an appropriate primer creates a uniform base, preventing issues like bubbling or peeling. Think of it like preparing a canvas for painting—each surface needs a suitable base coat. Here’s a visual to guide you:
| Wall Surface | Recommended Primer Type |
|---|---|
| Dry drywall | Pore-filling or all-purpose primer |
| Glossy paint | Bonding primer |
| Untreated wood | Oil-based or shellac primer |
| Previously painted | Spot-priming with compatible primer |
Matching these ensures your wallpaper adheres perfectly and lasts longer.
Application Techniques and Tips
Before you start applying primer, make sure your wall surface is clean, dry, and free of dust or grease. Proper application guarantees smooth wallpaper adhesion and a professional finish. To achieve this, consider the wall’s textures—smooth walls require different techniques than textured surfaces. Use even strokes and a roller or brush suited for primer to prevent streaks. Always check paint compatibility to avoid peeling or bubbling later. Keep these tips in mind:
- Work in manageable sections to maintain even coverage
- Use a high-quality roller or brush for consistent application
- Avoid over-applying primer, especially on textured surfaces
Common Mistakes to Avoid During Sizing and Priming
Many mistakes can happen during sizing and priming that could compromise your wallpaper project. One common error is neglecting your wall’s texture; uneven or rough surfaces can cause bubbles or wrinkles in the wallpaper. Always smooth out wall texture before priming to guarantee a flat surface. Another mistake is using incompatible paint or primer; check for paint compatibility to prevent peeling or peeling later. Applying too thick a coat can also cause issues, leading to uneven drying and affecting wallpaper adhesion. Additionally, rushing the process or skipping proper surface preparation can trap dust or grease, which weakens adhesion. Take your time to properly prepare the wall, choose the right primer, and ensure surface consistency. Avoid these mistakes to achieve a smooth, lasting wallpaper finish.
Drying and Curing Times for Sizing and Primer
Once you’ve applied your sizing or primer, it is essential to give it enough time to dry and cure properly before proceeding with wallpapering. Proper drying ensures your wall texture remains smooth and that the paint compatibility is maintained, preventing issues like peeling or bubbling later. Rushing this step can lead to poor adhesion and uneven wallpaper results. Typically, wait at least 24 hours, but check manufacturer instructions for specific drying times. Factors such as humidity and temperature can extend this period. To guarantee best results, avoid applying wallpaper too soon after priming. Doing so guarantees your walls are fully prepared, making the wallpapering process easier and more durable.
- Guarantee the surface is completely dry before hanging wallpaper
- Check for any tackiness or moisture on the surface
- Test paint compatibility by gently pressing on the primed wall
Troubleshooting Common Wall Preparation Issues
Even with careful wall preparation, issues can still arise during wallpapering. Wall texture may cause the wallpaper to not adhere evenly, leading to bubbles or wrinkles. If the surface is too rough or uneven, smoothing it out before applying wallpaper is essential. Additionally, paint compatibility issues can cause peeling or lifting if the existing paint isn’t suitable for wallpaper adhesion. Make sure the surface is properly primed and free of grease or dust. If you notice these problems early, you can often fix them by sanding rough patches or applying a compatible primer. Addressing wall texture irregularities and ensuring the paint surface is suitable will help prevent future wallpaper problems and create a smooth, lasting finish.
Frequently Asked Questions
How Do I Test My Walls for Moisture Before Sizing?
To test your walls for moisture before sizing, start with a simple moisture test. Use a moisture meter or tape test by placing a piece of clear plastic on the wall and taping the edges down. Leave it for 24 hours; if condensation forms underneath, your wall isn’t stable and needs drying. Ensuring proper moisture levels guarantees better wall stability and helps your wallpaper adhere properly.
Can I Use Existing Paint as a Primer for Wallpaper?
Your walls are not a paint jungle, so using existing paint as a primer isn’t ideal. It can compromise paint adhesion and cause wallpaper to peel or bubble. You need a proper primer compatible with your wall paint to guarantee a strong bond. Skipping this step risks wallpaper failure, so it’s best to apply a dedicated primer for the best results and long-lasting beauty.
What Are the Environmental Conditions Best for Wall Preparation?
You should aim for a dry, stable environment with humidity levels around 50%. Too much humidity can cause wallpaper to peel, while low humidity helps it adhere better. Guarantee the wall surface is clean, free of dust, grease, or old paint flakes, as these can interfere with adhesion. Keep the room well-ventilated during installation, and avoid applying wallpaper in extreme temperatures or damp conditions for the best results.
How Often Should I Reapply Sizing or Primer for Best Results?
Think of your wall as a garden that needs tending. You should reapply sizing or primer every few years to keep your wall preparation in top shape. This guarantees the product’s longevity and prevents peeling or bubbles in your wallpaper. Regular touch-ups act like watering and fertilizing, keeping your wall ready for a fresh, lasting finish. Stay proactive, and your walls will thank you with enduring beauty.
Are There Eco-Friendly Options for Wall Sizing and Priming Products?
Yes, you can choose eco-friendly options for wall sizing and priming products. Look for products made with eco-friendly ingredients and biodegradable solutions, which diminish environmental impact. These alternatives often contain fewer chemicals, making them safer for you and your home. Check labels carefully to verify the products are truly eco-conscious. Opting for these options helps protect the environment while ensuring your walls are properly prepared for wallpaper.
Conclusion
By paying close attention to wall preparation, you set the stage for flawless wallpaper. When your walls are properly sized and primed, it’s like giving your space a fresh canvas—ready to showcase your style. With a little patience and the right techniques, you might find yourself surprised how effortlessly beautiful your walls can look. Sometimes, all it takes is the right touch to turn a simple room into a stunning showcase of your personal style.