To use the paste-the-wall technique, start by preparing your walls—clean and smooth them for better adhesion. Apply wallpaper adhesive directly to the wall using a brush or roller, covering the entire surface evenly. Carefully position the wallpaper, smoothing out bubbles and wrinkles as you go. Use a brush or a smoother to press the wallpaper firmly, ensuring good adhesion and fewer seams. For more detailed steps and tips, continue exploring the process.
Key Takeaways
- Clean and patch the wall surface for a smooth, even base before applying paint.
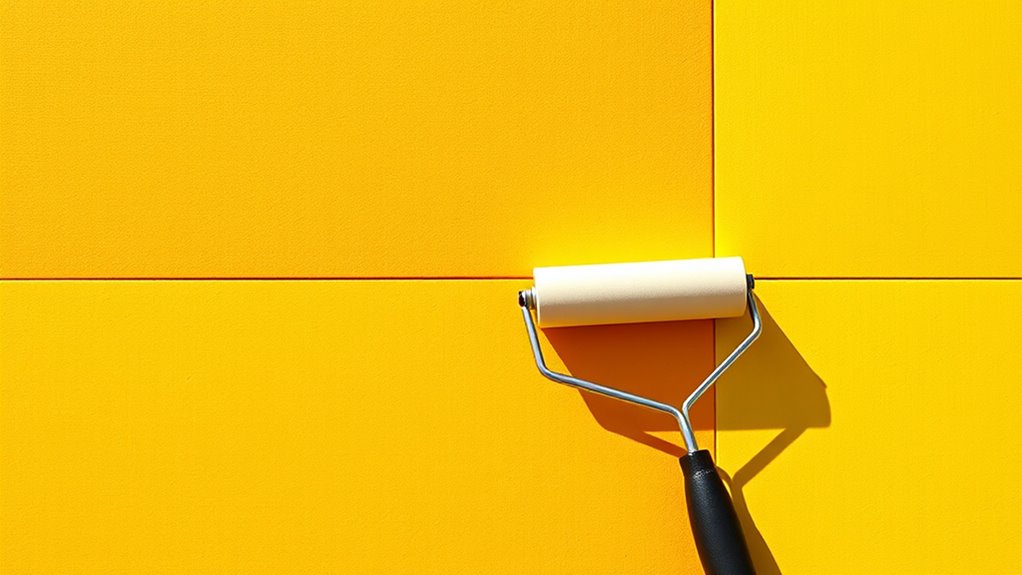
- Load the roller adequately, avoiding overloads to prevent drips and ensure even coverage.
- Apply a thick, textured coat directly onto the wall in sections, maintaining a wet edge.
- Use firm, smooth strokes with continuous passes for uniform application and better adhesion.
- Wait briefly after painting before smoothing or touch-ups to prevent streaks and ensure consistency.
Have you ever struggled to achieve a smooth, professional paint job on large walls? If so, the paste-the-wall technique can be a game-changer for you. This method simplifies the painting process and delivers cleaner, more uniform results. It’s especially useful when working on big surfaces or when you want to minimize visible brush or roller marks. To master this technique, you need a solid plan, which starts with a good content strategy—think of it as your blueprint for executing each step effectively. Just like in lead generation, where a clear strategy guides successful outreach, a well-structured approach to painting ensures you don’t miss any critical details.
First, prepare your wall by cleaning and patching any holes or imperfections. A smooth surface will help the paste adhere better, leading to a cleaner finish. Next, choose high-quality paint and primer, if necessary. The paste-the-wall technique relies on applying a generous, even coat of paint directly onto the wall, so your materials matter. When you’re ready to start, pour the paint into a roller tray and load your roller with enough paint—avoid overloads that can drip or cause uneven coverage.
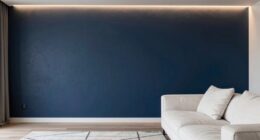
Prepare your wall thoroughly and choose quality materials for a flawless finish.
Now, here’s where the technique really kicks in. Instead of rolling the paint on in multiple layers, you’ll apply a thick, even coat in a single, continuous pass. Use a high-quality roller with a thick nap to ensure even coverage over the entire surface. Work in sections, and aim to maintain a wet edge to prevent lap marks. As you roll, press firmly but smoothly, letting the roller glide across the wall. This creates a textured layer of paint that adheres well and reduces the need for multiple coats. Additionally, using an airless paint sprayer can enhance efficiency and provide an even, professional finish, especially on large surfaces.
Once you’ve applied the paint, don’t immediately start smoothing it out with a brush. Instead, give it a few minutes to settle before going back with a clean roller or brush for any touch-ups. This step ensures a uniform finish and minimizes streaks. As you progress, keep your workspace organized and your tools clean, which will help you maintain consistency across the entire wall. Just like a good content strategy, the key is consistency and attention to detail.

ROMAN Heavy Duty Clear Wallpaper Adhesive, Non-staining, Clear, PRO-838, (1 Gallon – 280 sq. ft.)
VERSATILE – Ideal for installing medium-weight to heavyweight wallpaper, such as vinyl and non-woven
As an affiliate, we earn on qualifying purchases.
As an affiliate, we earn on qualifying purchases.
Frequently Asked Questions
Can the Paste-The-Wall Technique Be Used on Textured Walls?
Yes, you can use the paste-the-wall technique on textured walls. First, you need proper wall preparation to guarantee a smooth surface or to handle texture. When applying adhesive, you should use a roller or brush to create an even coat directly on the wall. This method allows the wallpaper to adhere firmly, even on textured surfaces, making the process efficient and the result long-lasting.
What Types of Wallpaper Are Suitable for This Method?
Think of choosing wallpaper for the paste-the-wall technique as selecting a sturdy ship for a voyage. Vinyl wallpapers and fabric wallpapers are your best companions, offering durability and ease of application. Vinyl stands firm against moisture, while fabric adds texture and warmth. Both cling well with the paste-the-wall method, making your installation smooth sailing. With these materials, you’re set to transform your space seamlessly and confidently.
How Long Does the Adhesive Typically Take to Set?
The adhesive typically takes about 15 to 20 minutes to set before you can smoothly position the wallpaper. During this drying time, the curing process begins, ensuring a strong bond. You should avoid handling or applying pressure during this period to prevent bubbles or misalignment. Keep the wallpaper in a well-ventilated area and follow the manufacturer’s instructions for ideal drying time and curing, ensuring a durable, professional finish.
Is This Technique Safe for All Wall Finishes?
Like a knight in shining armor, you want to ensure safety. The paste-the-wall technique isn’t suitable for all wall finishes. You need to check wall compatibility and surface preparation first. Some paints, wallpapers, or textured surfaces may not hold well or could get damaged. Always test a small area, and if unsure, consult manufacturer guidelines. Proper preparation helps protect your walls and guarantees a smooth, lasting application.
Can I Reposition Wallpaper After Applying Using This Method?
Yes, you can usually reposition wallpaper after applying it with this method, but your options depend on your wall preparation and the wallpaper type. To make repositioning easier, work quickly and gently lift the wallpaper to adjust it. Keep in mind that proper wall preparation ensures better adhesion and makes any repositioning smoother. Always check the manufacturer’s instructions for specific guidance on repositioning to avoid damage.

Pro Grade – Paint Roller Covers – 1/2 X 9 Inch Microfiber 5 Pack
Our no-shed microfiber roller covers ensure a perfect paint or stain finish for stunning results.
As an affiliate, we earn on qualifying purchases.
As an affiliate, we earn on qualifying purchases.
Conclusion
Now that you’ve mastered the paste-the-wall technique, you’re ready to transform your space effortlessly. With the precision of your tools and the smooth finish you’ll achieve, interior decorating becomes less intimidating. It’s a simple process—quick and clean—yet it offers a polished, professional look. So, embrace the contrast: mess and mastery, patience and speed. Your walls will thank you, and your confidence will grow. Now, go ahead and create a stunning, flawless finish with ease.

VEVOR 750W Stand Airless Paint Sprayer, 3000PSI High Efficiency Electric Airless Sprayer, Fine and Even Painting Effect, Handheld Paint Sprayers for Home Interior and Exterior Furniture and Fences
Efficient Painting: Our stand airless paint sprayer is equipped with a powerful 750W motor, capable of delivering up…
As an affiliate, we earn on qualifying purchases.
As an affiliate, we earn on qualifying purchases.

Rust-Oleum Zinsser 98012 12-Inch Smoothing Brush
12", smoothing Brush, great for smoothing wallcovering, as well as for faux finishing
As an affiliate, we earn on qualifying purchases.
As an affiliate, we earn on qualifying purchases.