
To make a plaster patch repair featherlessly invisible, start by applying the patch smoothly and evenly, then feather the edges outward with a damp sponge or wide putty knife. Gradually taper the thickness, blending the new patch into the existing wall. Use light pressure and consistent strokes to prevent ridges or harsh lines. Carefully sand and smooth the area before priming and painting for a seamless finish. Keep practicing these steps to master an invisible repair.
Key Takeaways
- Feather the edges of the plaster patch with a damp sponge or wide putty knife for a seamless blend with the wall.
- Use fine-grit sandpaper to smooth the transition zone and eliminate ridges after the patch dries.
- Match paint sheen and color precisely, and feather paint edges during application for a nearly invisible repair.
- Ensure thorough surface cleaning and roughening before applying the patch to promote better adhesion and blending.
- Patience and careful technique during sanding and painting are essential for achieving an invisible feathered repair.
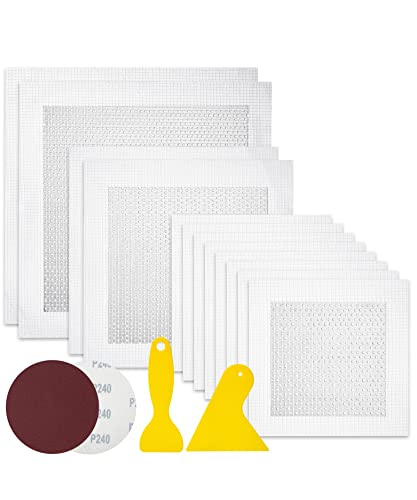
Bates Choice – Drywall Repair Kit, 16pcs, Dry Wall Patch Kits, Wall Repair Patch Kit, Wall Patch Repair Kit, Drywall Hole Patch, Drywall Patch Kit, Wall Hole Repair Kit, Drywall Patch Hole
Package includes 12 pieces of drywall repair patch in three different sizes (8 pieces of 4-inch, 2 pieces…
As an affiliate, we earn on qualifying purchases.
As an affiliate, we earn on qualifying purchases.
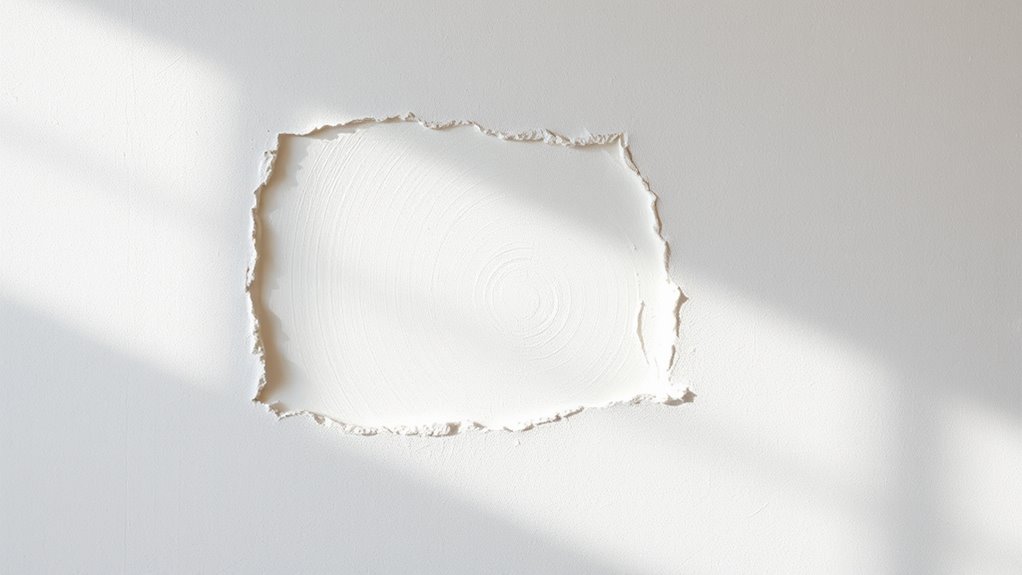
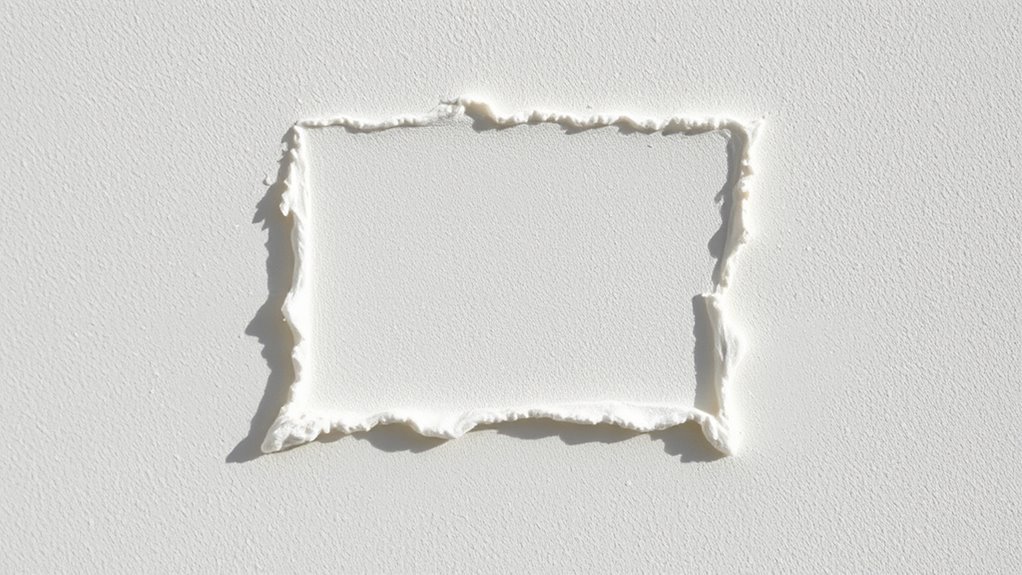
Assessing the Damage and Preparing Your Workspace
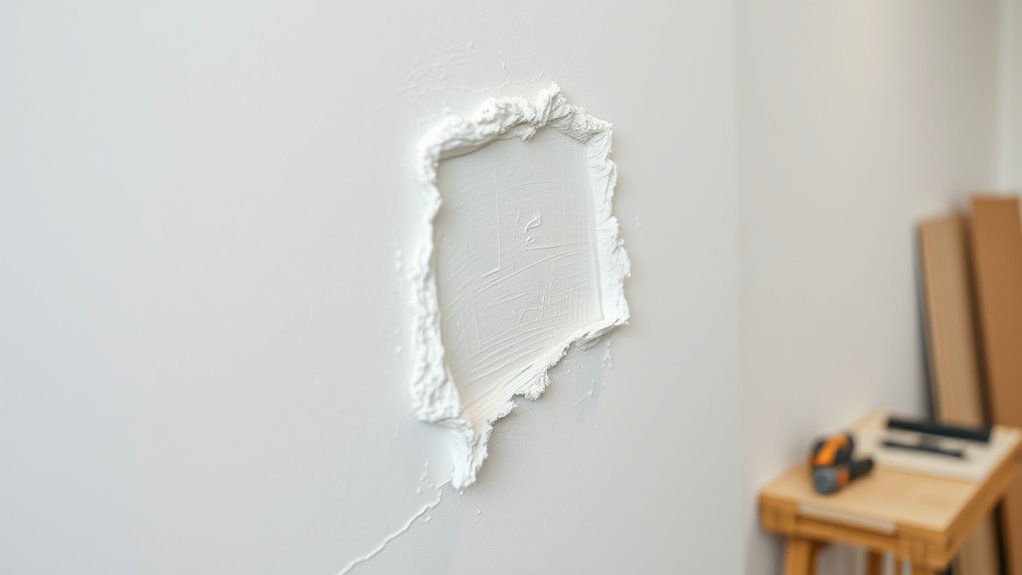
Before you begin repairing your plaster, it’s essential to carefully assess the damage so you can determine the best approach. Conduct a thorough damage assessment by inspecting the affected area for cracks, holes, or loose plaster. Identify the extent of the damage to decide whether a simple patch or a more extensive repair is needed. Once you’ve evaluated the damage, prepare your workspace to ensure a smooth repair process. Clear the area of furniture and cover nearby surfaces with drop cloths to protect them from dust and debris. Make sure you have all necessary tools and materials within reach, and ventilate the space if needed. Proper damage assessment and workspace preparation set the foundation for a seamless plaster repair. Incorporating mindful techniques like sound healing can help you stay relaxed and focused during your repair project. Additionally, ensuring proper shower fixtures can make your bathroom renovation more efficient once repairs are complete. Recognizing the importance of attention in your creative practice can help you stay dedicated and methodical throughout the repair process. Moreover, leveraging smart bathroom technologies can streamline post-repair updates, making your bathroom both functional and modern.

4 Pack Hand Sanding Sponge Set -120 220 320 400 Grit- Coarse Medium Fine Grit Sanding Block, Sander Sponges for Wood-Working Drywall Metal, Washable and Reusable Sponge for Rust Removal Polishing
Assorted Grit Sanding Blocks – This set includes 4 sponge sanding blocks (4 x 2.6 x 0.7 inches)…
As an affiliate, we earn on qualifying purchases.
As an affiliate, we earn on qualifying purchases.
Cleaning and Prepping the Damaged Area
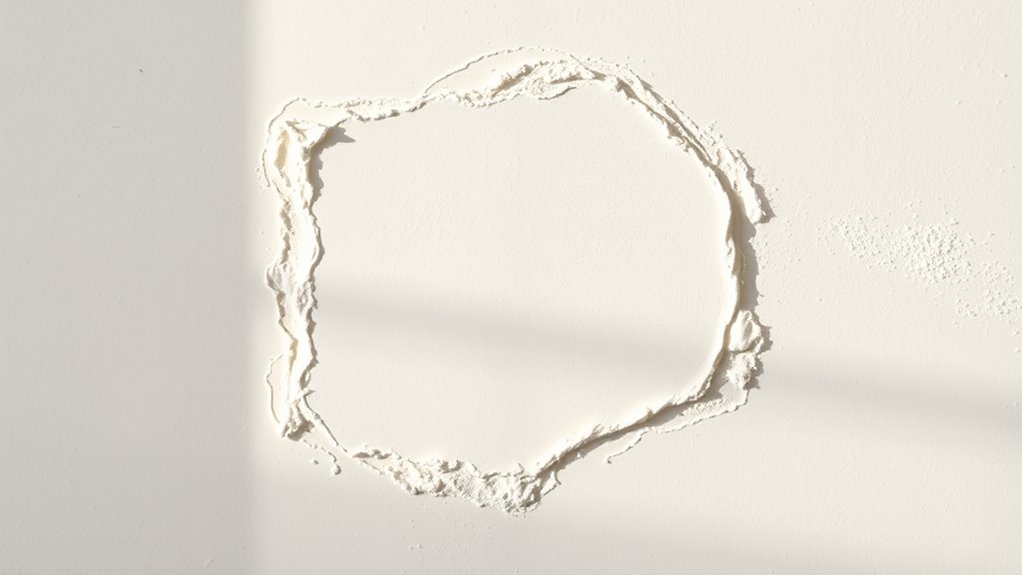
Before applying the patch, you need to clean the damaged area thoroughly. Use appropriate surface cleaning techniques to remove dust, grease, and loose debris. Proper surface preparation tips guarantee the patch bonds well and lasts longer. Additionally, ensuring the area is free of bacteria and germs can prevent future mold or deterioration. Incorporating surface adhesion techniques can further enhance the longevity of the repair. Furthermore, verifying that the surface is free of contaminants aligns with AI’s impact on privacy and regulation by ensuring safer, more reliable repairs.
Surface Cleaning Techniques
To guarantee a successful plaster patch, you need to start by thoroughly cleaning and prepping the damaged area. Begin by removing dust and debris with a damp cloth or vacuum to ensure a clean surface. Dust removal is essential because dust can prevent the patch from adhering properly. Next, inspect for stains or discoloration and eliminate them using a gentle cleaner or stain remover suitable for plaster surfaces. Eliminating stains helps create an even, smooth base for the repair. Use a soft brush or cloth to scrub the area gently, avoiding damage to surrounding paint or plaster. Once the surface is free of dust and stains, it’s ready for further surface preparation. Proper surface cleaning techniques and cleaning at this stage guarantees the patch bonds effectively and blends seamlessly with the existing wall. Additionally, paying attention to cleaning tools and solutions can improve overall results. Incorporating the use of appropriate cleaning agents ensures the removal of residues that might interfere with adhesion and finish quality. For optimal results, consider surface conditioning methods that enhance adhesion and durability of the repair.
Surface Preparation Tips
How can you guarantee the damaged area is properly prepared for a plaster patch? First, clean the surface thoroughly to remove dust and grease, assure good adhesion. Next, roughen the area slightly to match the wall texture, which helps blend the repair seamlessly. Sand the edges smooth for a feathered transition, and ascertain you match the paint color for a uniform finish. Use the following visual guide:
| Wall Texture | Paint Color Matching | Surface Roughness |
|---|---|---|
| Smooth | Precise shade match | Slightly roughened |
| Textured | Blended with existing | Slightly roughened |
| Stucco | Color and texture match | Sanded edges |
| Flat finish | Color consistency | Feathered edges |
This prep guarantees your patch will blend invisibly with the surrounding wall. Recognizing the significance of angel numbers in understanding spiritual guidance can help you approach repair projects with patience and calmness, ensuring the best results. Additionally, understanding surface preparation techniques can significantly improve the durability of your repair, especially when considering the role of adhesion in achieving a seamless finish. Proper surface prep is essential for long-lasting repairs that withstand environmental factors over time.

GACDR Paint Brush Comb Set – 4PCS Professional Grainer Brushes for Acrylic Painting, Oil & Watercolor – Texture Brushes for Artists & Beginners, Short Handle
【Professional Paint Brush Comb Set for Artists】 The GACDR Comb Brush set includes 4 premium comb-tip brushes in…
As an affiliate, we earn on qualifying purchases.
As an affiliate, we earn on qualifying purchases.
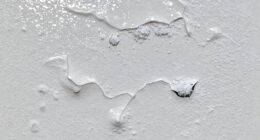
Applying the Plaster Patch Correctly
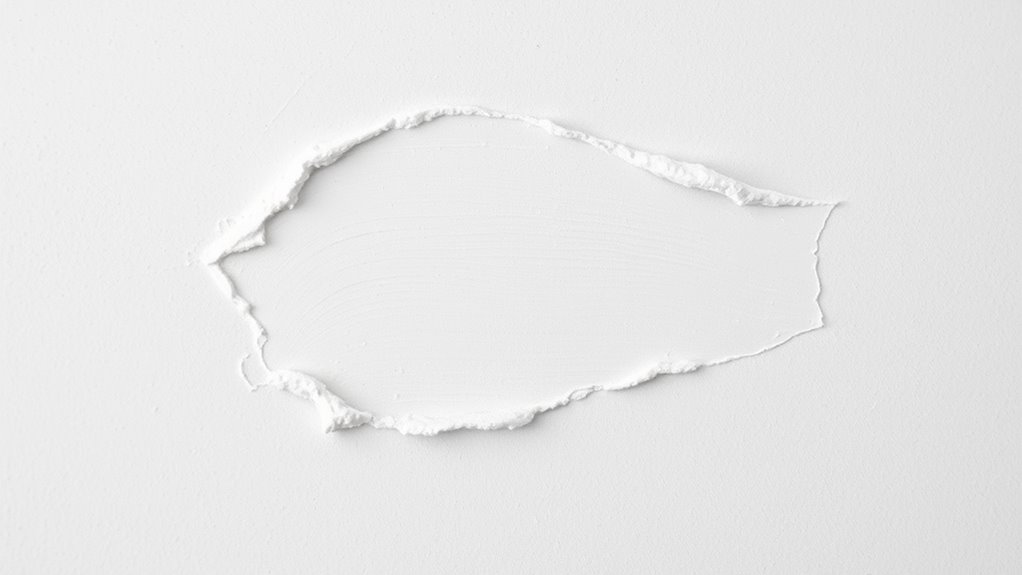
Applying the plaster patch correctly is essential for a seamless repair that lasts. Start by mixing plaster thoroughly, following the manufacturer’s instructions, to achieve a smooth, workable consistency. Proper mixing guarantees the patch bonds well and reduces cracking. Next, choose the right tools—like a putty knife or trowel—that suit the size of the repair. Use these tools to spread the plaster evenly over the prepared area, pressing it into the surface to eliminate air pockets. Apply in thin, even layers, working from the center outward. Be mindful to avoid overfilling or creating uneven surfaces. Taking your time during application helps ensure a smooth, flush finish, setting the foundation for a flawless, invisible repair. Using appropriate application techniques can further improve the durability and appearance of your repair.

Putty Knife, 4Pcs Spackle Knife Set (2, 3, 4, 5 in), Stainless Steel Paint Scraper, Taping Knife Tool for Repairing Drywall, Removing Wallpaper, Applying Putty, Plaster, Cement, Adhesive
Sturdy Design: The blade and handle in our drywall knife are processed in one piece, which is very…
As an affiliate, we earn on qualifying purchases.
As an affiliate, we earn on qualifying purchases.
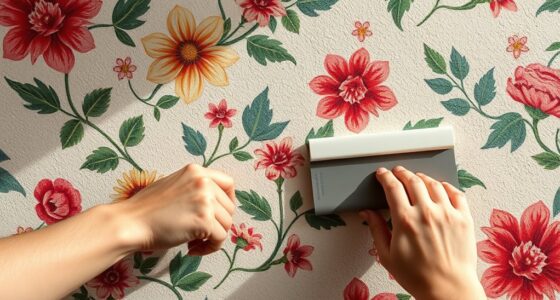
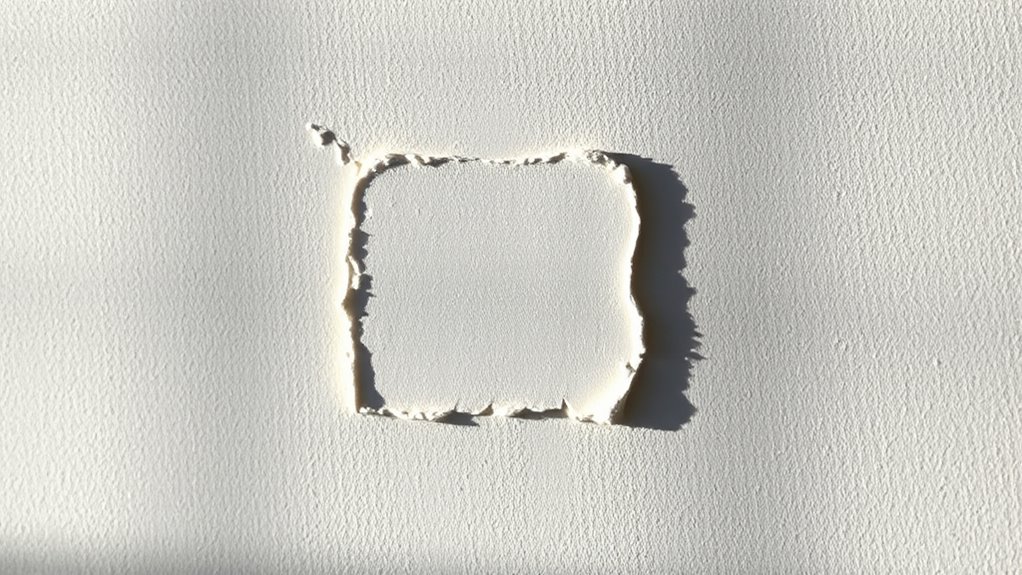
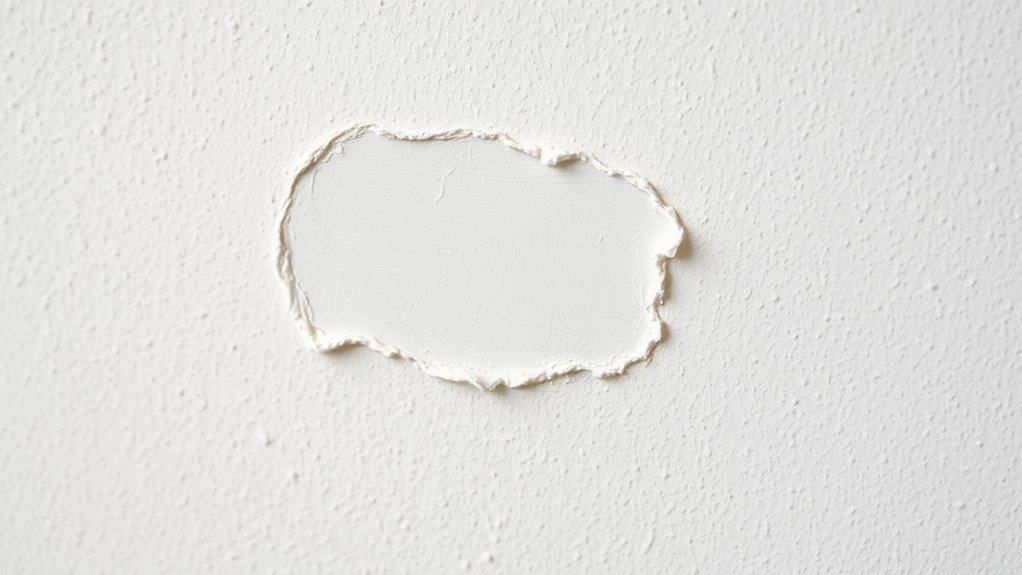
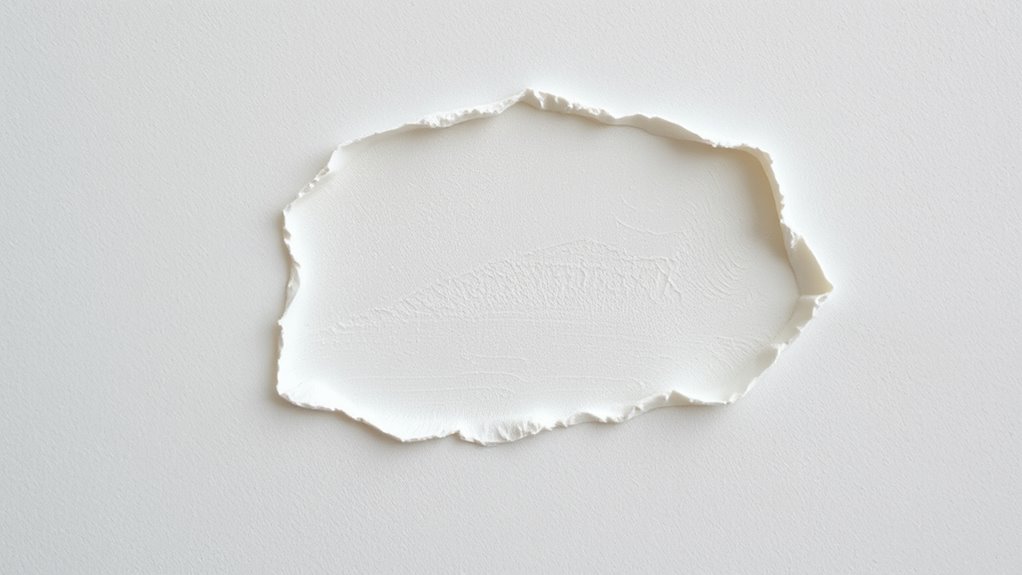
Feathering the Edges for Seamless Blending

Once you’ve spread the plaster smoothly over the repair area, the next step is to feather the edges. This process is vital for effective edge blending, ensuring the repair blends seamlessly into the surrounding wall. Use a damp sponge or a wide putty knife to gently taper the plaster outward, gradually thinning it as you reach the existing wall. Focus on creating a smooth transition zone, avoiding harsh lines or ridges. Proper feathering helps conceal the repair, making it less noticeable once painted. Be patient and precise, working carefully to achieve an even, gradual fade from the patch to the original surface. Consistent technique is essential for a flawless finish, especially when working with durable materials suited for wall repair. Practicing mindful decluttering during your repair projects can help maintain an organized workspace, reducing stress and improving overall results. Additionally, understanding the importance of edge blending can significantly enhance the seamless appearance of your repair. This technique is essential for finish concealment, providing a professional, invisible repair that looks flawless.
Sanding and Smoothing the Repaired Surface

After the plaster has dried completely, sanding and smoothing the repaired surface are essential steps to achieve a flawless finish. Begin with light, even strokes to remove any high spots or rough patches, ensuring a smooth surface that matches the surrounding texture. Focus on texture matching by carefully blending the repair area with the existing wall. Use fine-grit sandpaper to avoid gouging the surface, and check your work frequently for consistency. Proper sanding lays the groundwork for effective primer selection, which will help the repair blend seamlessly once painted. Keep the area dust-free during sanding to prevent particles from settling into the surface. Remember, patience during this stage guarantees a smooth, invisible repair that looks professional and polished. Additionally, understanding surface preparation techniques can greatly improve the final appearance of your repair. Incorporating proper sanding methods can further enhance the seamless integration of the repair with the surrounding surface. Paying attention to finishing details ensures a truly invisible repair.
Priming the Repaired Area Before Painting
Priming the repaired area before painting is a crucial step to guarantee a smooth, seamless finish. Proper primer application ensures the surface is ready for paint, helping with paint blending and adhesion. Without priming, the patch may stand out or absorb paint unevenly. Use a quality primer suited for plaster and apply it evenly with a brush or roller. Wait for it to dry completely before proceeding. To keep you engaged, here’s a quick guide:
| Step | Tip | Result |
|---|---|---|
| 1 | Choose the right primer | Better paint adhesion |
| 2 | Apply thin coats | Avoid drips and unevenness |
| 3 | Feather the edges | Seamless blend with surrounding wall |
| 4 | Allow drying time | Ensures essential paint adhesion |
| 5 | Lightly sand if needed | Smooth surface for painting |
This approach guarantees your patch will blend flawlessly. Additionally, selecting a primer with air purifying properties can help improve indoor air quality during and after your painting project.
Painting to Match the Surrounding Wall
Painting to match the surrounding wall requires careful attention to color matching and application techniques. To achieve a seamless blend, start by selecting a paint that closely matches the existing wall color. Use a small test patch to compare the new paint against the wall in different lighting conditions. When applying, focus on paint blending—feather the edges of your patch to merge smoothly with the surrounding surface. Keep a damp cloth handy to gently soften any noticeable edges. Consider using a fine brush or roller for precise application, avoiding heavy coats that can create contrast. Regularly step back and assess your work from different angles to ensure uniformity. Proper color matching and careful blending are key to restoring an invisible repair.
Achieve seamless wall repairs by carefully matching paint color and blending edges for an invisible finish.
- Test paint in various lighting conditions
- Use a small, controlled application area
- Feather edges for smooth paint blending
- Continuously compare against the original wall
Tips for Ensuring a Flawless Finish
To achieve a seamless finish, focus on blending the edges of your patch carefully. Use proper sanding techniques to smooth out the surface without creating noticeable ridges. These steps will help your repair look natural and flawless.
Blending Edges Seamlessly
Achieving a seamless blend between your patched area and the surrounding wall is essential for a professional finish. Focus on edge blending by softening the crossover zone where the patch meets the existing wall. Use paint feathering techniques to gradually diffuse the paint outward, reducing visible lines. To enhance your results, consider these tips:
- Use a damp sponge or brush to feather the edges of the patch before painting
- Apply thin layers of paint, building gradually for better blending
- Keep a wet edge while painting to avoid lap marks
- Lightly sand any uneven surfaces after drying to smooth transitions
Proper Sanding Techniques
Proper sanding is essential for guaranteeing your repair blends seamlessly and looks flawless. Start by using a fine-grit sandpaper to smooth the drywall joint, removing any ridges or rough spots. Sand gently in a circular motion to avoid gouging the surface, paying close attention to feathered edges. It’s pivotal to match the paint sheen, so sand just enough to achieve a smooth transition between the patched area and the surrounding wall. Over-sanding can create an uneven surface that’s noticeable after painting, so take your time. Wipe away dust with a damp cloth before priming and painting. Proper sanding ensures your patch is invisible once finished, leaving a flawless, professional-looking surface.
Common Mistakes to Avoid During Feathering
One common mistake during feathering is applying too much pressure or overextending the patch, which can create uneven edges that are hard to blend seamlessly. Incorrect gradation often results in visible transitions and an unprofessional finish. To avoid this, keep your tool gentle and consistent. Be mindful not to lift too much material at once, as this can cause irregular edges. Also, rushing the process can lead to uneven edges that stand out once painted.
- Using excessive force that damages the surface
- Ignoring the importance of a gradual feathering transition
- Applying too much patch material at once
- Neglecting to blend edges thoroughly for a smooth finish
Frequently Asked Questions
How Long Should I Wait Before Painting After Feathering?
You should wait at least 24 hours after feathering before painting to make certain of proper drying time. This allows the patch to dry completely, which is essential for good paint adhesion. Rushing the process can cause peeling or cracking later. Check that the patched area feels dry to the touch and is fully cured. When in doubt, give it a little extra time to guarantee a smooth, long-lasting finish.
Can I Use a Different Type of Plaster for Repairs?
Think of your wall as a canvas, waiting for the perfect stroke. Yes, you can use alternative plasters for repairs, but choose your repair materials carefully. Different types of plaster, like lime or cement-based, offer unique benefits and compatibility. Confirm the alternative plaster matches your wall’s needs and drying times, so your repair blends seamlessly, creating a smooth, invisible finish that stands the test of time.
What Tools Are Best for Feathering the Edges?
You should use edging tools like a putty knife or a trowel to feather the edges, ensuring a smooth progression. For sanding, choose fine-grit sandpaper, such as 220 or higher, to gently blend the patch into the surrounding wall. Carefully shape and smooth the edges with your edging tools, then sand lightly to achieve an invisible finish. This combination helps create a seamless repair that’s virtually undetectable.
How Do I Fix Uneven Paint Coverage After Repair?
Fixing uneven paint coverage is like blending colors on a palette. Start by applying a thin, even coat of paint, using a brush or roller suited for your texture. Focus on blending the edges carefully to achieve seamless texture blending. If needed, do a second coat after the first dries, ensuring your color matching stays consistent. This approach helps your repair look uniform and natural, leaving no sign of the patch.
Is It Necessary to Prime the Patch if the Wall Is Already Painted?
Priming the patch isn’t always necessary if the wall is already painted, but it’s highly recommended for the best paint adhesion. If the patch has a different sheen or texture, priming helps create a uniform surface, preventing uneven coverage. If you skip priming, the new paint might not adhere properly, leading to visible differences. So, for seamless results, applying a primer guarantees your repair blends perfectly with the existing finish.
Conclusion
With patience and attention to detail, you can make your repair blend seamlessly like it never happened. Feathering the edges is your brushstroke for invisibility, turning a blemish into a smooth, flawless surface. Remember, a little prep and careful finishing go a long way—think of it as sculpting perfection from roughness. Soon, your wall will stand proud again, a tribute to your skill in turning repair work into a work of art.