Picture rail molding is a classic, stylish system that dates back to 19th-century Europe. It offers a practical way to hang artwork without damaging walls, all while adding historic charm and sophistication to your space. Made from materials like wood or modern plastics, it’s easy to install and adjustable for different decor styles. Want to discover how to choose the right hooks and arrange your art perfectly? Keep going to learn more.
Key Takeaways
- Picture rail molding is a classic wall-mounted system originating from 19th-century Europe, designed to hang artwork without wall damage.
- Made from wood, MDF, or plastics, traditional and modern styles offer easy installation and adjustable hooks.
- Install at 54-60 inches high, ensuring level and stable placement for optimal artwork display.
- Use compatible hooks, rings, or cables to securely hang and easily adjust artwork along the rail.
- It creates a clean, organized, and timeless aesthetic while protecting walls and simplifying art updates.

LYTARA Dimmable Cordless Picture Light with Controller and Timer, Rechargeable 5000mAh Battery Wall Sconce for Wall Pictures, Gallery Artwork, Paintings, Portraits, Dartboards (Gold)
LYTARA Dimmable Cordless Picture Light: Illuminate your wall pictures, gallery artwork, paintings, portraits, and dartboards with our elegant...
As an affiliate, we earn on qualifying purchases.
The History and Origins of Picture Rail Molding

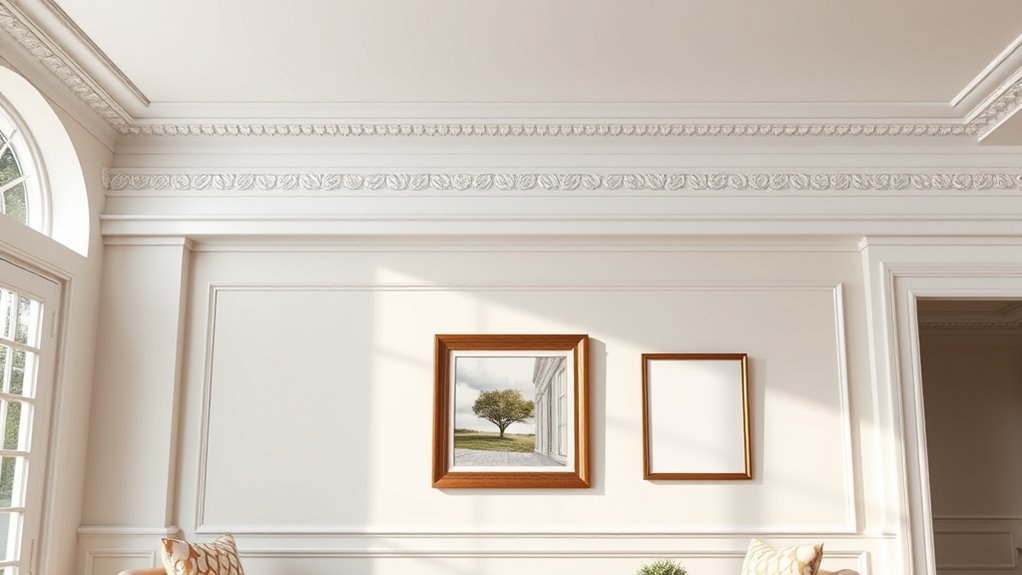
Picture rail molding has a long history that dates back to 19th-century Europe, where it first gained popularity in grand homes and public buildings. Its historical significance lies in its functional role of protecting walls from picture damage while also serving as a decorative element. Over time, the decorative evolution of picture rail molding reflected changing interior design trends, moving from simple, utilitarian strips to ornate, detailed profiles. Originally used to hang artwork without damaging walls, it became a symbol of refined taste and craftsmanship. As its popularity grew, so did the variety of styles and embellishments, making it a versatile feature in both historic and modern interiors. Additionally, understanding the psychological impact of interior design elements like molding can enhance the overall ambiance of a space. The continued adaptation of picture rail molding demonstrates its enduring relevance in interior design and architectural history, showcasing how traditional features can be integrated into contemporary aesthetics. Its ability to blend historical significance with modern style ensures its place in evolving interior design trends. Interestingly, the use of picture rail molding also reflects broader cultural influences that shape interior aesthetics over time.
EZVALO Picture Light for Wall, 4800mAh Rechargeable Wireless Remote Battery Lights for Painting, 16In Dimmable Magnetic LED Art Display Light, Colors Temperatures, for Gallery, Living Room,Hallway
USB Rechargeable & Easy Charge: Our picture light with with built-in 4800mAh large-capacity battery and comes with a...
As an affiliate, we earn on qualifying purchases.
Materials and Styles of Modern Picture Rail Systems
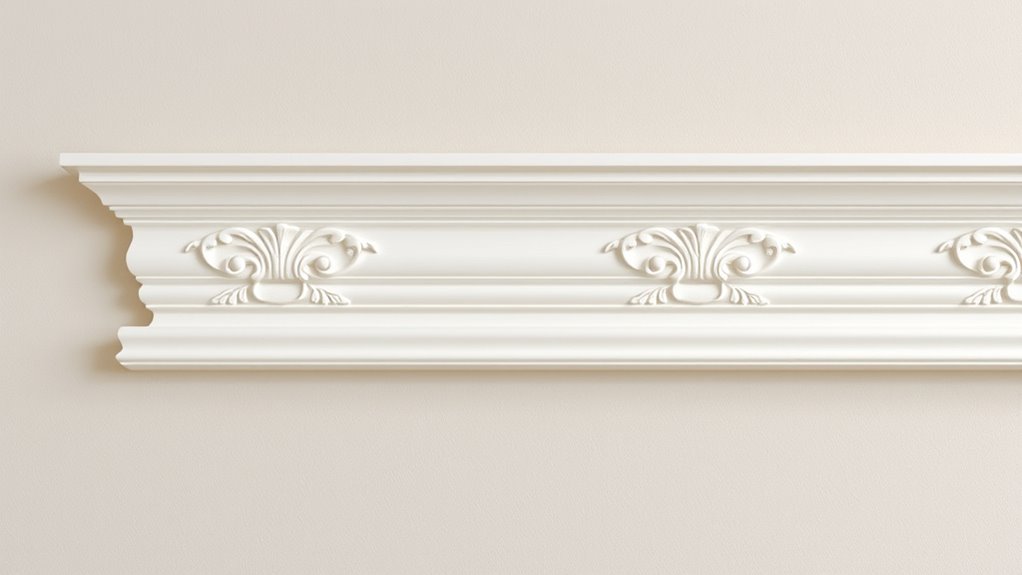
Modern picture rail systems come in a variety of materials and styles that cater to contemporary tastes while honoring their historic origins. You’ll find options made from wood, MDF, or even lightweight plastics, offering durability and easy installation. The modern materials often feature smooth finishes, clean lines, and minimalistic profiles, aligning with current interior design trends. Style variations range from traditional, ornate moldings to sleek, modern strips that blend seamlessly with any decor. Some systems incorporate decorative accents or subtle textures to add visual interest without overpowering your space. Additionally, many modern picture rails are designed with easy installation features to simplify mounting and adjustments. These systems can also incorporate adjustable hooks, making it easier to change artwork over time. Whether you prefer a classic look or a more modern aesthetic, these materials and styles give you flexibility to choose a picture rail that complements your home’s design while maintaining its functional charm.

Tassuowell Wireless Picture Lights for Wall Rechargeable, Battery Operated Art Light for Paintings, 3CCT Dimmable, 15.7" Brass Finish with Remote, Rotatable Gallery Light for Pictures Display
[Powerful Rechargeable Battery] This 15.75 inch wireless LED picture light has a built-in 5000mAh rechargeable battery and comes...
As an affiliate, we earn on qualifying purchases.
Installing Picture Rail Molding: Step-by-Step Guide

To install your picture rail molding, start by gathering all the necessary tools like a saw, level, and measuring tape. Next, carefully measure and mark where the molding will go on your wall to ensure a straight and even placement. Additionally, paying attention to proper measurement techniques can help achieve a more precise installation. Finally, follow the marks to install the molding securely, making adjustments as needed for a polished look.
Gather Necessary Tools
Before you start installing picture rail molding, it’s essential to gather all the necessary tools to guarantee the process goes smoothly. A thorough tools checklist helps ensure you’re prepared and minimizes interruptions. Be sure to follow safety precautions, like wearing safety glasses and gloves, especially when handling power tools. Here’s a quick overview:
| Tools Needed | Purpose |
|---|---|
| Measuring tape | Accurate measurements |
| Level | Ensures straight installation |
| Miter saw or miter box | Cuts molding at precise angles |
| Drill and bits | Secures molding to the wall |
Having these tools on hand streamlines your project, reduces frustration, and keeps safety front and center. Proper tool safety is essential to prevent accidents and ensure your project’s success. Additionally, understanding the optimal angles for pinball machines can help you arrange your space more effectively if you’re also setting up a game room. Being familiar with vetted techniques for measuring and cutting will contribute to a more professional finish.
Measure and Mark Wall
Once you’ve gathered your tools, the next step is to accurately measure and mark the wall where the picture rail will go. Start by deciding on the height of your rail, typically 54 to 60 inches from the floor. Use a measuring tape to determine this height across the wall, making sure it’s level. Mark this measurement with a pencil at several points along the wall. To guarantee accuracy, employ a marking technique such as a straightedge or a laser level to connect these points, creating a consistent line. Double-check your measurements before making any final marks. Precise wall measurement and careful marking are essential to ensure the molding sits evenly and looks professional once installed. Additionally, understanding wall surface preparation can help ensure your molding adheres properly and maintains its appearance over time. Being aware of family photoshoot fails can remind you to avoid distractions or misalignments that could compromise the visual appeal of your hanging system. Properly preparing the wall surface, checking for surface levelness, and using a level will further contribute to a seamless and aesthetically pleasing installation.
Install the Molding
Begin by positioning the molding along the marked line on the wall, making certain it aligns perfectly with your measurements. Use a level to keep it straight and secure it with nails or adhesive designed for wall compatibility. Proper installation is vital for artwork preservation, preventing damage from uneven weight distribution. As you attach the molding, check frequently to maintain alignment and avoid gaps. If your wall surface is textured or uneven, select compatible fasteners or adhesives to guarantee a smooth, secure fit. Once installed, inspect the molding for stability before hanging any artwork. A well-installed picture rail not only enhances your space’s aesthetic but also provides a reliable hanging system that minimizes wall damage and keeps your artwork preserved over time.

Glendan LED Picture Light: Adjustable Aperture with Zoomable Projection — 2700–6500K High CRI Flicker-Free Smart Control — Perfect Art Light for Artwork in Museums and Galleries
Vivid Viewing Experience: This led picture light integrates anti-glare optics, high CRI 95+, and ultra-clear projection. Visitors enjoy...
As an affiliate, we earn on qualifying purchases.
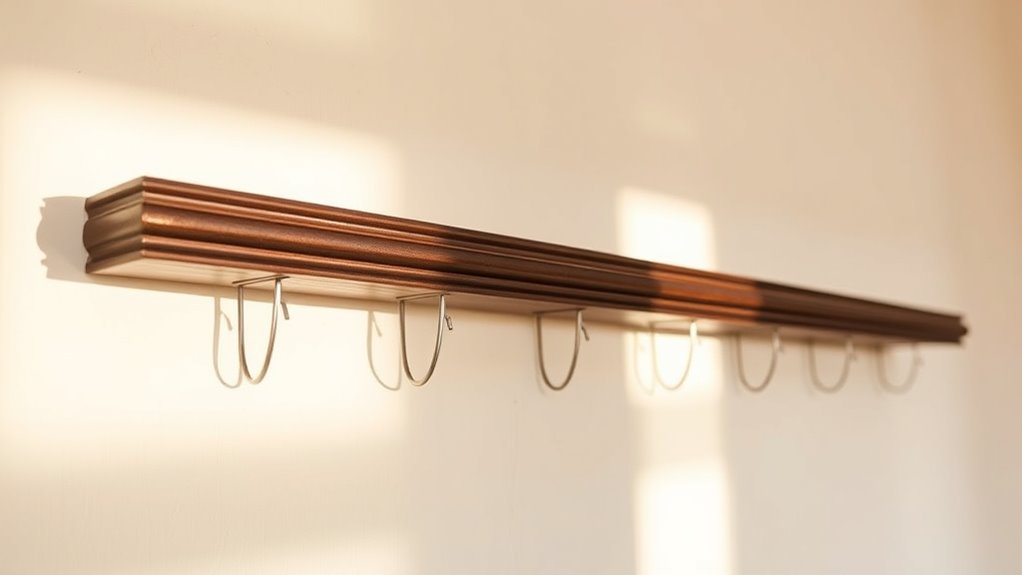
Choosing the Right Hooks and Hanging Accessories
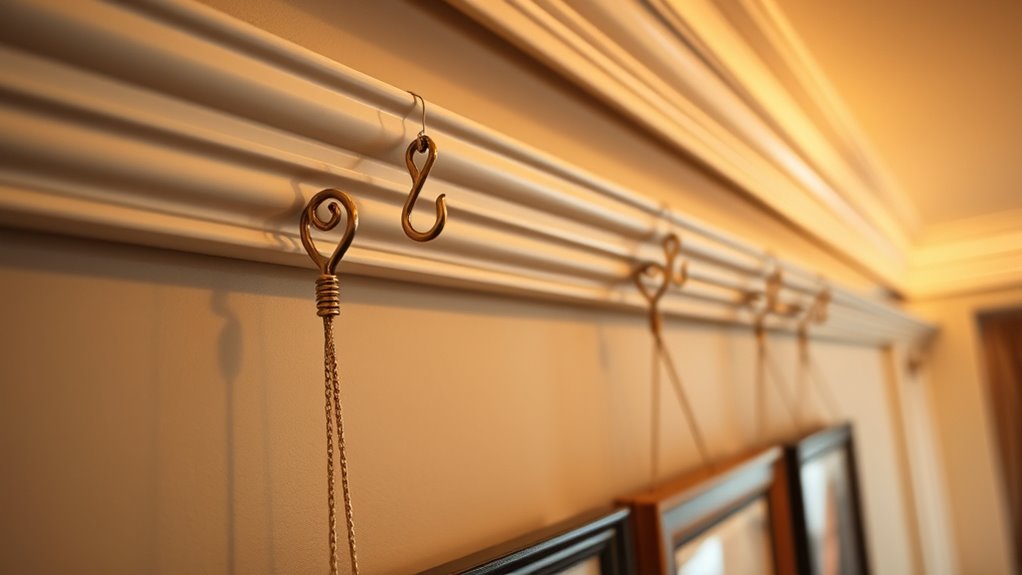
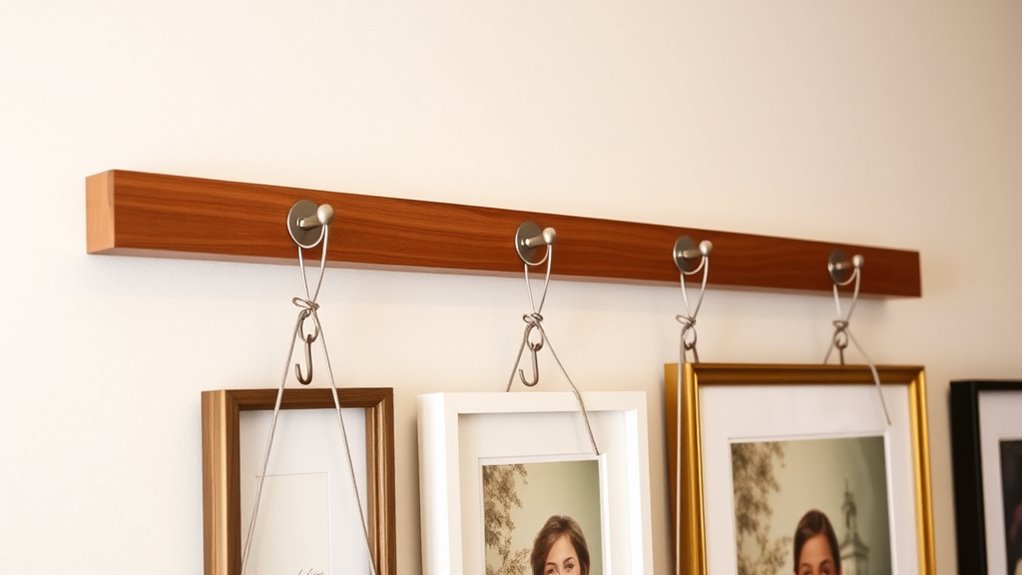
Choosing the right hooks and hanging accessories is essential for ensuring your picture rail molding displays artwork securely and neatly. Your hook selection should match the weight and size of your artwork to prevent slips or damage. For heavier pieces, opt for sturdy metal hooks with strong hooks or cable systems. Lighter items can hang on simple hooks or clips. Be mindful of the material of your picture rail; metal rails pair well with metal hooks, while wooden rails might work better with wooden or plastic accessories. Additionally, consider the type of hanging accessories, like hooks, rings, or cables, that best suit your display style. Properly selected hooks and accessories will keep your artwork secure, organized, and easy to adjust whenever you want to change your display. Choosing appropriate hardware is also important for maintaining the integrity of the molding over time.
Tips for Arranging Artwork Along a Picture Rail
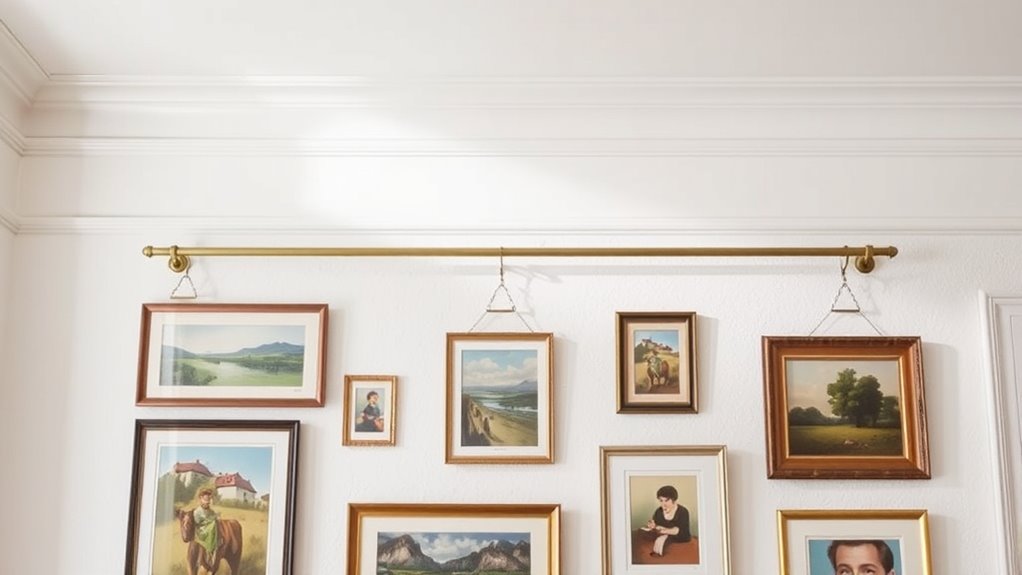
To create a balanced and appealing display, start by placing your artwork at eye level for easy viewing. Mix different frame heights to add visual interest, but keep the overall arrangement harmonious. Pay attention to spacing and alignment to guarantee your artwork feels cohesive and well-balanced along the rail. Additionally, core personality traits should be considered if you want to tailor your display approach to your personal style or the ambiance you wish to create. Incorporating your design preferences can help ensure the hanging system complements your space effectively. Using suitable accessories like hooks and guides can also streamline the process and enhance your display’s overall look.
Eye-Level Placement Tips
Placing artwork at eye level along a picture rail creates a balanced and inviting display. Aim for the center of your art to be approximately 57 to 60 inches from the floor, aligning with average eye height. This ensures the pieces feel natural and accessible. When planning your art placement, consider gallery lighting to highlight each piece effectively; well-placed lighting enhances colors and details, making your display more vibrant. Keep a consistent distance between artworks and the rail to maintain a cohesive look. Use adjustable hooks or cords to fine-tune the height easily. Remember, eye-level placement draws viewers in and makes your art more engaging. Proper art placement combined with thoughtful lighting transforms your space into a curated, gallery-like environment. Additionally, space optimization can help you arrange your artwork more effectively by creating a harmonious and clutter-free display. Incorporating visual balance techniques can further enhance the overall aesthetic, ensuring your artwork complements your interior decor seamlessly.
Varying Frame Heights
Varying the heights of your frames along a picture rail adds visual interest and prevents your display from feeling too uniform or static. By adjusting the frame height, you create a dynamic, engaging arrangement. Consider these tips for better artwork positioning:
- Mix different frame heights to add depth and movement.
- Place larger or taller frames at varying levels to draw the eye.
- Balance high and low artwork to maintain overall harmony.
- Use consistent spacing to keep the display cohesive despite height differences.
- Incorporate visual balance by carefully arranging the frames to achieve an appealing composition. Additionally, paying attention to design principles can help enhance the overall aesthetic of your gallery. Embracing AI-driven insights can assist in planning your layout to achieve optimal visual flow.
This approach emphasizes the visual flow and keeps viewers engaged. Varying frame height helps you craft a lively, personalized gallery that showcases your style while maintaining a balanced, professional look.
Creating Visual Balance
Balancing your artwork along a picture rail guarantees your display feels harmonious and visually appealing. To achieve this, consider the placement of decorative accents and artwork, ensuring they complement each other. Group similar pieces together for a cohesive look, and vary the sizes to create visual interest. Maintain spatial harmony by leaving enough space between pieces so they don’t feel cluttered. Think about the overall flow—aligning edges or centers can help create a balanced rhythm. If you add decorative accents, use them to enhance the arrangement without overpowering the artwork. Remember, the goal is to create a unified display that draws the eye naturally, making your space feel thoughtfully curated and aesthetically pleasing.
Benefits of Using Picture Rail Molding in Interior Design
Have you considered how picture rail molding can enhance your interior design? It offers several benefits that elevate your space. First, it serves as a stylish way to display decorative accents without damaging walls, keeping your decor fresh. Second, it promotes space optimization by allowing you to change artwork easily without rearranging furniture or wall fixtures. Third, it creates a clean, organized look, reducing clutter and visual chaos. Fourth, it adds architectural charm, giving your room a timeless, sophisticated feel. By using picture rail molding, you can effortlessly update your decor, showcase your favorite pieces, and maintain a cohesive style—all while protecting your walls and making the most of your space.
Maintaining and Updating Your Picture Rail Display
To keep your picture rail display looking its best, regular maintenance is essential. Start by inspecting the rail and hooks for any signs of wear or damage, ensuring your artwork stays secure. Adjust gallery lighting to highlight new pieces and prevent light damage, which is vital for artwork preservation. Clean the molding and hooks gently to remove dust and dirt, maintaining a polished look. When updating your display, consider changing the arrangement or adding new artworks to refresh the space. Use appropriate hooks and cords to avoid damaging the wall or artwork. Regularly checking the stability of your display helps prevent accidents. By staying attentive, you guarantee your picture rail remains functional, visually appealing, and conducive to preserving your artwork over time.
Frequently Asked Questions
Can Picture Rails Support Heavy Artwork or Mirrors?
Yes, picture rails can support heavy artwork or mirrors, but it depends on their weight capacity and material strength. You should check the specific rail’s weight limit to guarantee it can handle your items. Using sturdy materials like solid wood or reinforced molding increases support. Properly anchoring the rail into wall studs and using strong hooks helps distribute weight evenly, preventing damage and ensuring your heavy pieces stay securely hung.
Are There Any Safety Concerns With Hanging Items on Picture Rails?
Yes, there are safety concerns when hanging items on picture rails. You should always check the weight limits specified by the manufacturer to prevent overloading. Proper installation safety is vital; make sure the rail is securely mounted into wall studs or strong anchors. Regularly inspect hooks and hanging hardware for wear or damage, and avoid hanging extremely heavy artwork or mirrors that could cause accidents or damage.
How Do I Remove or Replace Hooks Without Damaging the Molding?
Think of hook removal as gently unwinding a delicate tapestry; you want to preserve the fabric’s integrity. To remove hooks without damaging the molding, carefully slide a flat tool or putty knife under the hook to lift it free. For molding replacement, take your time to avoid scratches, and consider using painter’s tape to protect the surface. Patience guarantees your picture rail stays pristine and ready for new hooks.
Can Picture Rails Be Used in Outdoor or Humid Environments?
Yes, picture rails can be used outdoors or in humid environments if you choose weather-resistant materials like treated wood, PVC, or metal. These options offer better material durability and resist moisture, preventing warping or damage. Guarantee proper installation, and consider applying protective coatings to enhance weather resistance. This way, your picture rail remains functional and attractive, even in challenging outdoor or humid conditions.
What Are the Best Maintenance Practices to Preserve the Molding’s Appearance?
Like tending a treasured garden, you should regularly dust your picture rail molding with a soft cloth to prevent dirt buildup. Use gentle cleaning techniques with mild soap and water to preserve its finish, avoiding harsh chemicals. Keep an eye out for paint touch-ups, and promptly address any chips or scratches with matching paint. Regular maintenance guarantees your molding remains elegant and timeless, much like a well-kept masterpiece.
Conclusion
With picture rail molding, you hold the key to a timeless gallery that dances along your walls. It weaves history and style into a seamless rhythm, making your artwork feel alive and effortlessly elegant. As you update and rearrange, remember you’re orchestrating a visual symphony—each piece a note in your home’s harmonious story. Embrace this classic system, and let your walls tell their enthralling tale with grace and ease.