
To hide grasscloth seams naturally, focus on careful installation by aligning panels precisely using a level, and take your time to make certain fibers flow smoothly across seams. If seams are visible, gently re-align or apply a thin layer of transparent adhesive to secure the panels. Lightly feather edges with a craft knife or soft sanding for a seamless look. With patience and attention to detail, you’ll achieve a beautiful, organic finish—there’s more to discover if you keep going.
Key Takeaways
- Ensure precise seam alignment during installation to minimize visibility and blend fibers naturally.
- Use transparent adhesive and gentle pressure to re-secure or repair seams seamlessly.
- Feather or sand edges lightly to reduce seam prominence and create a smoother transition.
- Work slowly and carefully, paying attention to natural fiber variation for a more organic look.
- Address seams promptly with proper repair techniques to maintain a seamless, natural appearance.
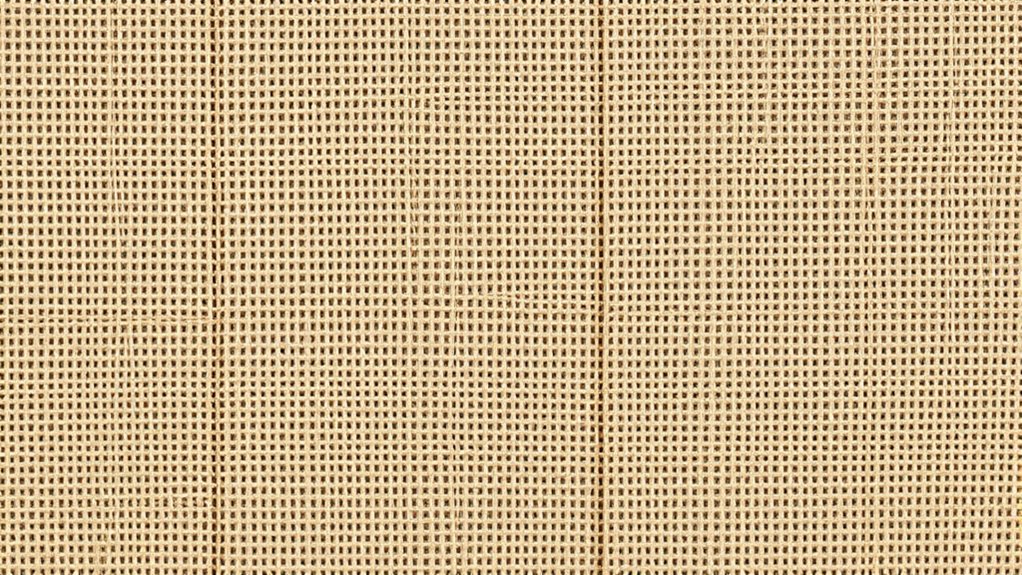
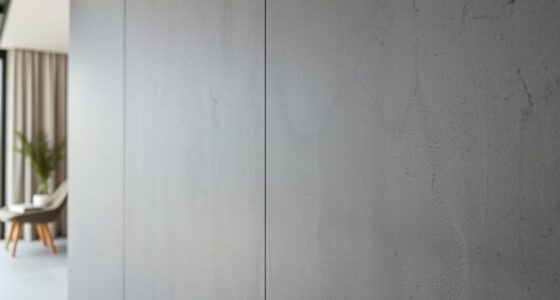
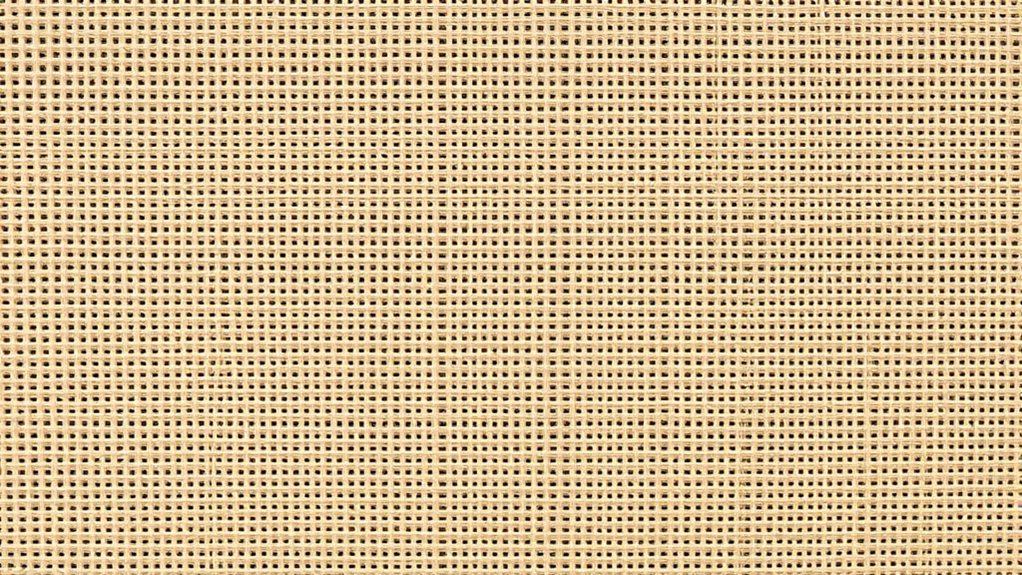
Have you ever noticed the seams in grasscloth wallpaper? If you’re looking to create a seamless, natural look, understanding how to manage those seams is essential. Grasscloth’s textured fibers and natural variation make each panel unique, but that can also highlight seams if they’re not aligned properly. The key to hiding seams effectively is paying attention to seam alignment during installation and knowing how to perform seam repair when needed. When you’re installing grasscloth, start by carefully lining up the pattern and texture at each seam. Good seam alignment ensures the fibers flow smoothly from one panel to the next, reducing the chance of noticeable gaps or overlaps. It’s tempting to rush through this step, but taking your time makes a big difference. Use a straight edge or level to keep each panel aligned vertically and horizontally, and press the edges together gently but firmly for a close fit. Proper seam placement minimizes the need for seam repair later on, but if you do notice a seam that’s off or starting to separate, don’t panic. Seam repair in grasscloth involves carefully re-aligning the panels and sometimes applying a thin, transparent adhesive to reinforce the seam. When repairing, make sure to clean the edges with a damp cloth beforehand to remove dust and oils, which can interfere with the adhesive. Use a small brush or a sponge to apply the glue precisely along the seam, then press the panels together, holding them until the adhesive sets. You might need to weigh the panels down with a clean cloth or a seam roller to ensure a tight bond without damaging the texture. For minor imperfections, light sanding or gently feathering the edge with a craft knife can help make seams less visible. The natural variation in grasscloth means that seams can sometimes blend in more easily than with smooth wallpaper, but only if you’ve taken care during installation and repair. Always work in well-lit conditions so you can see the seam details clearly. Keeping seams aligned from the start is the best way to prevent the need for extensive seam repair later. If you notice a seam that’s visible, address it promptly to keep your wall looking natural and flawless. Understanding natural variation and taking your time during installation will help you achieve a seamless look. With patience and attention to detail, you can successfully hide grasscloth seams and enjoy a beautifully textured wall that looks seamless and organic.
Frequently Asked Questions
Can Grasscloth Seams Be Painted Over Effectively?
Yes, you can paint over grasscloth seams effectively. To do seam concealment through seam painting, start by cleaning the surface thoroughly. Use a high-quality, matte paint to match the wall color, and apply thin coats with a fine brush or roller. Be patient and let each coat dry completely. This method helps hide seams naturally, giving your wall a smooth, seamless appearance without damaging the grasscloth.
How Long Does It Take for Seams to Fully Settle?
Seam settlement in grasscloth typically takes about 2 to 4 weeks, depending on humidity and temperature. During this drying time, the seams will gradually settle and become less noticeable. You should avoid heavy cleaning or applying paint during this period to allow the seams to fully settle. Patience is key; as the seam settlement progresses, your grasscloth wall will look more seamless and natural over time.
Are There Specific Adhesives Best for Hiding Seams?
Did you know that proper adhesive choice can reduce seam visibility by up to 50%? When hiding grasscloth seams, use the right adhesive types like wheat paste or specialized grasscloth adhesives. Seam techniques such as overlapping or using a seam roller also help. These methods assure a seamless look, making your wall appear more natural. Always choose adhesives that match your grasscloth’s texture for best results.
Can Grasscloth Seams Be Repaired After Installation?
Yes, you can repair grasscloth seams after installation. Start by carefully blending the seams using seam blending techniques to make them less noticeable. If needed, apply seam reinforcement with a suitable adhesive to strengthen the area. Gently press the seam to ensure proper adhesion, and use a soft cloth to smooth out any excess glue. This approach helps hide seams naturally and maintains the elegant look of your grasscloth wall.
Do Seams Affect the Overall Durability of the Wall Covering?
Seam visibility can slightly impact the overall durability of your grasscloth wall covering, especially if seams aren’t properly tensioned. If seams are loose or poorly aligned, they may peel or fray over time, weakening the wall’s surface. To prevent this, guarantee seam tension is consistent during installation, and consider professional help for a seamless look. Properly installed seams maintain both the aesthetic appeal and the wall covering’s longevity.
Conclusion
By mastering seam concealment, you enhance beauty, preserve integrity, and maintain elegance in your space. You hide imperfections, highlight craftsmanship, and showcase natural textures. You smooth out flaws, unify patterns, and create seamless progressions. With these techniques, you transform walls into art, turning challenges into opportunities. Embrace patience, practice precision, and enjoy the process. In doing so, you’ll achieve a flawless finish that reflects your skill, care, and appreciation for natural beauty.