
To hang items on tile walls, start with adhesive hooks or racks designed for tile surfaces, which don’t require drilling and protect your tiles. If you need to drill, carefully mark your spots, use painter’s tape, and drill slowly with a proper tile or masonry bit to prevent cracks. Applying silicone around mounted hardware adds extra water protection. Keep weight limits in mind, and if you’d like detailed steps, there’s more to explore.
Key Takeaways
- Use painter’s tape to mark drilling spots, avoiding grout lines and fixtures for precision and safety.
- Drill slowly with a masonry or tile bit, applying light pressure to prevent cracking or chipping.
- Insert wall anchors if needed, then securely mount hardware to support the object’s weight.
- Consider adhesive hooks first, ensuring they are designed for tile surfaces and suitable for lightweight items.
- Apply silicone caulk around mounted hardware to prevent water infiltration and enhance durability.
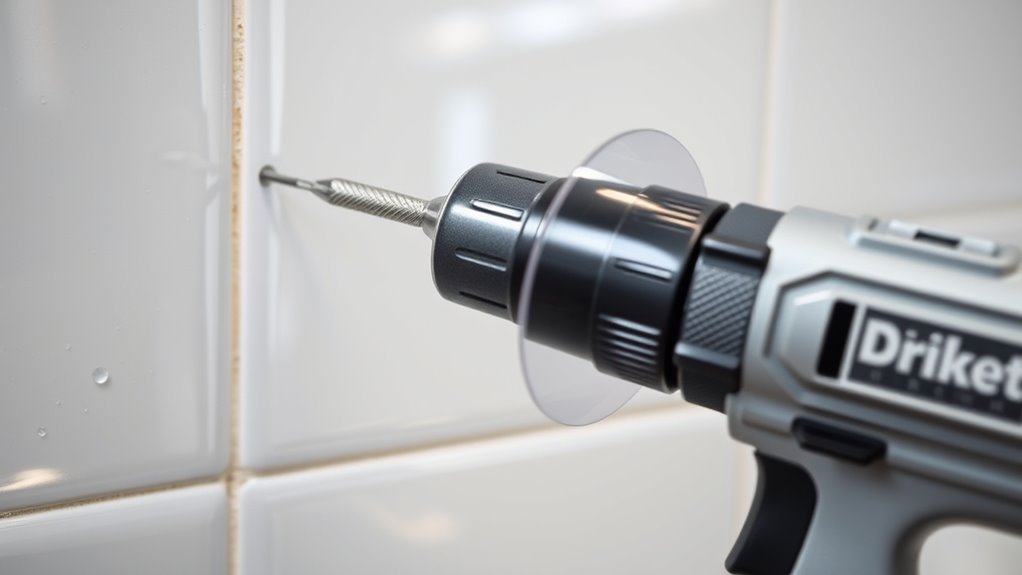
Hanging items on tile walls can be challenging, but with the right techniques, you can do it securely without damaging your surface. Tiles are sturdy, but they’re also delicate enough to crack or chip if you’re not careful. The key is to choose the right tools and methods to ensure your items stay put and your wall stays intact. Adhesive hooks and wall-mounted racks are popular options because they don’t require drilling, which reduces the risk of damaging your tiles. These solutions work well for lightweight objects like towels, utensils, or decorative items. When using adhesive hooks, make sure to select ones designed specifically for tile surfaces. Look for hooks with strong adhesive backing that can hold the weight you intend to hang. Before applying, thoroughly clean the tile surface with alcohol or a mild cleaner, removing all dirt, grease, and soap residue. Dry the area completely, as any moisture can weaken the adhesive’s hold. Peel off the backing and press the hook firmly onto the tile, holding it in place for about 30 seconds to ensure it bonds well. Avoid repositioning the hook once it’s attached, as this can weaken the adhesive and cause it to fall off prematurely. Wall-mounted racks are also excellent for organizing your space, especially if they come with mounting hardware designed for tile installation. If you prefer a more permanent solution, using a drill with a masonry or tile bit can be effective, but proceed with caution. Mark your drilling points carefully to avoid grout lines or existing fixtures. Use painter’s tape over the mark to prevent the drill bit from slipping. Drill slowly and steadily, applying light pressure to avoid cracking the tile. Once you’ve drilled through the tile and into the substrate, insert wall anchors if necessary, then screw in your rack or hook mount. Applying a little bit of silicone caulk around the edges of the mounted hardware can help prevent water infiltration and protect your wall. Keep in mind that drilling should be a last resort if adhesive hooks or racks don’t support your needs. Always weigh the weight of the object against the capacity of your chosen hanging method. If you’re hanging something heavy or valuable, it’s better to opt for a secure, drilled-in solution rather than relying solely on adhesives. Additionally, understanding the contrast ratio of your wall anchors and hardware can ensure better stability and safety. With patience and the right approach, you can confidently hang items on tile walls without risking damage or falling.
Frequently Asked Questions
Can I Hang Heavy Objects on Tile Walls Safely?
Yes, you can hang heavy objects on tile walls safely if you use the right tools and techniques. Start by selecting appropriate anchors designed for tile maintenance and weight. Use a drill with a masonry bit to avoid damage, and protect the tile surface with painter’s tape. Secure decorative accessories firmly to prevent accidents. Always check the weight limit of your anchors to guarantee your items stay secure and your wall remains intact.
What Tools Are Best for Drilling Into Ceramic Tiles?
Imagine smoothly piercing glass; that’s how ceramic tiles should feel when drilled. You’ll want high-quality tile drill bits, preferably carbide-tipped, for clean, precise holes. Always wear safety goggles to protect your eyes from shards. Use a low-speed drill and gentle pressure to prevent cracking. With the right tools and precautions, drilling into ceramic tiles becomes manageable, letting you hang your heavy objects securely and safely.
How Do I Prevent Cracks When Drilling Into Tiles?
To prevent cracks when drilling into tiles, start with proper tile surface preparation by cleaning and drying the area thoroughly. Use a high-quality, carbide-tipped drill bit suited for tiles, like a masonry or diamond bit, to guarantee clean cuts. Drill slowly with steady pressure, applying water to keep the surface cool and reduce stress. These steps help minimize tile stress, preventing cracks and ensuring a smooth, safe drilling process.
Are There Special Adhesives for Hanging Without Drilling?
Yes, you can use special adhesives like adhesive hooks and removable strips to hang items without drilling into tiles. These products are designed to stick securely without damaging your wall surface. Make sure to clean the tile surface thoroughly before applying, and follow the manufacturer’s instructions for weight limits and application. This way, you avoid cracks and keep your tiles intact while still hanging your decor or accessories easily.
How Long Do Tile Wall Anchors Typically Last?
Tile wall anchors typically last around 5 to 10 years, but their lifespan depends on durability factors like material quality, installation, and environmental conditions. If you choose high-quality anchors and install them correctly, they can hold up longer. However, exposure to moisture or temperature changes can weaken them over time. Regularly check your anchors for signs of wear or looseness to make sure they continue to support your hung items safely.
Conclusion
Hanging on tile walls is like threading a needle—precise, careful, and rewarding. With the right tools and techniques, you turn a tricky surface into your personal gallery. Remember, every drill and protector is a stepping stone, guiding you smoothly through the process. So, stay patient and confident. Before you know it, your space will be beautifully decorated, hanging like artwork on a perfect canvas. You’ve got this—just take it one step at a time.