
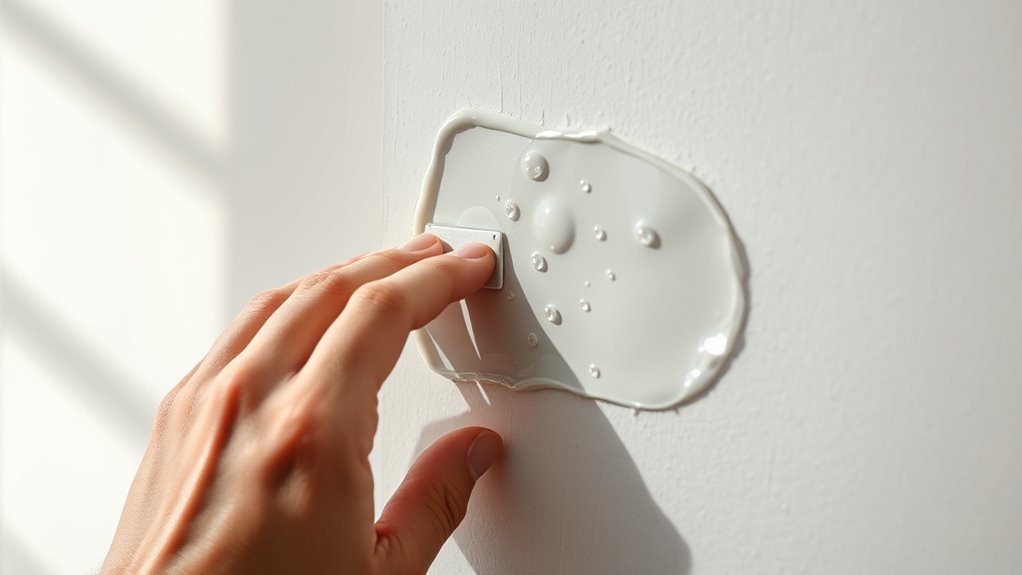
To fix bubbles and lifting edges, start by identifying the cause—moisture, dirt, or poor adhesion. Carefully puncture bubbles, smooth out the area with a putty knife, and remove any loose paint or wallpaper. Re-adhere the lifted edge with a suitable adhesive, press firmly, and verify the surface is clean and dry. For seamless results, consider proper finishing techniques. If you want to discover more tips, keep going to learn how to prevent future issues.
Key Takeaways
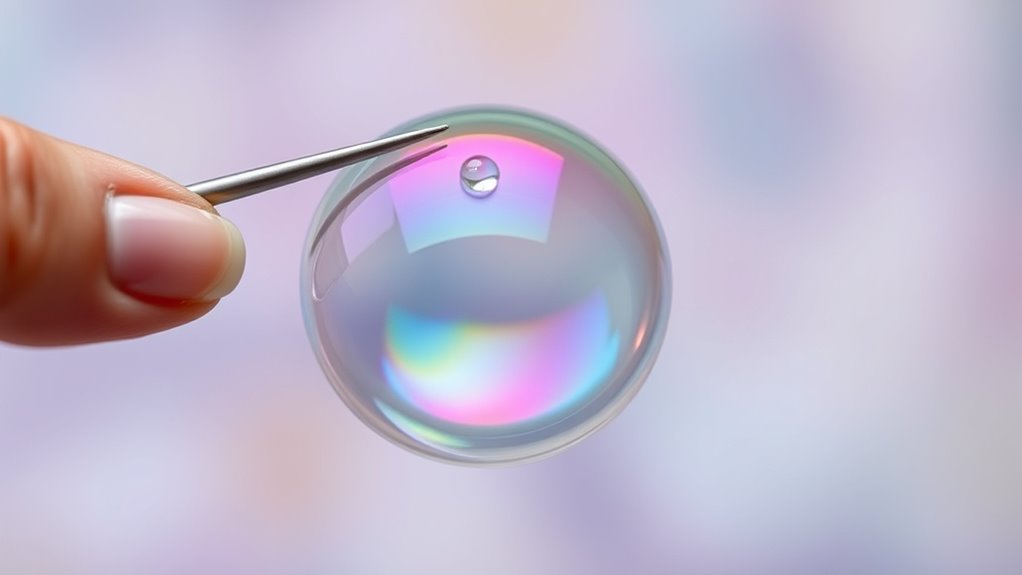
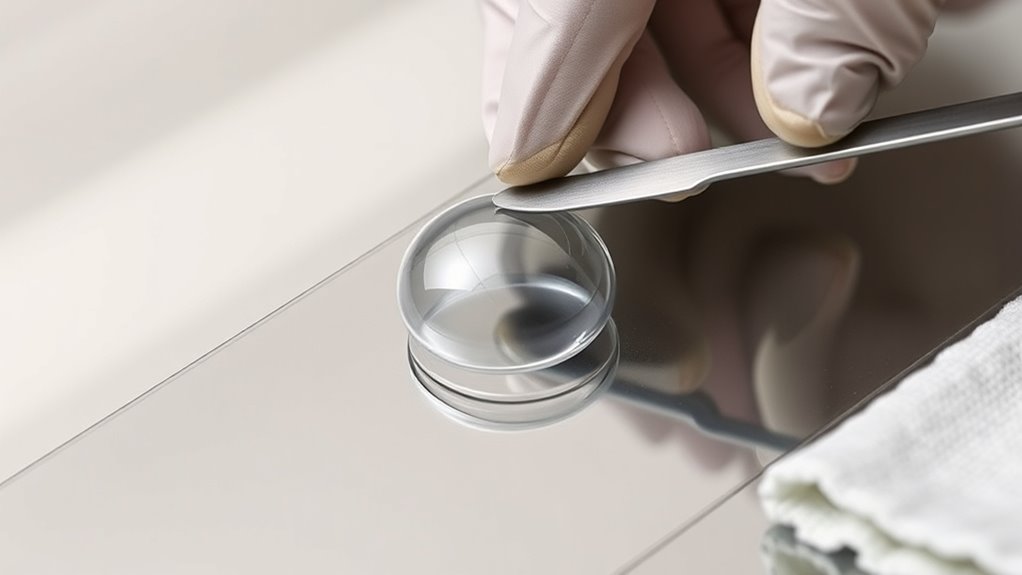
- Identify and puncture bubbles or lifting edges to release trapped air before repairing.
- Clean and dry the surface thoroughly, then apply a suitable adhesive or primer for better bonding.
- Use a putty knife or roller to press down and smooth lifted edges, ensuring proper adhesion.
- Match paint color and sheen carefully; feather edges and sand for a seamless finish.
- Address underlying moisture or environmental issues to prevent recurrence and ensure long-lasting repairs.
Top picks for "bubbl lift"
Open Amazon search results for this keyword.
As an affiliate, we earn on qualifying purchases.
Identifying the Causes of Bubbles and Lifting Edges

Bubbles and lifting edges often appear when the surface or adhesive isn’t properly prepared, causing air pockets or weak bonds. One common cause is moisture intrusion, which can bubble paint as water gets trapped beneath the surface. When moisture doesn’t evaporate correctly, it creates pressure, resulting in peeling paint or lifting edges. Paint peeling is a clear sign that underlying moisture is compromising adhesion. Additionally, if you skip cleaning or fail to remove old, peeling paint before applying a new coat, it can trap air and moisture, leading to bubbles. Poor surface conditions, like dirt, grease, or uneven textures, also prevent proper bonding. Recognizing these causes helps you identify why bubbles and lifting edges form and guides you in taking the right preventive steps. Surface preparation plays a crucial role in ensuring proper adhesion and preventing these issues. Properly cleaning and priming surfaces helps eliminate contaminants that could interfere with bonding, reducing the risk of bubbles and lifting edges. Ensuring proper airflow around the surface can also help in the drying process and prevent moisture buildup that causes bubbles.
Preparing Your Surface Before Repairs
Proper surface preparation is key to preventing bubbles and lifting edges during repairs. Begin by thoroughly cleaning the surface to remove dirt, dust, grease, and loose particles. Use a suitable cleaner and a damp cloth to ensure the area is spotless. Once clean, allow the surface to dry completely. Next, apply a primer suited to your material; this creates a uniform base and helps the repair material adhere better. Proper primer application also seals small imperfections that could trap air or moisture, which might cause future bubbling. Skipping these steps can lead to poor adhesion, increasing the risk of bubbles and edges lifting over time. Taking the time to prepare your surface guarantees a smoother, more durable repair that lasts longer. Additionally, understanding cookie categories and managing user consent can improve your website’s user experience and trust during your repair projects.
Tools and Materials Needed for Fixing Bubbles
To effectively fix bubbles and lifting edges, you’ll need a selection of essential tools and materials. Choose the right adhesive types—whether contact cement, spray adhesives, or strong liquid glues—to ensure a secure fix. Always prioritize tool safety: wear gloves, goggles, and work in a well-ventilated area. Here’s a quick visual:
| Tool | Material Needed | Safety Tip |
|---|---|---|
| Utility knife | Adhesive applicator | Handle carefully to avoid cuts |
| Squeegee | Adhesive types (spray, liquid) | Use in ventilated space |
| Heat gun | Cleaning cloths | Keep away from skin |
| Paintbrush | Adhesive remover | Wear gloves for chemical safety |
| Sandpaper | Protective gear | Avoid inhaling dust |
This setup ensures you’re ready and safe to fix bubbles effectively. Additionally, choosing the appropriate adhesive can make a significant difference in the durability of your repair.
Popping and Smoothing Out Bubbles

When you notice a bubble or lifting edge, act quickly to pop it and smooth out the surface before it worsens. Start by gently puncturing the bubble with a pin or needle, allowing trapped air to escape. After popping, use a putty knife or spatula to carefully press down the surrounding paint texture, ensuring a seamless surface. Proper surface prep is essential here; make sure the area is clean and free of dust or grease so the repair blends smoothly. Once the bubble is flattened, lightly sand the area if needed, then feather the edges to match the surrounding paint. This process helps maintain a smooth, even finish and prevents future issues caused by trapped air or improper surface prep. Additionally, understanding surface preparation techniques can significantly improve the durability of your repairs, especially when addressing issues like payment data protection that require thorough attention to detail. To achieve long-lasting results, considering proper paint adhesion methods is crucial for preventing similar problems in the future. Incorporating lifestyle habits such as regular workspace organization can also help in maintaining a smooth painted surface over time.
Re-Adhering and Securing Lifting Edges

Once you’ve popped and smoothed out bubbles, it’s important to address any lifting edges before they worsen. Lifted edges often indicate adhesion failure, which can be caused by surface contamination like dust, oil, or residue. To re-adhere and secure these edges, start by cleaning the area thoroughly with a solvent or alcohol to remove contaminants. Ensure the surface is dry and free of debris. Apply a thin, even layer of adhesive beneath the lifting edge, then press it down firmly to promote good contact. Use a roller or squeegee to smooth out any air pockets and enhance adhesion. Securing the edges promptly prevents further lifting and maintains the surface’s integrity. Proper preparation and quick action are essential to avoiding future issues with lifting edges. Additionally, verifying the proper adhesion technique can help ensure a long-lasting fix. Being aware of surface contamination and cleaning thoroughly can significantly improve adhesion success. For optimal results, understanding surface preparation techniques is crucial to achieving a durable bond. Involving the correct cleaning agents ensures the surface remains free of residues that could compromise adhesion.
Preventative Measures to Avoid Future Issues

To prevent future bubbles and lifting edges, start by properly preparing the surface before applying paint or adhesive. Make sure to clean and smooth it thoroughly to guarantee good adhesion. Using high-quality materials also helps create a durable finish that resists problems down the line. Incorporating sound vibrations into your surface treatment process can further enhance cellular cohesion and overall stability. Additionally, understanding engine tuning techniques can contribute to better component performance and longevity. Ensuring the correct headphone connection type is used can also prevent issues related to improper attachment or signal loss, supporting a more durable finish.
Proper Surface Preparation
Proper surface preparation is essential to prevent bubbles and lifting edges before applying any coating or repair. Start by thoroughly cleaning the surface to remove dirt, grease, and loose debris. Confirm the surface is dry and smooth to promote good adhesion. Proper primer application is crucial; choose the right primer for your material and apply it evenly to create a strong bond. Edge sealing is vital, especially at seams and borders, to prevent moisture infiltration and lift-offs. Use a high-quality sealant to close gaps and ensure a continuous, sealed edge. Taking these steps minimizes the risk of future issues, leading to a smoother, longer-lasting finish. Proper preparation lays the foundation for a durable repair and helps avoid rework caused by preventable surface problems. Additionally, understanding the importance of surface compatibility can improve adhesion and overall durability of your coating. Ensuring the surface environment is suitable also supports environmental considerations, which can contribute to the longevity of your repair. Being aware of surface conditions, such as exposure to moisture or temperature fluctuations, can further enhance the effectiveness of your surface preparation.
Use Quality Materials
Using high-quality materials is key to guaranteeing your repairs last and preventing future problems like bubbles or lifting edges. Start with premium paint quality, which offers better adhesion and durability, reducing the risk of peeling. Choose adhesives with strong adhesive strength to securely bond surfaces and prevent lifting over time. Low-quality paints may contain fillers that weaken the finish, while inferior adhesives can fail under stress or humidity. Investing in top-tier materials assures your work withstands environmental factors and daily wear. Properly selecting paint and adhesives designed for your surface type makes a significant difference in the longevity of your repair. Additionally, using proper surface preparation enhances adhesion and overall durability, ensuring your repairs stand the test of time. Employing quality testing techniques on materials before application can further reduce the risk of future issues. Conducting material compatibility assessments helps verify that your chosen products work well together, minimizing the chances of failure. To further improve the longevity of your repairs, consider applying protective coatings that add an extra layer of defense against environmental damage. By prioritizing quality, you create a more reliable, professional finish that minimizes the need for future fixes.
Tips for Achieving a Seamless Finish

Achieving a seamless finish when fixing bubbles and lifting edges requires careful attention to detail and patience. Start by making certain your paint sheen matches the existing wall finish; a mismatch can make repairs obvious. When applying touch-up paint, use a small brush and blend the edges smoothly into the surrounding area. Proper color matching is essential—test your paint on a hidden spot first to ensure it blends perfectly. Lightly feather the edges of the repair to avoid harsh lines. Allow each coat to dry completely before proceeding, and avoid overworking the area. If you notice a slight difference in texture or gloss, lightly sand and reapply. Additionally, understanding paint quality and how it affects adhesion can help achieve a more durable and seamless repair. These steps help your repairs blend seamlessly, making your wall look as good as new.
When to Seek Professional Assistance
Knowing when to call in a professional can save you time and prevent further damage. If you encounter persistent bubbles or lifting edges despite your efforts, it’s time for a professional assessment. DIY fixes work for minor issues, but complex problems often require advanced repairs that professionals are better equipped to handle. Attempting to fix severe bubbling or lifting edges yourself can lead to worse damage or uneven finishes. If your repairs don’t hold after multiple attempts, or if you notice issues like peeling or cracking, don’t hesitate to seek expert help. Professionals have the tools and experience needed for seamless repairs, ensuring your surface looks flawless and lasts longer. Recognizing these signs helps you avoid costly mistakes and guarantees a professional-quality finish.
Frequently Asked Questions
Can Environmental Factors Cause Bubbles and Lifting Edges?
Yes, environmental factors can cause bubbles and lifting edges. Moisture infiltration from rain or humidity can weaken the adhesive or coating, leading to bubbles. Temperature fluctuations cause materials to expand and contract, which can lift edges and create bubbles over time. You should guarantee proper sealing and installation, especially in areas prone to moisture and temperature changes, to prevent these issues from developing or worsening.
Which Repair Method Is Best for Large Bubbles?
For large bubbles, you should carefully puncture the bubble with a pin or needle to release trapped air. Then, smooth out the area with a putty knife or scraper. To guarantee proper paint adhesion, sand the surface lightly and apply a suitable primer before repainting. Choosing the right primer helps prevent future bubbles and lifting edges, providing a durable, smooth finish. Always follow manufacturer instructions for best results.
How Long Should I Wait Before Painting After Fixing?
You should wait at least 24 hours after fixing to paint, guaranteeing the surface is fully dry. During this time, complete your painting prep by sanding smooth and cleaning the area. Choose a primer suited for your repair, which helps the paint adhere properly and prevents bubbles or edges from lifting later. Rushing this process can compromise your finish, so patience ensures a durable, professional-looking result.
Are There Specific Surface Types More Prone to Issues?
Certain surface textures, like rough or uneven ones, are more prone to issues such as bubbles and lifting edges because they trap air and moisture. Also, some paint formulations don’t stick well to glossy or slick surfaces, increasing problems. Before painting, make sure to properly prepare these surfaces—sanding rough textures and using compatible primer. Choosing the right paint formulation for your surface helps prevent issues and ensures a smooth, durable finish.
What Are Common Mistakes to Avoid During Repairs?
Oh, the thrill of DIY repairs—just don’t forget to double-check your paint preparation and tool selection! Avoid rushing through surface cleaning or skipping primer; otherwise, you’ll invite bubbles and edges to steal the show. Using the wrong tools, like a dull squeegee or mismatched brushes, only makes things worse. Stay patient, follow proper prep steps, and choose the right tools to guarantee a smooth, professional finish—no drama needed!
Conclusion
Remember, patience and attention to detail are your best tools. Just like a sculptor chips away until the sculpture is perfect, taking your time guarantees flawless results. Fixing bubbles and lifting edges might seem small, but they make a big difference in your finished project. By staying vigilant and proactive, you’ll transform your surface into a smooth, professional-looking finish. Keep at it—you’re shaping a surface that’s as smooth as glass and as perfect as a mirror.