
To create faux marble walls as a beginner, start by choosing a neutral base color and applying a smooth base coat. Use sponges, stippling brushes, or fine brushes to layer darker shades and mimic natural veining, blending carefully for realism. Practice irregular patterns and textures to add depth, then seal your work for durability. With patience and attention to detail, you’ll achieve stunning results—continue exploring for more tips on perfecting your faux marble project.
Key Takeaways
- Choose a color palette that enhances the desired mood and matches existing decor.
- Prepare the wall with cleaning and priming, then apply a smooth base coat in a neutral color.
- Use sponges, stippling brushes, or fine brushes to layer darker shades and create natural-looking veining.
- Gently blend and soften lines to mimic the irregular patterns of real marble.
- Finish with a sealant to protect the faux marble and enhance realism.
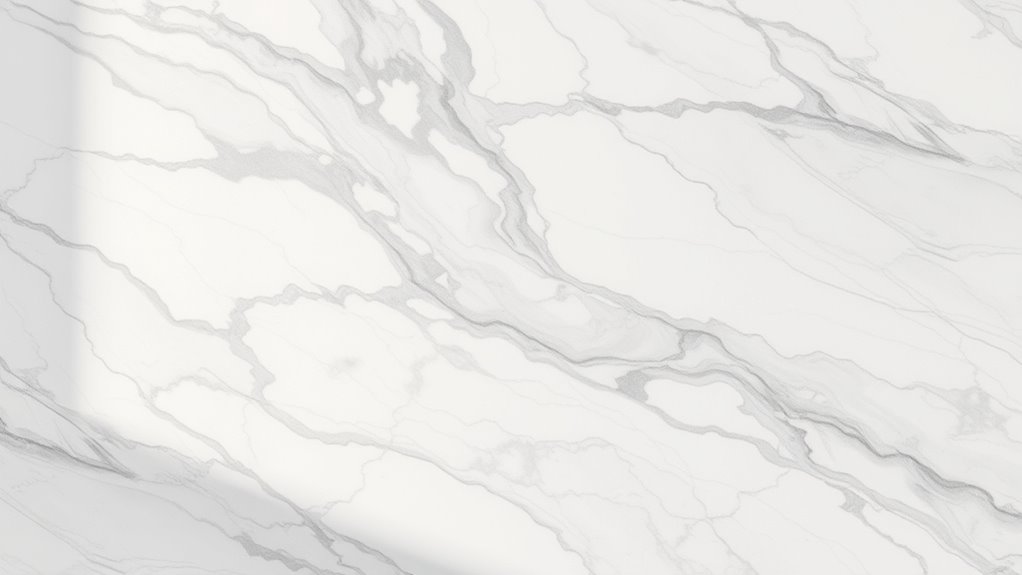
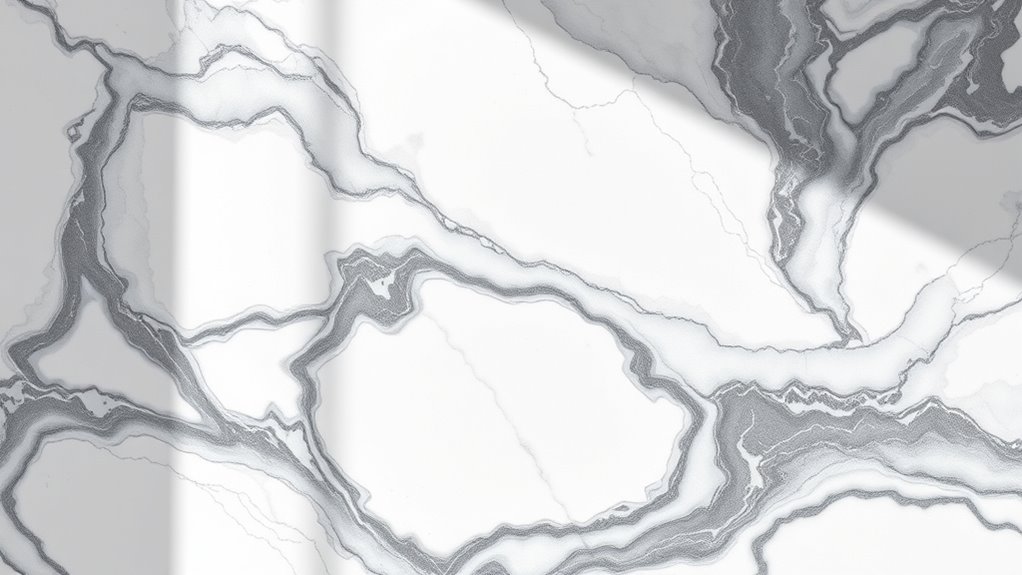
Faux marble on walls offers an affordable and versatile way to achieve the elegant look of real marble without the high cost or maintenance. If you’re new to faux finishing, don’t worry — with some basic supplies and patience, you can transform your space into a sophisticated masterpiece. First, you need to choose your marble color schemes. Think about the overall vibe you want to create: classic whites and grays evoke timeless elegance, while warmer beiges and browns lend a cozy, inviting feel. Darker hues like deep blues or rich greens can add a dramatic touch. Selecting the right color palette is essential because it sets the tone for your entire project. Once you’ve settled on your color scheme, gather your faux painting tools. You’ll need a good-quality sponge, a stippling brush or sea sponge for texture, and possibly some fine brushes for details. A roller may come in handy for smoother background layers, but the key to realistic marble is layering and blending with your faux painting tools.
Before you start, prep your wall by cleaning and priming it thoroughly. Then, apply a base coat in a light neutral color that complements your chosen marble hues. This will serve as the foundation for your faux marbling. Once the base coat is dry, you can begin creating the marble effect. Using a sponge or stippling brush, dab on darker shades in irregular patterns to mimic the natural veining of marble. Don’t press too hard; instead, layer different shades gradually to add depth. For more detailed veining, you might use a fine brush dipped in a darker color to draw thin, subtle lines across the surface. Remember, the key to realistic faux marble is blending. So, go back with a clean sponge or a soft brush to gently soften harsh lines and blend the colors seamlessly.
As you work, step back frequently to assess your progress. The beauty of faux painting is that it’s forgiving — you can always add more layers or wipe away excess paint with a damp cloth if needed. Use your faux painting tools to create variations in veining and texture, mimicking the natural imperfections of real marble. Once you’re satisfied with the veining and color variations, finish with a clear sealant to protect your artwork and give it a polished look. With patience and attention to detail, you’ll produce a stunning faux marble wall that looks incredibly realistic, all while enjoying the process of creating a sophisticated, high-end look on a budget.

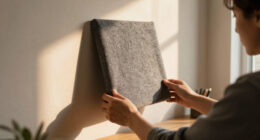
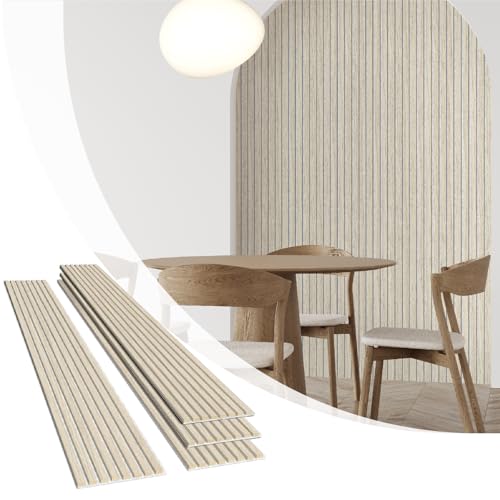
Art3d 4-Pack Acoustic Wood Slat Wall Panels for Interior Decor, 3D Fluted Sound Absorbing Wood Paneling for Accent Wall Ceiling Kitchen Living Room Bedroom Office, 94.5 x 7.9 inch Warm Teak
Sleek wood veneer + sturdy MDF core + high-density sound-absorbing polyester fiber, Art3d fluted wood paneling enhances both...
As an affiliate, we earn on qualifying purchases.
Frequently Asked Questions
How Long Does Faux Marble Wall Painting Typically Last?
Faux marble wall painting typically lasts around 5 to 10 years, depending on faux marble durability and wall longevity. You can extend its lifespan by using high-quality paints and sealants, avoiding excessive moisture, and maintaining the wall properly. Regular cleaning and touch-ups help preserve the appearance. With proper care, your faux marble finish can stay vibrant and attractive for many years, maximizing your investment in this decorative technique.
Can Faux Marble Be Applied Over Textured Walls?
Ever wonder if faux marble can go over textured walls? Yes, you can apply it, but proper wall preparation is key. You should start by smoothing out the texture, using a joint compound or a skim coat, to create a flat surface. This ensures your faux marble looks realistic and lasts longer. Skipping texture smoothing can cause cracks or uneven patterns, so take the time to prep thoroughly for the best results.
What Safety Precautions Should I Take During the Process?
You should wear personal protective gear like gloves, goggles, and a mask to protect your skin, eyes, and lungs during the faux marble application. Make certain your workspace has good ventilation to avoid inhaling fumes from paints or sealants. Keep your area well-ventilated by opening windows or using fans. Also, follow manufacturer instructions carefully, and keep children or pets away from the workspace for added safety.
Is Special Equipment Necessary for Faux Marble Wall Techniques?
You don’t need special equipment for faux marble wall techniques; basic tools like brushes, sponges, and rags usually suffice. Remarkably, decorative painting accounts for nearly 60% of DIY home improvement projects, making it accessible for beginners. For faux finishing, focus on quality paints and practice your strokes. With patience, you can achieve stunning marble effects without expensive gear, turning your wall into a sophisticated focal point.
How Can I Fix Mistakes or Remove Faux Marble Paint?
To fix mistakes or remove faux marble paint, start by gently scraping or sanding the area to loosen the paint. Use a paint stripper or remover for stubborn spots, following safety instructions. After removing the faux marble, clean the surface thoroughly before repainting. Correcting paint mistakes is easier if you use a damp cloth to wipe smudges or drips quickly. Patience and careful work help achieve a smooth, professional finish.

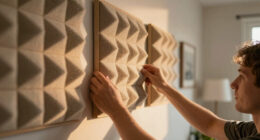
Olanglab Wood Slat Wall Panels 4 Pack, Acoustic Wall Panels, 47.24'' x 23.62" Each 3D Wall Panels for Interior Wall Decor (Cherry)
Exceptional Acoustic Performance with a Slim Design: Olanglab wood wall panels feature an ultra-thin 0.4" design with an...
As an affiliate, we earn on qualifying purchases.
Conclusion
Now that you’ve learned these beginner techniques, you can transform your walls into stunning faux marble surfaces. You’ll blend colors seamlessly, create realistic veining, and add depth with simple tools. You’ll see the elegance of marble emerge with every stroke, every layer, every detail. With patience and practice, you’ll turn plain walls into art, into statement pieces that catch the eye and spark admiration. Your space will reflect sophistication, beauty, and your newfound skill.
Olanglab Wood Wall Panels 4 Pack, Wood Slat Acoustic Wall Panels, 94.5"x12.6" Each 3D Wall Panels for Interior Wall Decor (Light Oak-Grey Felt)
Recyclable Material: Olanglab wood 3D wall panels consist of MDF slats and acoustic felt backing, they are made...
As an affiliate, we earn on qualifying purchases.
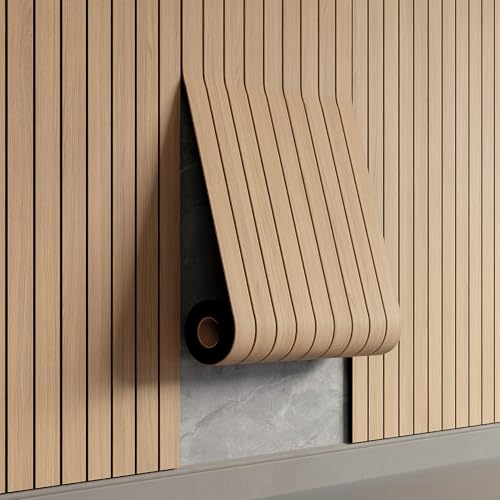
YU LI 3DH Peel and Stick PVC Slat Wall Panel 236"x15.75" Self-Adhesive Thick Faux Oak Wood Grain Wallpaper Panel 3D Soundproof Wall Panels for Walls & Ceilings
Effortless Peel & Stick Installation--Enjoy hassle-free setup with our self-adhesive PVC slat panels! Just measure, peel off the...
As an affiliate, we earn on qualifying purchases.