
To achieve pro edges with masking and cut-in techniques, start by choosing low-adhesion tape and pressing it firmly to prevent paint seepage. Use high-quality, angled brushes for precise cut-ins and gentle feathering brushes for blending edges seamlessly. Maintain a clean workspace, keep tools sharp, and remove tape while paint is slightly tacky at a 45-degree angle to guarantee sharp, clean lines. Mastering these tips will help you create flawless edges every time.
Key Takeaways
- Use high-quality, angled brushes for precise cut-in edges and control during detailed masking work.
- Press masking tape firmly to prevent paint seepage and remove it at a 45-degree angle once paint is slightly tacky.
- Incorporate feathering techniques with soft brushes to seamlessly blend edges and achieve a professional finish.
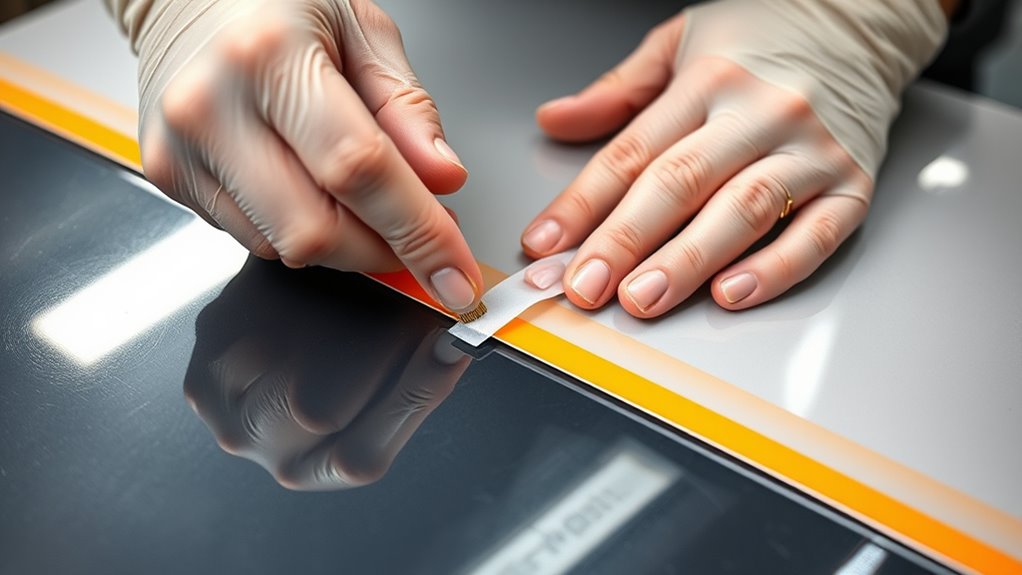
- Run a sharp blade along tape edges before painting to ensure clean separation and sharp lines.
- Apply paint in thin, even layers and work slowly for consistent, crisp edges and minimal bleeding.

B00004Z4CP
As an affiliate, we earn on qualifying purchases.
As an affiliate, we earn on qualifying purchases.
Essential Tools for Masking and Cut-In Work
To achieve clean lines and sharp edges in masking and cut-in work, you need the right tools. Masking tape is essential for creating precise boundaries; choose painter’s tape with low adhesion to prevent damage and guarantee sharp paint lines. Edge brushes are your go-to tools for detailed work along trim, corners, and edges. These brushes have narrow, angled bristles that allow you to paint close to masking tape without overshooting. Using the right masking tape and quality edge brushes makes a significant difference in the finished look. Keep extras handy to replace worn brushes, and select tapes suitable for your surface type. With these tools, you’ll achieve professional-quality results quickly and effortlessly.

PinStone 3 Pack 2 Inch Angled Paint Brush Set, Synthetic Bristles, Easy Grip Rubber Short Handle, Smooth Finishes Paint Brushes for Painting Walls, Cabinets, Sash, Edge, Corner, Cut in, Trim, Touch up
【What You Get】3pcs 2-Inch short handle angle paint brush, featuring synthetic bristles, stainless steel ferrule, and rubber grip…
As an affiliate, we earn on qualifying purchases.
As an affiliate, we earn on qualifying purchases.
Preparing Your Workspace for Precision Painting

Preparing your workspace thoroughly is essential for achieving precise and professional-looking results. An organized workspace minimizes mistakes and enhances safety. Start by clearing clutter and arranging your tools within easy reach. Use this table to visualize:
| Area | Purpose | Safety Precautions |
|---|---|---|
| Work Surface | Flat, stable surface for painting | Keep it clean and dry |
| Tool Station | Organized storage for brushes, tape | Store sharp tools safely |
| Ventilation Zone | Proper airflow for fumes | Wear masks if needed |
Additionally, ensuring knowledge of local legal resources can help in case of disputes or issues related to your project. Being familiar with safety guidelines for painting can further prevent accidents and ensure a secure environment. Furthermore, understanding the power and efficiency of electric tools can help you select the right equipment for your project, reducing fatigue and increasing precision. Moreover, being aware of ergonomic techniques can help prevent strain during prolonged work sessions.

UNIMEIX 6 Pack Blending Brush for Card Making Crafting Ink Blender Brushes Set Tool Paper Background Brush Drawing (Brown)
Material – The ink blending brush head is made of soft nylon hair, the brush handle is made…
As an affiliate, we earn on qualifying purchases.
As an affiliate, we earn on qualifying purchases.
Selecting the Right Masking Materials for Clean Lines
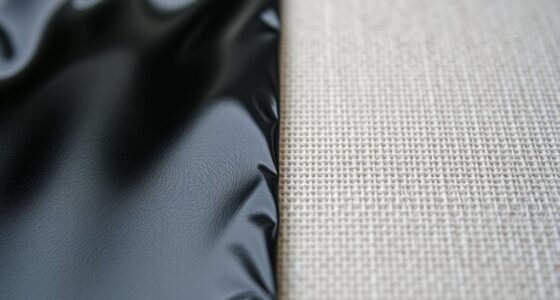
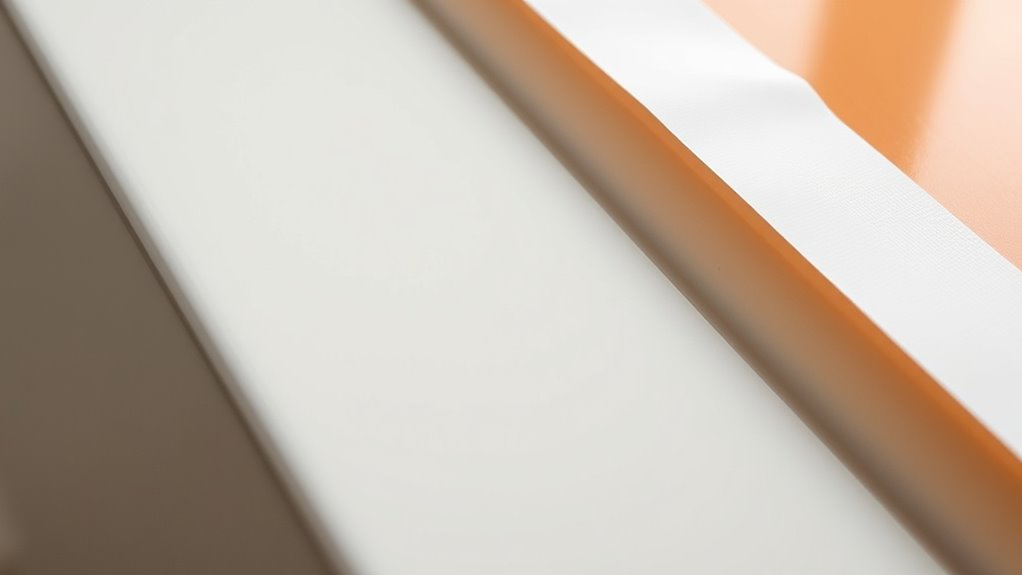
Choosing the right masking materials is vital for achieving clean, crisp lines. Consider how well the tape adheres to your surface to prevent paint bleed, and pick the appropriate type for your project. Proper removal guarantees neat edges without damaging your work, making material selection imperative. Additionally, selecting materials with effective adhesion properties can enhance your results and reduce the risk of imperfections. Ensuring the compatibility with different surfaces of your masking tape is also crucial for a professional finish. Recognizing the importance of consistent feedback during application can help you adjust techniques for optimal results. Selecting the correct masking tape type for your surface ensures optimal performance and a professional finish.
Adhesion Properties to Surfaces
Selecting the right masking materials hinges on understanding their adhesion properties to various surfaces. Surface adhesion determines how well your masking resists paint and stays in place without damage. Surface compatibility is essential; some masking tapes adhere strongly to smooth surfaces but peel easily from textured or delicate ones. To choose wisely, consider the surface type and the masking material’s adhesive strength. Additionally, knowing the industry trends can help you select the most effective masking solutions. Incorporating appropriate storage techniques can also prolong the effectiveness of your masking materials and prevent deterioration over time. Being aware of the latest maintenance practices for tools and materials can further enhance your masking results and durability.
Tape Types and Uses
The type of masking tape you choose directly impacts the quality of your paint job and the ease of cleanup. Masking tape comes in various forms, but painter’s tape is specifically designed for clean lines and minimal residue. For delicate surfaces like wallpaper or freshly painted walls, select painter’s tape with low adhesion to prevent damage. If you’re working on rough or textured surfaces, opt for a thicker masking tape that can conform and stick effectively without bleeding. For sharp, crisp edges, use painter’s tape that’s designed for precise application. Always match the tape type to your project’s surface and paint type to ensure clean lines, easy removal, and a professional finish. Choosing the right masking tape simplifies your work and enhances your results. Additionally, understanding surface compatibility can help you select the most effective masking materials for a flawless outcome. Proper surface preparation and tape selection are crucial for achieving clean lines and avoiding paint bleed. Selecting the appropriate tape also involves considering the project environment, as temperature and humidity can influence adhesiveness and removal. For optimal results, consider using specialty tapes designed for specific tasks or surfaces to further improve your masking process.
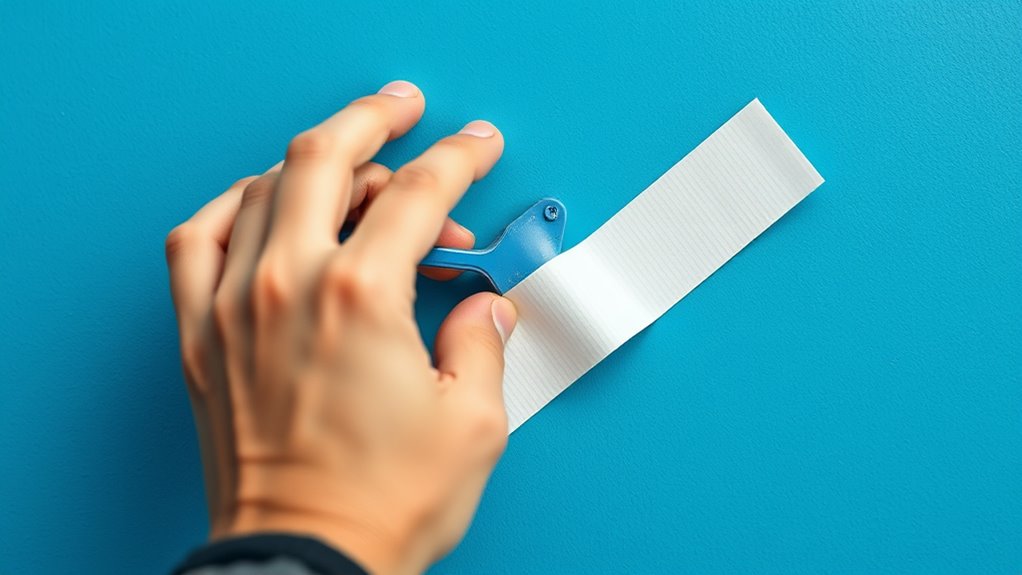
Removal and Clean Lines
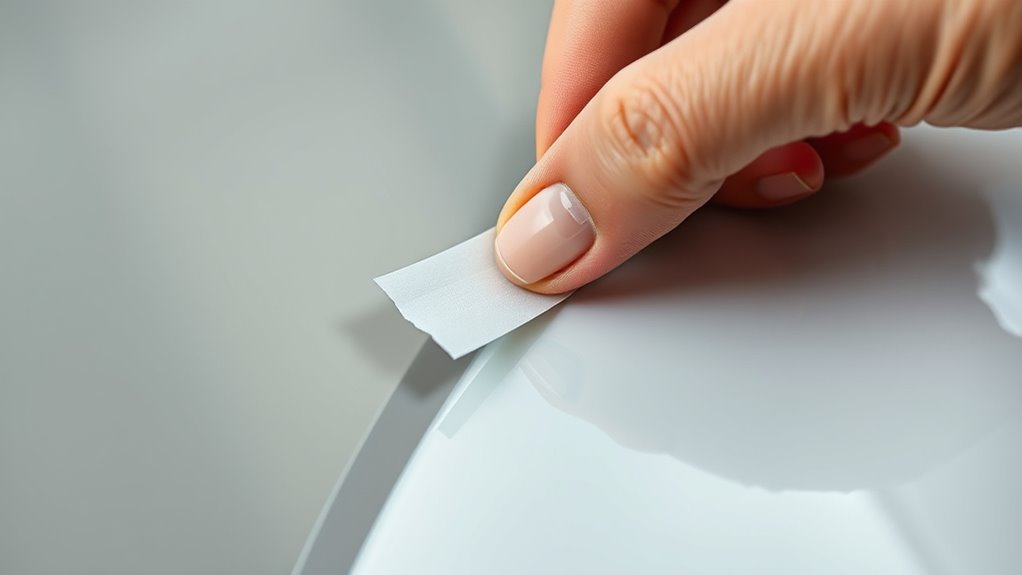
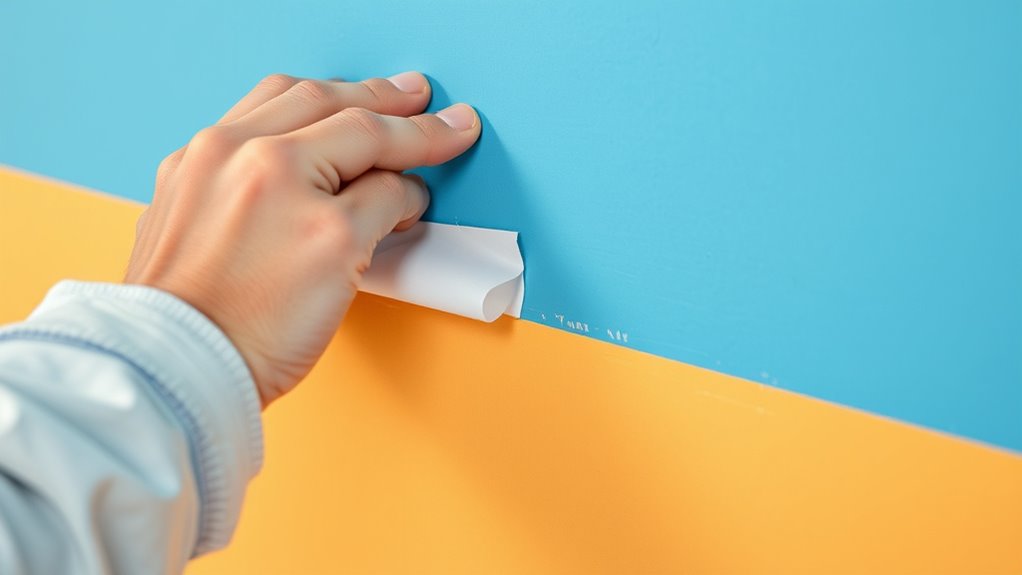
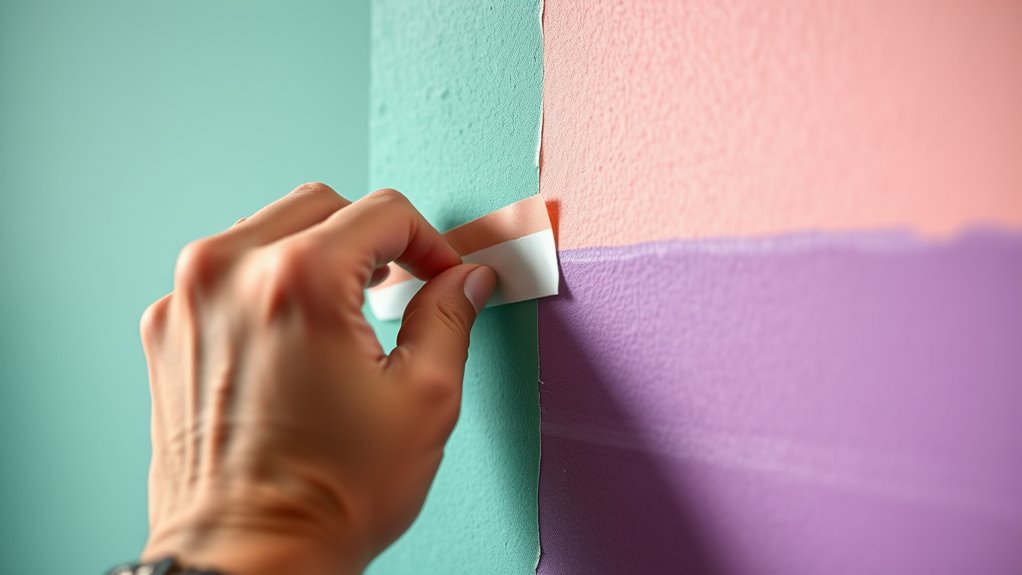
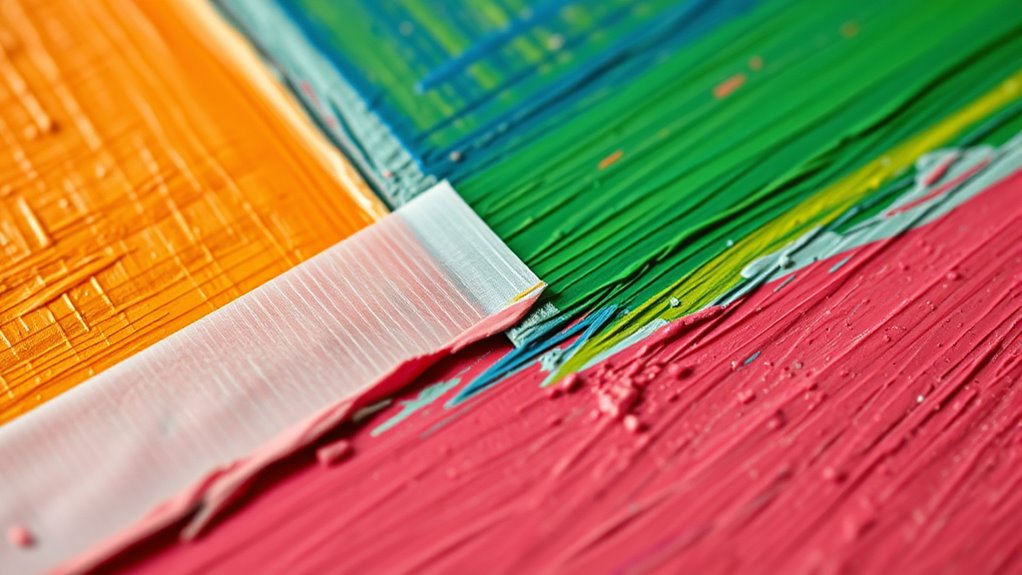
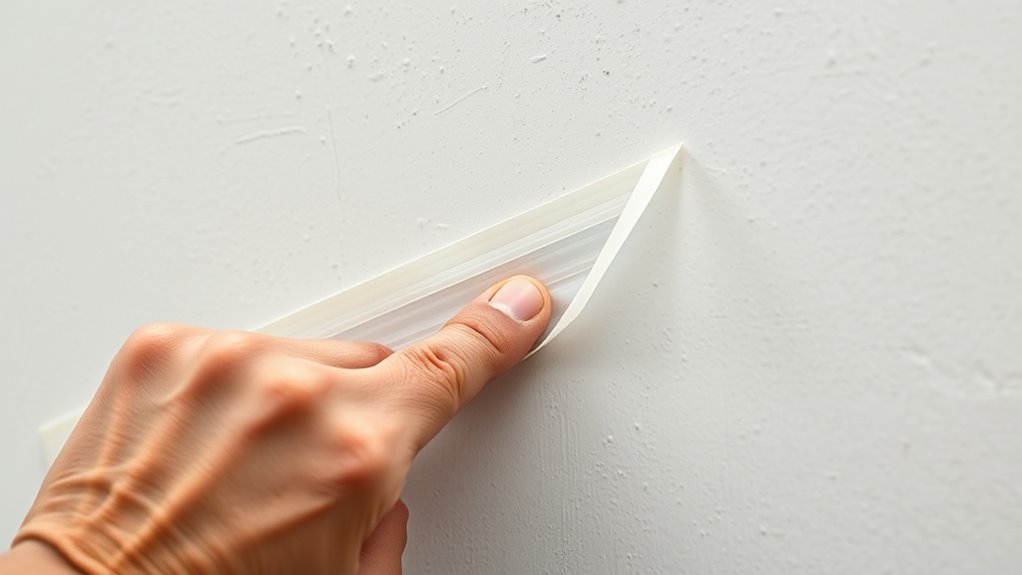
Ever wondered how to achieve those crisp, clean lines that make your paint job look professional? The secret lies in proper removal techniques and finishing touches. After painting, carefully peel away the masking tape while the paint is still slightly tacky to prevent smudges. Use a precise edge sealing method by running a sharp blade along the tape edge to ensure clean separation. For smooth *progression*, employ paint feathering—lightly blending the edge of the new paint into the existing surface—creating a seamless look. Choosing the right masking materials is *vital*; flexible, high-quality tapes prevent paint bleed and help maintain sharp lines. Always remove tape at a 45-degree angle, gently pulling away from the painted edge for the best results.

WORKPRO Premium Utility Knife, Retractable All Metal Heavy Duty Box Cutter, Quick Change Blade Razor Knife, with 10 Extra Blades
Heavy-Duty Utility Knife : Aluminum alloy design with rust-free powder-coat makes the box cutter durable and lightweight (3.2…
As an affiliate, we earn on qualifying purchases.
As an affiliate, we earn on qualifying purchases.
Techniques for Proper Masking Application
Using precise masking tools guarantees your edges stay sharp and accurate. Proper application helps achieve seamless edge blending, giving your project a professional finish. Mastering these techniques makes a noticeable difference in your overall results. Incorporating performance upgrades can also enhance the final appearance and functionality of your work. Additionally, leveraging AI-powered tools can assist in achieving more precise masking outcomes. For optimal results, selecting the right vacuum for your flooring type ensures a clean surface free of debris before masking begins. Understanding essential oils for specific health concerns can further support your overall well-being and project focus.
Precise Masking Tools
To achieve clean, sharp edges during masking, selecting the right tools is essential. Masking tape is your primary tool for creating crisp lines, so choose painter’s tape that adheres well without bleeding. For detailed or curved edges, edge brushes are invaluable; their fine tips allow you to follow contours precisely. Use masking tape along straight edges, pressing it firmly to prevent paint seepage. When working on intricate details, apply edge brushes carefully, using steady strokes to define clean boundaries. Combining these tools ensures your masking is accurate, reducing touch-ups later. Keep the tools clean and in good condition for ideal results. Proper technique and the adhesion qualities of your masking tools are crucial to preventing paint bleed and achieving professional-looking edges that elevate your project’s quality. Additionally, selecting tools with appropriate adhesion properties can significantly impact the precision and neatness of your masking work. Understanding how Masking tape interacts with different surfaces can help you choose the best product for your specific project, ensuring cleaner lines and less frustration. Using high-quality masking supplies can also extend the lifespan of your tools and improve overall results.
Seamless Edge Blending
Achieving seamless edge blending requires careful application of masking techniques to create smooth shifts between colors or surfaces. To achieve flawless edge blending and seamless progressions, focus on these key methods:
- Use soft, feathered brushes on your mask to diffuse edges gently.
- Overlap masked areas slightly to encourage smooth gradations.
- Work in thin layers, gradually building up color for better control.
- Maintain consistent pressure and flow when applying mask or paint to avoid harsh lines.
- Ensuring proper food safety practices during masking application can prevent unintended contamination.
Mastering the Cut-In Method for Sharp Edges
Mastering the cut-in method is essential for creating sharp, clean edges in your masking work. To achieve this, focus on precise edge framing, which involves carefully outlining the border between different surfaces. Use a high-quality, angled brush to help control your paint and maintain a steady hand. As you apply paint, work with smooth, controlled strokes to prevent paint bleed and ensure crisp lines. Incorporate paint feathering near the edges to blend the new coat seamlessly with adjacent areas, giving a professional finish. Keep your brush slightly damp for better control and avoid overloading it. Practice steady, deliberate motions, and always keep your brush aligned with the edge you want to define. This approach guarantees sharp, pro-level edges every time.
Tips for Achieving Even and Consistent Paint Lines

Getting even and consistent paint lines starts with proper preparation and technique. To prevent paint bleed and achieve smooth edges, focus on edge feathering by lightly blending the paint into adjacent areas. Use high-quality brushes or trim rollers for clean application. Keep your tools well-maintained and avoid overloading with paint. When masking, ensure edges are pressed tightly to the surface to reduce gaps. Always tape carefully, pressing down edges to prevent paint bleed underneath. Work slowly along the line, maintaining a steady hand to avoid uneven thickness. If you notice paint bleeding, gently feather the edge with a brush before applying the next coat. These tips help create sharp, professional-looking lines and even coverage.
Common Mistakes and How to Avoid Them
One common mistake during masking and cut-in work is rushing through the process, which often leads to uneven edges and paint bleed. Many painters fall into the trap of skipping proper preparation or using improper tools, resulting in messy lines. To avoid these common pitfalls, take your time to secure masking tape firmly and use high-quality, angled brushes for precise edges. Proper techniques include cutting in slowly and steadily, maintaining a steady hand, and keeping brushes clean. Rushing can cause paint to seep under the tape or create jagged lines. Remember, patience and attention to detail are key. By following proper techniques and avoiding haste, you’ll achieve clean, professional-looking edges that enhance your overall paint job.
Troubleshooting Bleeding and Paint Wicking
Bleeding and paint wicking are common issues that can ruin a clean finish during masking and cut-in work. To tackle bleeding control, ensure your tape adheres properly and is pressed down firmly along edges. Proper paint wicking prevention involves using high-quality brushes or rollers and avoiding overloading them with paint. Here are some tips:
Prevent bleeding and wicking by sealing tape edges and using quality tools with thin coats.
- Use primer on surfaces prone to bleeding before painting
- Apply a thin, even coat of paint to reduce wicking
- Remove tape promptly once paint is slightly dry to prevent paint seepage
- Seal edges with a clear acrylic sealer if necessary
Finishing Touches for a Professional Look
To achieve a truly professional finish, paying attention to the fine details makes all the difference. Incorporate creative paint techniques, like subtle shading or textured effects, to elevate your work. Use decorative masking patterns to add unique visual interest and clean, crisp lines. Carefully inspect your edges and touch up any imperfections, ensuring sharp progressions and a seamless look. Removing masking tape at the right time prevents smudging or peeling, leaving clean edges. Consider layering different textures or colors to create depth and sophistication. Small details, such as precise line work and smooth progressions, help your project stand out. By focusing on these finishing touches, you’ll achieve a polished, professional appearance that showcases your skill and attention to detail.
Maintenance and Care of Your Masking and Cutting Tools

To keep your masking and cutting tools in top shape, you need to focus on proper cleaning techniques after each use. Storing your tools correctly also prevents damage and guarantees they’re ready when you need them. Taking these simple steps will extend the life of your tools and improve your results.
Tool Cleaning Techniques
Proper maintenance of your masking and cutting tools is essential to guarantee clean, precise results and extend their lifespan. Regular cleaning prevents buildup and keeps tools in top condition. After each use, gently remove excess paint from paint brushes and rinse them thoroughly with water or solvent, depending on the paint type. For masking tape, peel it off carefully and wipe blades or cutters to remove adhesive residue. Use a soft cloth or brush to clean blades and tools, avoiding harsh abrasives that could cause damage. Store your tools in a dry, clean area to prevent rust and deterioration.
- Rinse paint brushes immediately after use
- Wipe blades and cutters with a soft cloth
- Remove paint residue from masking tape edges
- Apply a light coat of oil to metal parts to prevent rust
Proper Storage Practices
After cleaning your masking and cutting tools, storing them correctly helps maintain their sharpness and functionality. Proper storage safety means keeping tools in a dry, secure place away from moisture and potential damage. Use a designated toolbox or drawer to prevent tools from bouncing around and dulling edges. Label organization is key; clearly mark containers with tool types to avoid mix-ups and save time. Store blades and cutters separately from other supplies to prevent accidental cuts or damage. Wrap blades in protective covers or sheaths to preserve their sharpness and ensure safety. Regularly inspect your storage setup, replacing any damaged labels or broken compartments. Good storage practices keep your tools in optimal condition, ready for precise masking and cut-in work every time.
Frequently Asked Questions
How Do I Choose the Best Masking Tape for Different Surfaces?
To select the best masking tape for different surfaces, consider masking tape types and surface compatibility. For delicate surfaces like painted walls or wallpaper, opt for painter’s tape designed to peel cleanly without damage. For rough or textured surfaces, use a stronger, heavy-duty masking tape. Always check the label to make certain the tape is suitable for your specific surface, and test a small area first to prevent any unwanted residue or damage.
What Are Advanced Techniques for Achieving Perfect Cut-In Edges?
Achieving edge crispness like a laser beam requires advanced cut-in techniques. You should use high-quality painter’s tape with excellent tape adhesion, pressing it firmly along the edge to prevent paint bleed. Use a high-quality, angled brush for precise cuts, feathering the paint carefully. For the cleanest lines, apply tape in small sections, remove it slowly while paint is still tacky, and consider using a damp cloth to smooth imperfections for flawless results.
How Can I Prevent Paint Bleeding on Textured Surfaces?
To prevent paint bleeding on textured surfaces, you should start with thorough surface preparation, cleaning and sanding to guarantee a smooth base. Use high-quality painter’s tape to mask edges carefully, and apply primer to enhance adhesion. When painting textures, avoid overloading your brush or roller, and work in thin coats. This approach minimizes bleeding, giving you cleaner edges and a more professional finish on textured surfaces.
What Are the Safety Precautions When Using Cutting Tools?
Imagine yourself wielding a sharp blade—safety gear like goggles, gloves, and a mask protect you from splinters and debris. Always inspect your tools before use, ensuring they’re sharp and well-maintained to prevent slips. Keep your workspace tidy and cut away from your body. These precautions keep you safe, reduce accidents, and make your work smoother, letting you focus on precision without fear.
How Do I Remove Masking Tape Without Damaging the Paint?
To remove masking tape without damaging the paint, use gentle removing tape tricks like pulling it back slowly at a 45-degree angle. Make sure the paint is fully dry, but not too long after, to avoid peeling. For clean paint edge cleanup, hold the tape firmly and peel steadily to prevent jagged lines. This method helps you achieve crisp edges and keeps your paint job looking professional.
Conclusion
Mastering masking and cut-in techniques transforms your painting from good to mind-blowingly perfect. With the right tools, preparation, and practice, you’ll achieve razor-sharp lines that make your walls look like they were done by pros—no magic needed. Keep troubleshooting pesky issues and maintaining your tools, and you’ll gain access to a level of craftsmanship that’s truly legendary. Remember, every stroke is a step toward creating a space so stunning, it’ll leave everyone in awe!