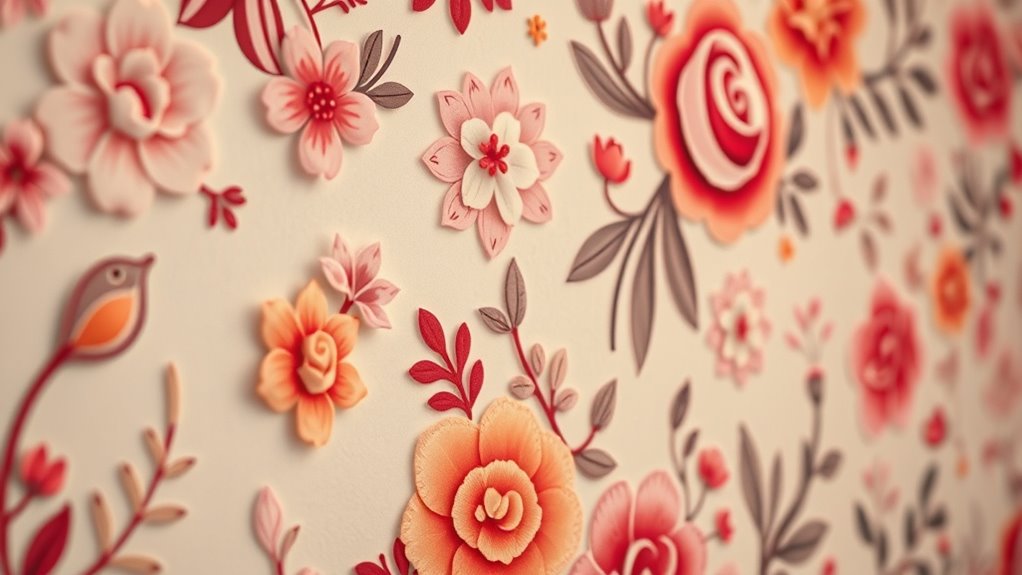

To customize wall decals, choose designs that match your style and space, then plan your layout beforehand with tools like painter’s tape or templates. Layer decals by starting with a large focal piece and adding smaller ones around it to create depth. Mix different styles, textures, and transparent options to enhance visual interest. Thoughtful coordination and layering can transform any room into a vibrant, personalized refuge—keep exploring for even more creative tips to make your decor stand out.
Key Takeaways
- Use layered decals with varying sizes and textures to create depth and visual interest.
- Plan decal placement beforehand with templates or painter’s tape for cohesive arrangements.
- Combine different decal types, such as patterns, images, and lettering, for personalized and dynamic designs.
- Start with a central focal decal and add smaller pieces around it for balanced layering.
- Choose flexible, transparent-background decals to facilitate seamless layering and easy customization.
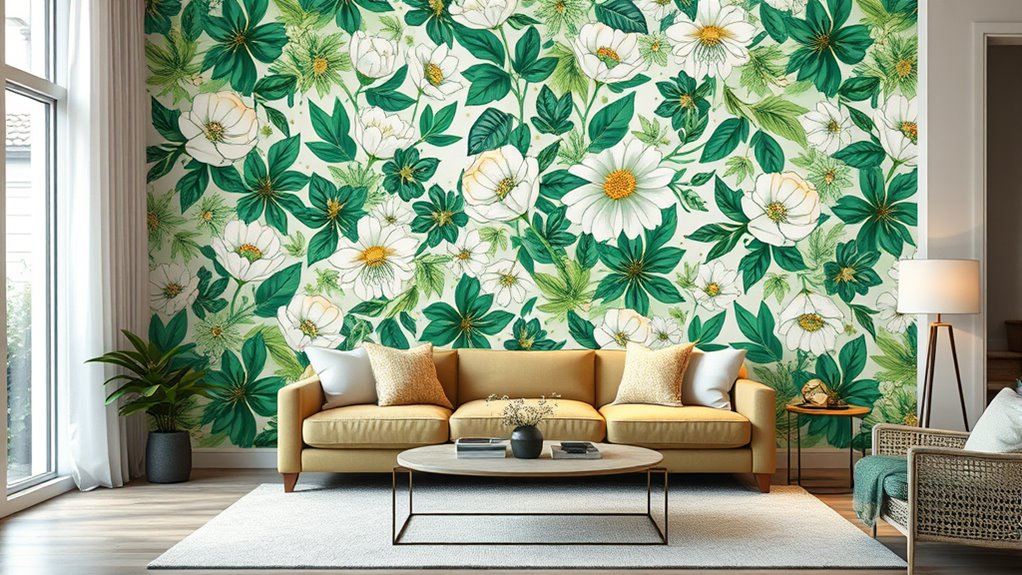
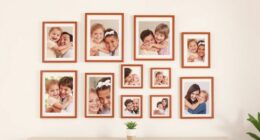
Wall decals are a versatile and stylish way to personalize any space without the permanence of paint or wallpaper. Whether you’re decorating a child’s bedroom, updating a living area, or adding a touch of personality to your office, decals offer endless possibilities for customization. One of the biggest advantages is the availability of removable options, which let you experiment with different designs without the worry of damaging your walls. These decals stick easily and peel off cleanly, so you can change your decor as often as you like, making them perfect for renters or anyone who likes to refresh their space regularly. When selecting decals, it’s important to *regard* how they’ll coordinate with your existing design elements. Opt for colors and themes that complement your furniture, accessories, and overall style to create a cohesive look. You can choose decals that match your room’s color palette or serve as eye-catching accents that add contrast and interest. Incorporating layered decals can also help create a more dynamic visual effect. Layering techniques elevate the impact of wall decals, allowing you to create dynamic and unique displays. Start with a large, central decal as your focal point, then add smaller decals around it for a layered, curated effect. For example, in a nursery, you might place a big tree decal on the wall and surround it with smaller animals or clouds, giving the space a whimsical, storybook feel. In a living room, layering decals of varying sizes and textures can add depth and dimension, making the wall feel more lively and engaging. To achieve a seamless look, plan your layout before peeling and sticking. Use painter’s tape or print out paper templates to visualize how different decals will work together. This planning step helps *take into account* proper placement and avoids overcrowding or imbalance. Consider mixing different types of decals—such as lettering, patterns, or images—to introduce variety and interest. Choosing decals with transparent backgrounds or flexible materials can also make layering easier and more effective. Ultimately, combining removable decals with thoughtful design coordination and layering techniques allows you to craft a personalized, vibrant space that reflects your style and makes a statement.
Frequently Asked Questions
How Do I Remove Wall Decals Without Damaging Paint?
To remove wall decals without damaging paint, start by gently heating the edges with a hairdryer to loosen adhesive, then slowly peel them off. Use removal techniques like applying a mixture of warm water and mild soap or rubbing alcohol to loosen any residue. Always protect your paint by working slowly and avoiding harsh scrapers. These steps help make certain paint stays intact while effectively removing the decals.
Can Wall Decals Be Repositioned Multiple Times?
Did you know over 80% of wall decal users say they love repositioning? Yes, wall decals can be repositioned multiple times if you follow proper remanence durability tips. Gently peel and stick, avoiding excessive stretching. Use a steady hand and work from one corner for smooth repositioning. Keep your surface clean, and avoid repositioning too often to prevent damage. With these tips, you can change your decor whenever inspiration strikes!
What Materials Are Best for Custom Layered Decals?
You should choose vinyl or static cling materials for custom layered decals because they’re flexible and easy to reposition. Vinyl offers durability, while static cling is non-permanent and great for layering without adhesive residue. When using layering techniques, opt for thinner materials to ensure easy stacking and removal. These options allow you to customize your wall art with ease, creating dynamic designs that can be rearranged whenever you want.
How Long Do Wall Decals Typically Last Outdoors?
Outdoor wall decals typically last 3 to 5 years, but their durability depends on factors like material quality and exposure to weather. For longer-lasting results, choose UV-resistant and waterproof decals. To maximize lifespan, clean the surface thoroughly before application, avoid placing decals in direct sunlight initially, and regularly check for damage. Proper outdoor application tips help guarantee your decals withstand the elements and maintain their vibrant appearance over time.
Are There Eco-Friendly Options for Wall Decals?
A stitch in time saves nine, and choosing eco-friendly wall decals proves that. You can opt for sustainable vinyl options or decals with biodegradable adhesives, which reduce environmental impact. These eco-friendly choices are perfect for adding style while caring for the planet. Whether for indoor or outdoor use, eco-conscious decals help you decorate responsibly, proving that beauty and sustainability can go hand in hand.
Conclusion
Now that you know how to customize and layer wall decals, you’re ready to turn your walls into a canvas of creativity. Think of each decal as a brushstroke in your personal masterpiece, transforming a plain space into a vibrant story. With a little imagination and these techniques, your walls will become a living gallery that reflects your style. So go ahead—let your walls whisper your unique story and make every inch truly yours.