To blend touch-ups without flashing, start by smoothing the edges of the new polish with a fine brush dipped in a matching or neutral shade. Work gradually, building up thin layers and feathering the edges outward to create a seamless shift. Keep your hand steady and use proper lighting to avoid harsh lines. Patience and a gentle touch are key, and if you continue exploring, you’ll discover more tips for flawless nail fixes.
Key Takeaways
- Use a small, fine brush to gently feather the edges of the touch-up for seamless blending.
- Gradually build color with thin, multiple layers to avoid harsh lines and flashing.
- Blend edges into the existing polish using neutral or matching shades for a natural transition.
- Keep a steady hand and proper lighting to ensure precise application without harsh flashes.
- Allow each layer to dry fully before adding more, preventing uneven buildup and flashing.
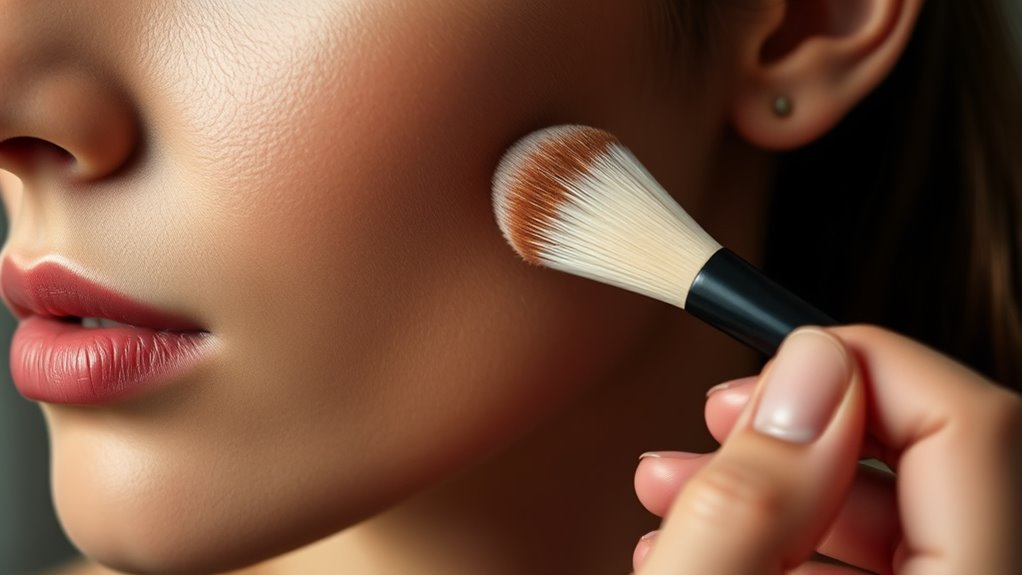
Have you ever noticed uneven color or visible lines after a touch-up? It’s a common issue that can make your nails look less polished and more noticeable than you want. To avoid this, mastering techniques like color correction and edge blending is essential. These skills help guarantee your touch-ups blend seamlessly with your existing nail color, creating a smooth, professional finish. The goal is to make the repair invisible, so it looks like your nails are flawless all around.
Color correction is a key step when your touch-up doesn’t match perfectly. If you notice a stark contrast between the new color and your existing polish, don’t just try to layer more polish over it. Instead, use a small brush to blend the edges carefully with a bit of the original color or a neutral shade that can help even out the transition. This technique minimizes the appearance of uneven patches or streaks. If the color is too dark or too light, you can also use a thin layer of a matching shade to gradually adjust the tone, blending it into the surrounding area. Patience is crucial here—building up the color gradually prevents harsh lines and creates a more natural look. Proper blending techniques are essential for achieving professional results and avoiding visible inconsistencies.
Use a small brush to blend edges with original or neutral shades for seamless touch-ups.
Edge blending is equally important for achieving a seamless finish. When you apply touch-up polish or gel, focus on feathering the edges outward. Use a fine brush or a clean, slightly damp brush to gently blend the edges into the base color. This prevents the new polish from sitting flat against the old, which creates visible lines. Instead, the transition becomes smooth and gradual, mimicking the natural curve of your nail. Always work with thin layers and cure or dry each layer thoroughly before adding the next, as this prevents pooling or uneven buildup around the edges. When done correctly, edge blending ensures your touch-up looks integrated and professional, even if you’re doing it at home.
Practicing these techniques consistently will boost your confidence and improve your results over time. Keep a steady hand, work in good lighting, and use quality tools to facilitate precise application. Remember, the key to flawless blending is patience—taking your time to color correct and blend edges will make your touch-ups virtually invisible. With a little effort, you’ll be able to fix imperfections quickly and keep your nails looking perfect without noticeable lines or uneven spots.
Frequently Asked Questions
How Do I Prevent Color Mismatch During Touch-Ups?
To prevent color mismatch during touch-ups, focus on perfect color matching and maintaining paint consistency. Mix your touch-up paint thoroughly to match the original shade exactly, testing on a small area first. Use the same application tools and techniques to ensure even coverage. Keep your paint container sealed tightly to avoid drying out or altering the color. Consistent pressure and strokes help blend the new paint seamlessly with the existing wall, preventing visible patches.
What Tools Are Best for Seamless Blending?
Imagine a painter’s brush gliding smoothly over a canvas—your tools should do the same. For seamless blending, choose fine-tipped brushes for precise color matching and a soft sponge for gentle gradual shifts. Color-matching palettes help you blend shades effortlessly, while blending sponges and small detail brushes ensure no harsh lines. Your goal is a natural finish, so select tools that allow control and finesse for flawless touch-ups.
How Long Should I Wait Between Touch-Up Layers?
You should wait at least 15-20 minutes between touch-up layers to guarantee proper layer drying. This pause allows the color to set and helps prevent flashing or unevenness. During this time, check your color matching to see if it blends seamlessly with the underlying layer. Rushing the process can cause mismatched tones or visible edges, so patience is key for a smooth, natural finish.
Can I Blend Touch-Ups in Different Lighting Conditions?
Can you blend touch-ups in different lighting conditions? Yes, but it’s tricky. Lighting consistency is key for seamless color matching; if you switch environments, your touch-up might stand out. To avoid surprises, always check your work in natural light or under the same conditions you originally applied the paint. If you must blend in different lighting, do a quick check and adapt to ensure your touch-up blends perfectly, no matter the setting.
What Are Common Mistakes to Avoid When Blending?
To avoid technique pitfalls and blending mistakes, you should guarantee your color matches perfectly and apply even pressure. Don’t rush the process—take your time to feather the edges smoothly. Avoid harsh lines or over-blending, which can cause a patchy look. Always check your work in different lighting to spot inconsistencies. Remember, patience and attention to detail are key to achieving seamless, natural-looking touch-ups.
Conclusion
So, next time you think blending touch-ups are a flawless secret, remember they’re just like hiding a stain—tempting, but often more noticeable when you try to cover it up. Ironically, the more you fuss, the more obvious it becomes. Instead of flashing your skills, embrace the natural imperfections. After all, a seamless blend is like a perfect sunset—beautiful because it’s a little unpredictable, not because you tried to erase every flaw.