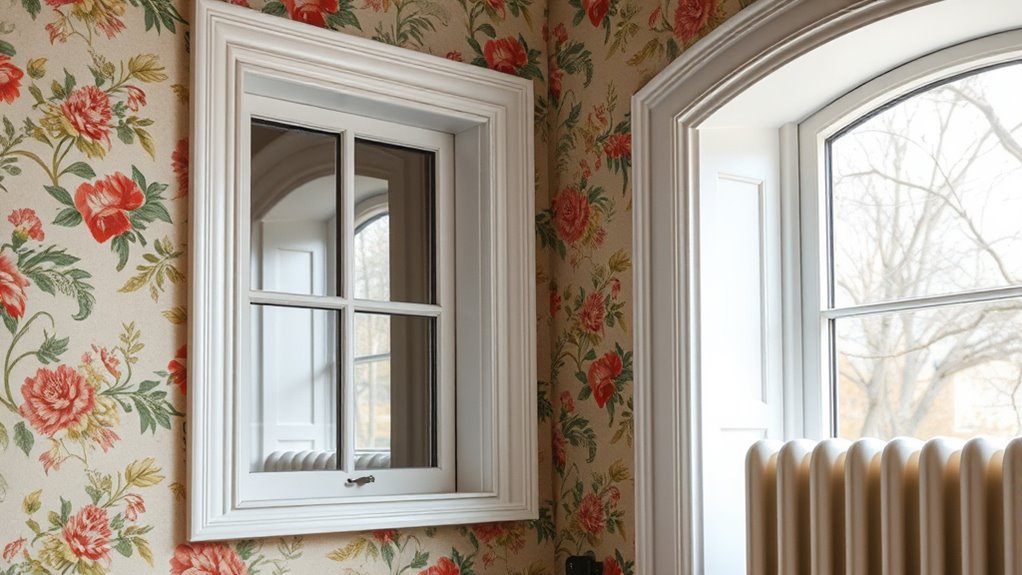

To wallpaper around windows and radiators, carefully measure and cut your wallpaper slightly longer than needed for easy trimming. Use a sharp blade to make precise cuts, especially around edges and features. Match patterns before applying, and smooth out bubbles with a brush or smoothing tool. Fold and trim excess wallpaper for a clean fit, ensuring tight seals around obstacles. Mastering these steps helps achieve a professional look—continue on to discover more detailed tips and techniques.
Key Takeaways
- Measure and cut wallpaper slightly longer than window or radiator height for precise trimming.
- Use a sharp blade to make clean, accurate cuts around window frames and radiator edges.
- Fold excess wallpaper after pattern matching to carefully trim along contours for a tight fit.
- Apply wallpaper in sections, smoothing carefully around features to prevent bubbles and ensure adhesion.
- Take your time to align patterns and trim precisely for a neat, professional finish around obstacles.

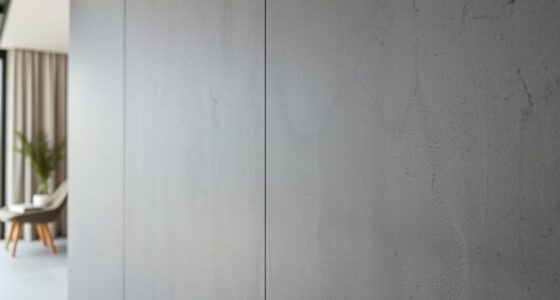
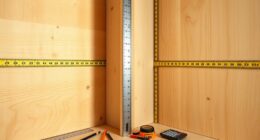
Wallpapering around windows and radiators can be challenging, but with the right techniques, you can achieve a seamless finish. One of the most important factors is choosing the right adhesive types. Different wallpapers require specific adhesives for ideal sticking and durability. For instance, heavy or textured wallpapers often need stronger, water-based adhesives that provide extra grip, while thinner papers might work well with standard paste. Make sure to read the manufacturer’s instructions carefully and select an adhesive suitable for your wallpaper type. Proper application of adhesive is essential; apply it evenly with a roller or brush, ensuring you cover the entire backing paper if it’s pre-pasted. This helps prevent bubbles and ensures a smooth, secure fit around tricky areas like windows and radiators. Additionally, understanding how contrast ratio impacts image quality can help you better visualize the desired outcome, ensuring your wallpapering project looks professional and polished. Pattern matching plays a critical role when wallpapering around these features. Before you start, carefully examine your wallpaper’s pattern and plan your cuts accordingly. If your wallpaper has a distinct pattern, like florals or geometric shapes, you’ll want to align it precisely for a professional look. To do this, measure the distance from the edge of the wall to the pattern’s start point, then match it on each strip as you hang the wallpaper. When working around windows, cut the paper slightly longer than the height of the window to allow for trimming and adjustments. For radiators, you’ll often need to cut around the pipework and radiator brackets. Use a sharp blade to make precise cuts, and consider creating small, clean slits at the edges to help the paper bend smoothly around corners. This ensures a tight, clean fit that follows the contours of the wall. When you’re working around obstacles like windows and radiators, it’s helpful to work in sections. Apply the wallpaper in manageable strips, matching patterns carefully before smoothing out any bubbles or creases. Use a wallpaper brush or smoothing tool to press the paper into corners and around edges, taking care not to stretch or distort the pattern. For windows, fold back the excess paper after aligning the pattern, then trim close to the edge with a sharp knife. Around radiators, cut the wallpaper into small sections to make folding and trimming easier. Taking your time to align patterns and cut accurately results in a professional finish. With patience and attention to detail, you’ll find that wallpapering around windows and radiators becomes a manageable task, leaving your walls looking neat and polished.
Frequently Asked Questions
What Tools Are Best for Precise Cuts Around Windows and Radiators?
For precise cuts around windows and radiators, you should use a sharp utility knife or craft knife for accuracy in precision cutting. A pair of small, sharp scissors can help with detailed corner trimming. Additionally, a contour gauge or flexible ruler allows you to trace uneven edges accurately before cutting. These tools guarantee clean, professional-looking results when wallpapering around tricky areas, making your job much easier and more precise.
How Do I Prevent Wallpaper Tears When Trimming Near Fixtures?
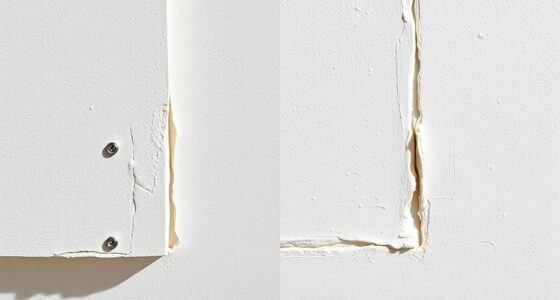
To prevent tears when trimming near fixtures, use a sharp utility knife for precise edge trimming. Protect fixtures by applying painter’s tape or foil around them before cutting. Gently score the wallpaper along the edges, keeping your blade steady. Take your time to ensure clean cuts without pulling or tearing. This combination of careful edge trimming and fixture protection helps you achieve a professional finish without damaging the wallpaper.
Can Wallpaper Be Applied Directly Over Existing Paint or Wallpaper?
Did you know that 60% of wallpaper failures happen because of poor wall prep? You can apply wallpaper directly over existing paint if it’s in good condition, but it’s best to prep the wall first. Use a primer to guarantee proper adhesion, and thoroughly clean and smooth the surface. Proper wall preparation and primer application create a strong base, preventing peeling and ensuring your wallpaper lasts longer.
How Do I Handle Uneven or Textured Wall Surfaces?
To handle uneven or textured wall surfaces, start with proper wall preparation by cleaning and sanding the area. Use a technique called texture smoothing—applying a joint compound or primer to level out bumps and rough patches. Once the surface is smooth and dry, verify it’s primed thoroughly before wallpapering. This process helps your wallpaper adhere better and results in a clean, professional-looking finish.
What Is the Best Way to Seal Edges for a Clean Finish?
To achieve a clean finish, you should use seam sealing along the edges of your wallpaper. Apply a thin line of seam sealer with a brush or a sealing tool to secure the seams and prevent peeling. Additionally, install edge trim around windows and radiators to cover raw edges and create a polished look. This combination guarantees your wallpaper stays intact and looks professional, even in tricky areas.
Conclusion
As you finish wallpapering around your windows and radiators, imagine the seamless flow of your space coming to life. The crisp edges and smooth joins create a cozy, polished look that transforms your room into a warm, inviting haven. With each careful cut and press, you’ve crafted a perfect frame for your windows and radiators—like a artist finishing a masterpiece. Now, step back and enjoy the stunning view of your beautifully finished walls.