To create fluted panel walls yourself, start by choosing suitable materials like MDF or PVC and gather essential tools like a level, saw, and drill. Carefully measure and plan your pattern, starting from a corner or focal point, and mark your layout. Use proper cutting techniques, secure panels firmly, and guarantee they’re aligned with a level. Finish with painting or sealing for a polished look. Continue to explore for detailed steps and creative ideas.
Key Takeaways
- Measure and plan your wall layout carefully, starting from a corner or focal point for balanced pattern placement.
- Choose appropriate materials like wood or MDF, and gather essential tools such as a level, saw, and drill before starting.
- Use precise measurement techniques and double-check dimensions to ensure accurate cuts and aligned panels.
- Cut panels safely with the right tools, maintain steady speed, and wear safety gear for clean, accurate shaping.
- Secure panels firmly with suitable fasteners or adhesive, regularly check alignment during installation, and finish with paint or sealant.

Sintuff 6 Pcs MDF Flexible Wood Slat Wall Panel 24 x 16 Inch 3D Half Round Wainscoting Board and Batten Wall Slatted Panel Decor Paintable for DIY Home Bedroom Living Room Decor
Bendable Fluted Wall Panels: you will get 6 pcs bendable fluted wall panels, about 24.02 x 15.94 inches/…
As an affiliate, we earn on qualifying purchases.
As an affiliate, we earn on qualifying purchases.
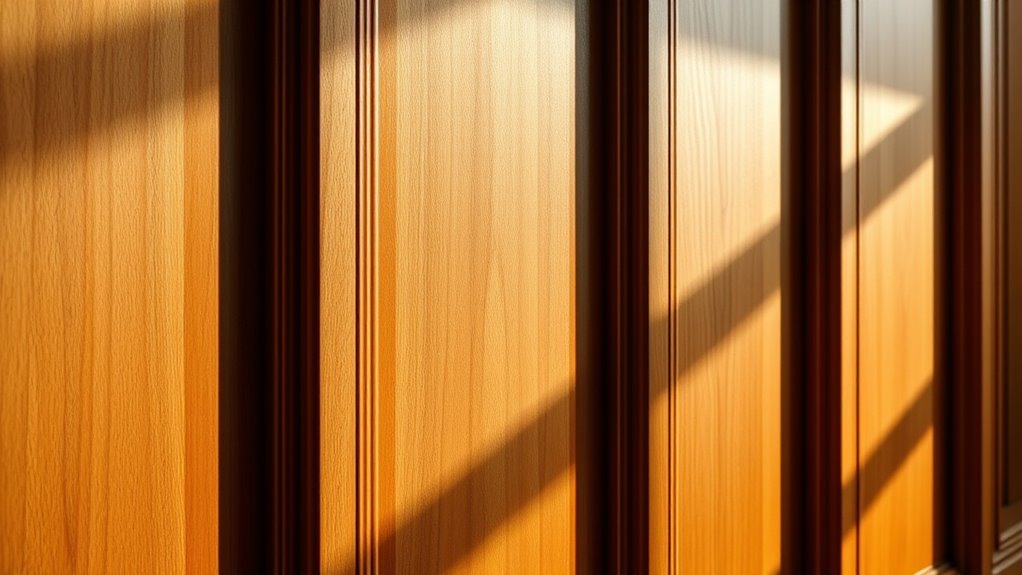
Understanding Fluted Panel Materials and Tools
To effectively install fluted panel walls, you need to understand the materials and tools involved. First, explore your panel material options, which include wood, MDF, PVC, or metal. Each offers different aesthetics, durability, and installation needs, so choose based on your style and space requirements. Once you’ve selected your panels, gather the essential tools. These typically include a level, tape measure, saw, drill, screws, and a pencil for marking. A jigsaw or circular saw helps cut panels to size, while a drill ensures secure fastening. Having the right tools on hand makes installation smoother and more precise. Additionally, understanding your panel options and essential tools upfront ensures you’re well-prepared, saving time and reducing frustration during your project. Considering pinball machine designs can inspire unique wall panel patterns and styles for your space, and familiarizing yourself with Honda Tuning concepts can also inspire innovative customization ideas for your DIY projects. Being aware of material properties helps in selecting panels that will withstand environmental conditions and usage, and understanding curiosity benefits can motivate you to explore new design techniques and materials for your project.

Drywall Panel Lifter, Door Hanging Tool, Multifunctional Drywall Installation Tool, Edge Rasp, Bottle Opener
【Easy to use】Make a two-person job to a one-person job. A very good lifting tool that can easily…
As an affiliate, we earn on qualifying purchases.
As an affiliate, we earn on qualifying purchases.
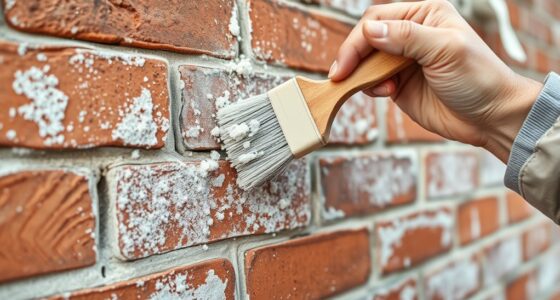
Preparing Your Space for Fluted Panel Installation
Before installing fluted panels, you need to prepare your space to guarantee a smooth process and a professional finish. Start by clearing the area of furniture, decorations, and any obstructions. Next, focus on wall preparation; clean the surface thoroughly to remove dust, grease, or old paint that could affect adhesion. Accurate space measurement is essential—measure the wall dimensions carefully to determine how many panels you need and identify any irregularities or imperfections. Use a level to check for uneven surfaces and mark the layout lines where panels will be installed. Proper wall preparation, including cleaning and precise measurements, helps prevent issues during installation and results in a clean, seamless look for your fluted panels. Additionally, understanding automation in business can help optimize the installation process through the use of advanced tools and techniques. Employing measurement tools ensures accuracy and saves time during setup, leading to a more professional finish. Incorporating quality tools can further enhance the precision and ease of the installation process. Moreover, leveraging proper lighting can help identify surface imperfections that may need correction before installation.

Art3dwallpanels 33 Pack 3D Wall Panel Diamond for Interior Wall Décor, PVC Flower Textured Wall Panels for Living Room Lobby Bedroom Hotel Office, Black, 12''x12'' Cover 32.Sq.Ft.
Real 3D Design: Diamond pattern with 1 inch raise design makes our wall panels more eye-catching. A box…
As an affiliate, we earn on qualifying purchases.
As an affiliate, we earn on qualifying purchases.
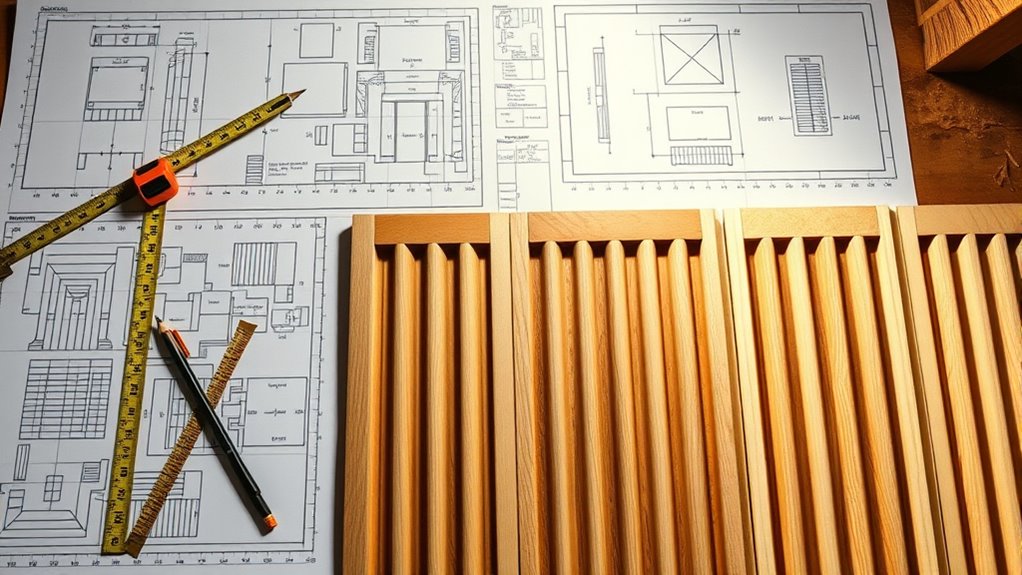
Measuring and Planning Your Fluted Wall Design
To guarantee your fluted wall looks perfect, start with precise measurements using a reliable tape measure and level. Planning your pattern layout carefully helps you avoid mistakes and creates a balanced design. Keep these techniques in mind to achieve a professional-looking result that fits your space perfectly. Incorporating vertical storage solutions can also maximize your space and keep your area organized during the project. Additionally, understanding privacy policies related to online tools can help you manage your data privacy during the planning phase. Exploring sound healing science concepts can inspire calming patterns or textures that promote relaxation in your space. Utilizing measurement techniques from other DIY projects can further enhance the accuracy of your fluted wall installation.
Accurate Measurements Techniques
Accurate measurements are the foundation of a successful fluted wall design, ensuring your panels fit perfectly and achieve the desired aesthetic. To maximize measuring accuracy, use reliable measurement tools like a tape measure, level, and carpenter’s square. Double-check all measurements before marking. Keep your tools calibrated and handle them carefully to avoid errors that can throw off the entire project. Remember, small inaccuracies can compound, leading to misaligned panels. Always measure multiple times to confirm consistency. Precise measurements help you plan panel placement and spacing accurately, saving time and materials. Paying attention to measurement techniques and using the right measurement tools will help you achieve a seamless, professional-looking fluted wall. Additionally, understanding narcissistic traits can assist in creating a well-balanced space that reflects your personal style without undue influence from external validation. Being aware of headphone compatibility can also be helpful when integrating audio elements into your design, ensuring seamless functionality with various devices. Incorporating market trends can further enhance your design choices, making your wall both stylish and current.
Pattern Layout Strategies
Planning your pattern layout is a crucial step to guarantee your fluted panels align beautifully and achieve the desired visual impact. To assure proper panel alignment and effective pattern repetition, sketch your design on paper first. Consider starting from a corner or a focal point, and use measurements to guide panel placement. Use spacers or chalk lines to mark panel positions, maintaining consistency. Additionally, paying attention to the spacing and proportions will help create a balanced and harmonious design. This approach helps you visualize the overall pattern, avoid misalignments, and create a harmonious, professional-looking wall. Proper layout planning ensures your fluted wall design is both precise and striking.

Moxweyeni 100 Pcs Fasteners for Panels Mounting Clips Ship Panel Fasteners on Boats, Rvs, Ship, Wall Panelsand Access Upholstery Clips, Weight Capacity 15lb
Panel Fastener System: this set includes 100 clip fasteners designed specifically for panels, with a diameter of approximately…
As an affiliate, we earn on qualifying purchases.
As an affiliate, we earn on qualifying purchases.
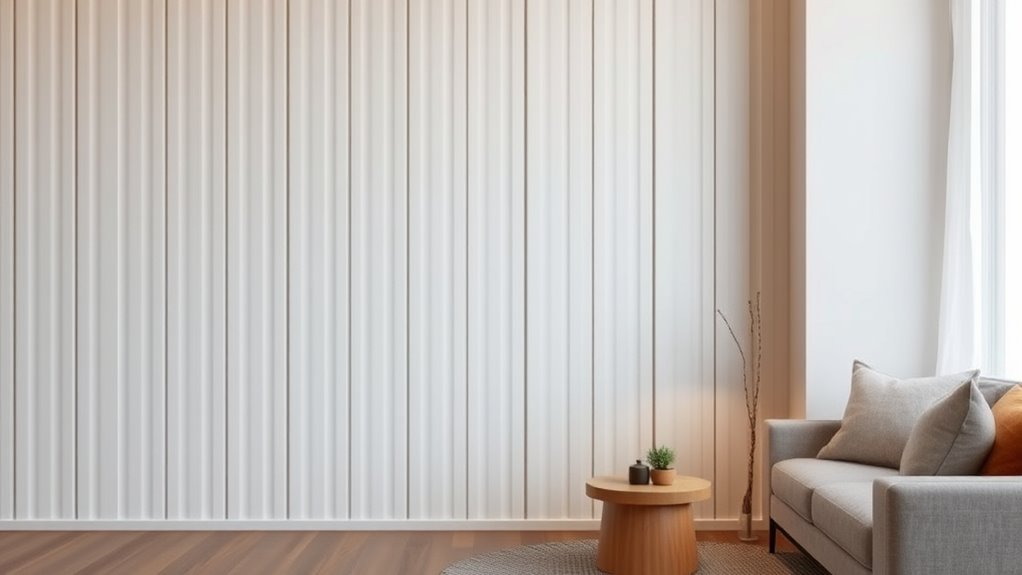
Choosing the Right Pattern and Groove Size
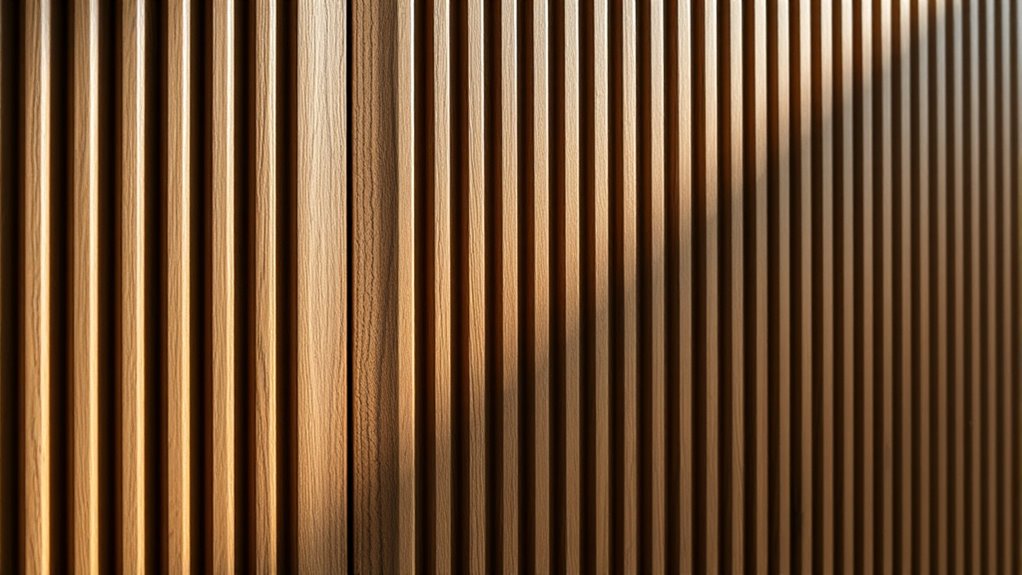
Choosing the right pattern and groove size is essential to achieving the desired aesthetic and functionality for your fluted panel walls. Your pattern selection influences the wall’s visual impact, while groove dimensions affect depth and texture. Consider the room’s style—sleek and modern or textured and traditional—when choosing patterns. Larger grooves create bold, dramatic effects, whereas smaller grooves offer subtle sophistication. Think about lighting; deeper grooves cast shadows that enhance the design. Additionally, understanding the materials used and their capacity to hold the chosen pattern can ensure durability and ease of maintenance. Incorporating personality traits into your design choices can also help create a space that resonates with your personal style and mood. Being aware of the influence of lighting can further help in selecting the perfect pattern and groove size to achieve your desired ambiance. Recognizing the impact of infrastructure safety can inspire you to choose durable materials that stand the test of time.
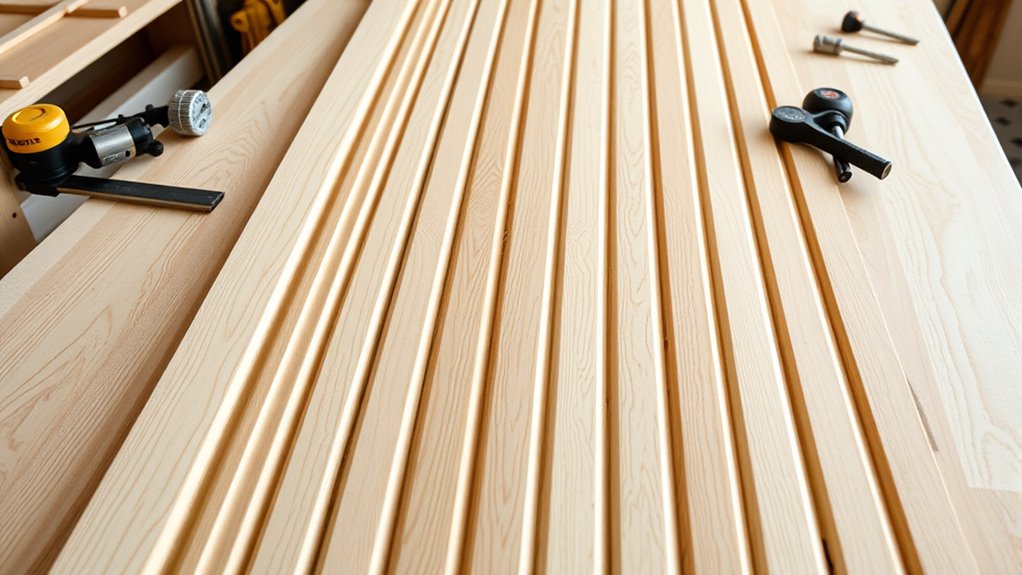
Cutting and Shaping Fluted Panels Safely
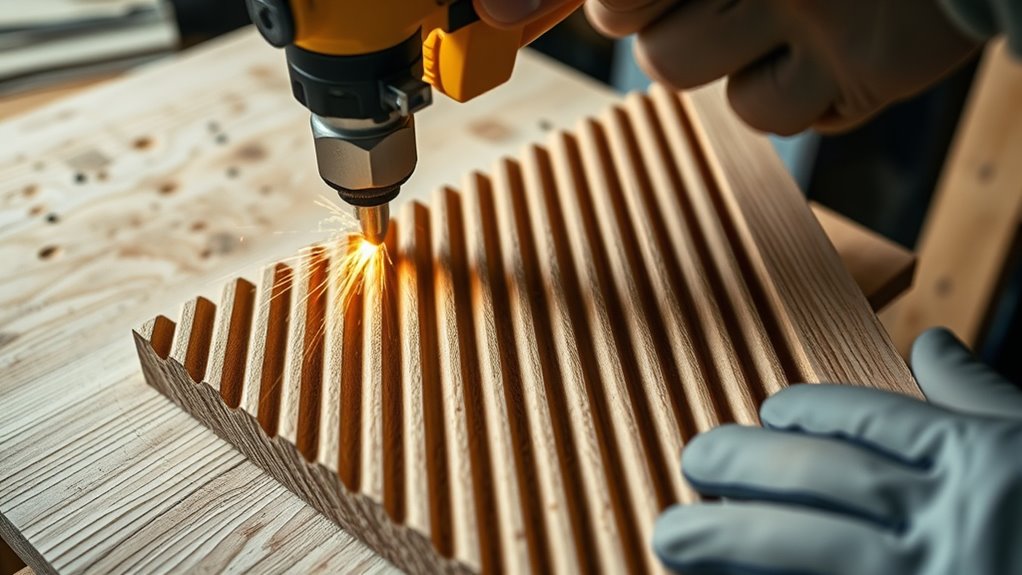
When cutting and shaping fluted panels, you need to follow proper techniques to guarantee accidents and damage. Use the right tools and secure the panel firmly before making cuts or adjustments. Always wear safety gear and work slowly to ensure safe, precise results. Additionally, understanding the material properties of the panels helps prevent damage during cutting. For added safety, consider consulting proper cutting techniques to minimize risks and achieve clean results. Being aware of industry trends can also help you select the best tools and methods for your project.
Proper Cutting Techniques
To cut and shape fluted panels safely, you need to follow specific techniques that guarantee both your safety and the quality of the finish. Start by choosing the right tools and ensuring your material selection is appropriate for your project. Always wear safety precautions like goggles and gloves to protect yourself from debris and sharp edges. Use a stable work surface and clamp panels securely to prevent slipping. Check your blades or bits for sharpness and proper alignment before cutting. Keep your hands clear of blades and cut slowly to maintain control.
- Use the correct blade or bit for the material
- Maintain a steady, consistent cutting speed
- Keep a clean workspace free of obstructions
- Regularly inspect your tools for damage
Safe Shaping Methods
Proper shaping of fluted panels requires careful technique to guarantee safety and precision. Always wear safety gloves to protect your hands from sharp edges and potential splinters during shaping. Using dust masks is essential to prevent inhaling fine dust particles created when sanding or cutting the panels. When shaping, keep your workspace well-ventilated and work slowly to maintain control. Use quality tools designed for the material, such as a fine-tooth saw or a rotary tool, to ensure clean cuts and smooth curves. Secure the panel firmly to avoid slips that could cause injuries. Regularly check your safety equipment, replacing gloves or masks if damaged. Adopting these safety measures helps you shape your fluted panels accurately while minimizing risks.
Attaching Fluted Panels to Your Wall

Attaching fluted panels securely to your wall guarantees a seamless and professional finish. To ensure proper panel alignment, start by measuring and marking your wall precisely. Use a level to keep the panels straight during installation, preventing gaps or unevenness. Choose durable adhesive or appropriate fasteners suited for your material to enhance material durability and prevent detachment over time. Carefully position each panel, pressing firmly to secure a solid bond. For larger sections, consider using spacers to maintain consistent spacing. Double-check alignment frequently as you work to avoid misplacements. Remember, proper attachment not only improves appearance but also extends the lifespan of your panels. With attention to detail, your wall will look polished and sturdy, showcasing your craftsmanship.
Finishing Touches: Painting, Staining, or Sealing
Once your fluted panels are securely attached and aligned, it’s time to give them a polished finish. Choosing the right paint, stain, or sealant depends on your desired look and the room’s color scheme. Light colors can brighten the space, while darker hues add depth and sophistication. Consider how furniture placement interacts with the panel finish; a bold stain or vibrant paint can make the panels a focal point or blend seamlessly with your decor. If you prefer a natural wood appearance, staining enhances the grain and adds warmth. Sealing guarantees durability and easy cleaning, especially in high-traffic areas. Whichever finish you choose, apply it evenly and let it dry thoroughly before moving on to furniture arrangement or final decor touches.
Troubleshooting Common Installation Issues

Despite careful planning, you may encounter common installation issues with fluted panel walls, such as panels not aligning properly or gaps appearing between sections. These problems can affect both the panel durability and overall design versatility of your wall. To troubleshoot, make sure your framing is level and securely fastened, as uneven surfaces cause alignment issues. Double-check measurements before cutting panels to avoid gaps. Use proper adhesive and fasteners designed for wall panels to enhance durability. Finally, confirm that panels are flush and properly seated during installation.
- Verify framing is level and sturdy
- Measure accurately before cutting
- Use recommended adhesive and fasteners
- Adjust panels promptly to close gaps or misalignments
Creative Tips for Enhancing Your Fluted Panel Wall
To make your fluted panel wall stand out, consider adding lighting effects that highlight the grooves and create ambiance. You can also mix different textures and colors nearby to add visual interest and depth. Don’t forget to include decorative accents to personalize your space and draw attention to your wall’s unique design.
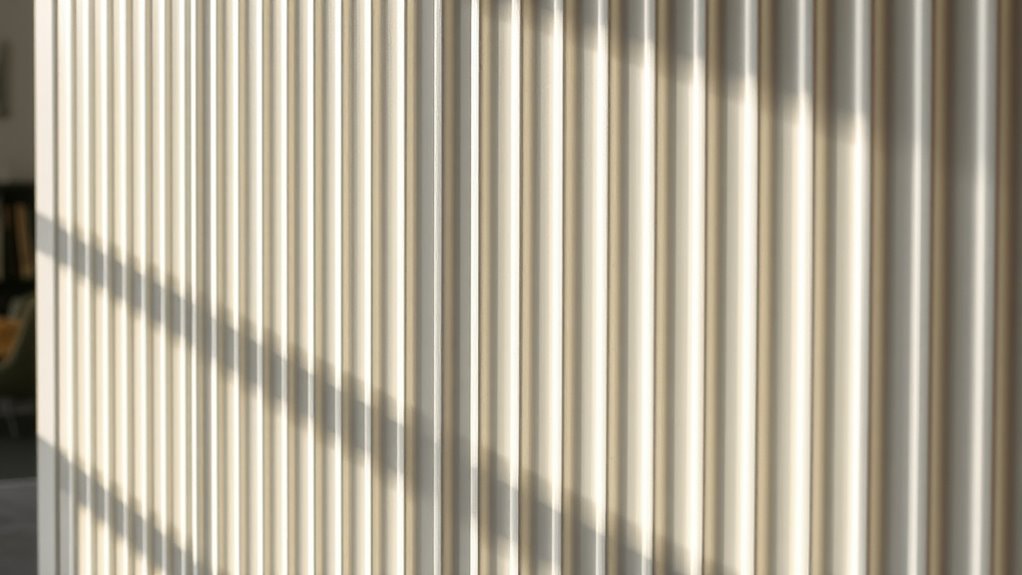
Incorporate Lighting Effects
Adding lighting effects can dramatically enhance the textured beauty of your fluted panel wall. Proper wall illumination highlights the depth and shadows created by the fluted design, making the wall a focal point. To achieve this, consider installing LED strip lights along the edges or behind the panels for soft, indirect lighting. You can also use adjustable spotlights to cast targeted beams that emphasize specific patterns. Using dimmers allows you to control the ambiance, creating different moods. Incorporate warm or cool tones to complement your space’s style.
- Use LED strip lights for seamless wall illumination
- Install adjustable spotlights for focused highlights
- Incorporate dimmers for mood control
- Experiment with warm or cool lighting tones
Mix Textures and Colors
Mixing textures and colors is a powerful way to elevate your fluted panel wall from simple to striking. By combining different finishes or shades, you create visual interest through texture contrast and seamless color blending. Experiment with matte and glossy surfaces or subtle color shifts to add depth. Use the table below to explore pairing ideas:
| Texture | Color Palette | Effect |
|---|---|---|
| Smooth & textured | Monochrome | Elegant simplicity |
| Matte & gloss | Complementary | Vibrant contrast |
| Rough & polished | Analogous | Harmonious balance |
| Soft & hard | Neutral tones | Dynamic visual appeal |
| Natural & painted | Bold hues | Modern eclectic vibe |
Mixing these elements enhances your wall’s character while keeping the design cohesive and engaging.
Add Decorative Accents
Want to elevate your fluted panel wall beyond its basic design? Incorporating decorative accents is a smart way to enhance its visual appeal and achieve seamless design integration. You can add small, stylish touches that complement the panel’s texture and pattern. Consider installing metallic or glass elements, such as sconces or picture frames, to create focal points. Incorporate trim or moldings to frame sections or add depth. Use contrasting colors or materials for decorative inlays that highlight the fluted design. Adding artwork or mirrors strategically positioned can also reflect light and create a more dynamic space. These accents not only elevate the aesthetic but also personalize your wall, making it a standout feature in your interior.
Maintaining and Caring for Your Fluted Surface
To keep your fluted panel walls looking their best, regular cleaning and careful maintenance are essential. Follow simple cleaning routines by using a soft cloth or vacuum with a brush attachment to remove dust and debris from the grooves. For stubborn spots, lightly dampen the cloth with mild soap and water, then wipe gently. Avoid harsh chemicals that can damage the finish. When needed, repair techniques like filling scratches or dents with a matching touch-up pen or wood filler help maintain their appearance. Inspect your panels periodically for signs of wear or damage, and address issues promptly to prevent further deterioration. Proper maintenance ensures your fluted surface retains its texture and visual appeal for years to come.
Frequently Asked Questions
How Do I Choose the Best Fluted Panel Pattern for My Space?
To choose the best fluted panel pattern for your space, focus on your aesthetic considerations and panel pattern selection. Consider the room’s style—sleek and modern or classic and textured—and pick a pattern that complements it. Think about scale; larger patterns work well in spacious areas, while smaller ones suit cozy spots. Trust your instincts and visualize how each pattern enhances your space’s overall vibe.
What Are the Best Tools for Cutting Delicate Fluted Panels?
Think of your tools as your best allies when cutting delicate fluted panels; precision is key. Use a fine-tooth saw or a utility knife for straight, clean cuts, making sure to support the panel properly to avoid chipping. A jigsaw with a fine blade works well for curves. After cutting, finish with sandpaper for smooth edges. These tools help you achieve perfect panel finishing and decorative accents that truly stand out.
How Can I Prevent Warping or Bending During Installation?
To prevent warping or bending during installation, you should regulate moisture by storing panels in a dry environment and acclimating them properly. Use proper fasteners to secure the panels evenly, avoiding over-tightening which can cause stress. Additionally, ensure your wall surface is flat and prepared. Regularly check for moisture and adjust fastener tension as needed, helping your panels stay straight and secure over time.
Are There Eco-Friendly or Sustainable Fluted Panel Options?
Like finding a hidden gem in a vintage shop, eco-friendly fluted panels exist today. You can choose options made from bamboo, reclaimed wood, or MDF with sustainable manufacturing practices. These materials reduce environmental impact and promote sustainability. By selecting eco-conscious products, you guarantee your project is both beautiful and responsible. Always check for certifications like FSC or Greenguard to verify sustainable sourcing, making your DIY project truly eco-friendly.
How Do I Remove or Replace Damaged Fluted Panels Easily?
To remove or replace damaged fluted panels, start by carefully loosening the panel adhesive using a putty knife or utility blade. Once loosened, gently pry the damaged panel away from the wall. To guarantee the new panel stays securely, apply panel reinforcement like adhesive or clips before installing. This method makes replacing panels straightforward, helping you maintain a smooth, professional look without damaging surrounding surfaces.
Conclusion
Now that you’ve mastered the art of fluted panel walls, you’re ready to transform your space into a textured masterpiece. Think of your wall as a blank canvas waiting to be carved with patterns and personality. With your tools in hand and a splash of creativity, you’ll turn simple panels into a stunning focal point. Embrace the process, enjoy the journey, and watch your walls come alive with character and charm.