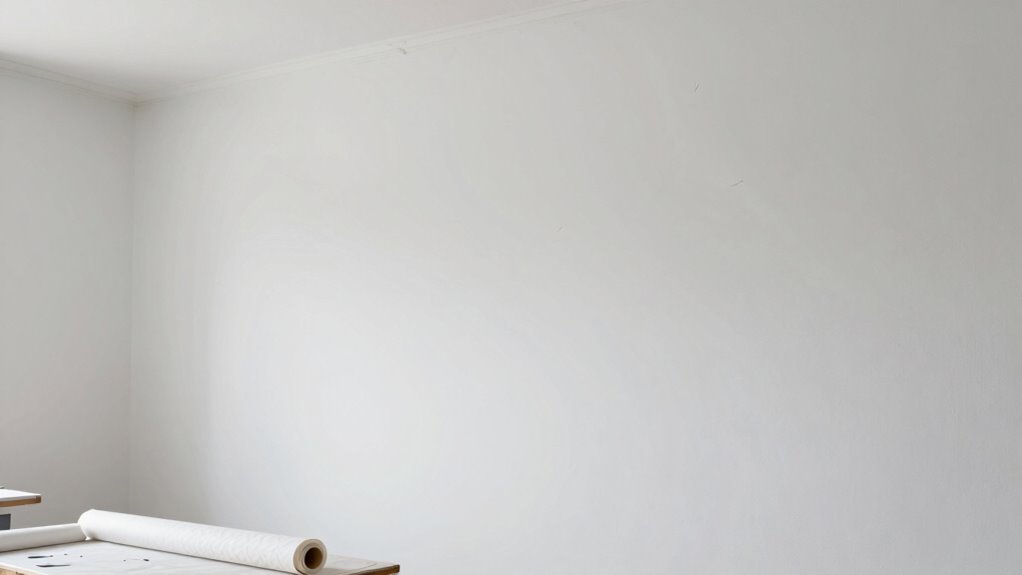

You should never start wallpapering on a wall that isn’t properly prepared or has an uneven, peeling, or textured surface. These issues cause bubbles, peeling, or tears, ruining the finish. Walls must be clean, smooth, and free of old wallpaper or peeling paint. Environmental factors like drafts or direct sunlight can also cause problems. To guarantee a professional look, it’s best to assess and fix any flaws first—more tips to follow on how to do that effectively.
Key Takeaways
- Walls with peeling paint or loose wallpaper prevent proper adhesion.
- Surfaces that are uneven, textured, or damaged should be smoothed or repaired first.
- Walls exposed to direct sunlight or drafts can cause paste to dry quickly, leading to bubbles.
- Previously painted walls with peeling or chipping paint hinder wallpaper adhesion.
- Unassessed or unprepared surfaces increase the risk of bubbles, wrinkles, or peeling.
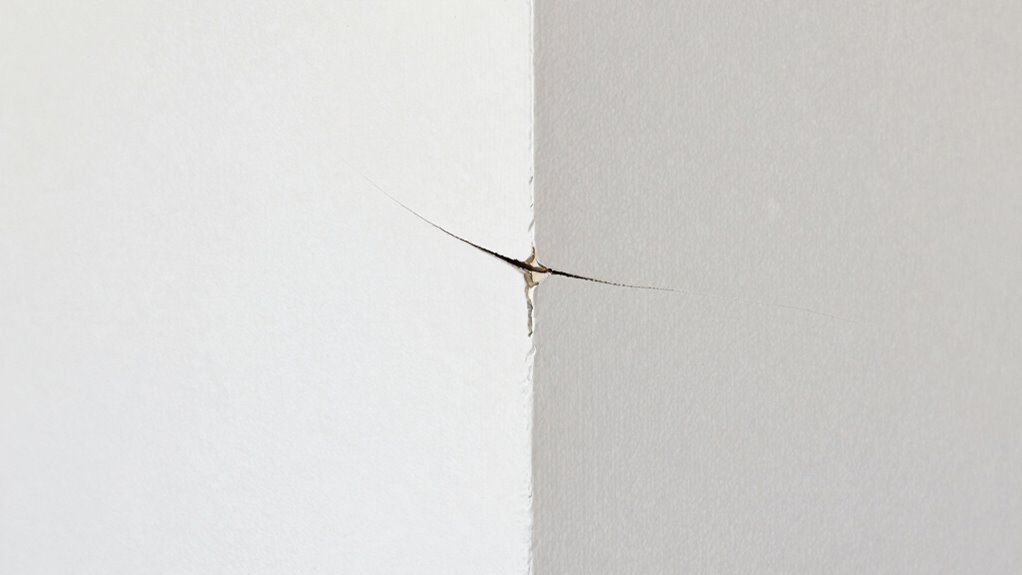
Starting your wallpapering project can be exciting, but choosing the wrong wall to begin with can lead to frustrating results. The first wall you should avoid starting on is one with poor wall preparation, uneven surfaces, or inconsistent paint. The surface condition directly impacts the durability and appearance of your wallpaper, so assessing it beforehand is crucial. If the surface isn’t properly prepared, your wallpaper won’t adhere smoothly, and you’ll face bubbles, peeling, or tearing later on. Before you even think about applying paste, make sure the wall is clean, dry, and smooth. Remove any old wallpaper, dust, or grease, and fill in holes or cracks with spackle. Sand the surface lightly to create an even canvas, and wipe away any dust. Skipping these steps might seem minor, but it can cause major issues down the line. Proper wall preparation is essential for a successful wallpaper project. When it comes to paste application, don’t rush or cut corners, especially on a problematic wall. Applying paste evenly is essential for ensuring the wallpaper sticks properly and stays in place. If the wall isn’t prepped correctly, even the best paste application won’t save the project. Avoid starting on a wall with peeling paint or wallpaper, because the new paper will struggle to adhere. Instead, choose a smooth, clean surface with a consistent background color. If you’re working with a textured or uneven wall, consider smoothing it out first or selecting a different wall altogether to prevent future issues. Another common mistake is beginning on a wall that’s exposed to direct sunlight or drafts. These environmental factors can cause the paste to dry too quickly, resulting in bubbles or wrinkles. It’s best to work in a controlled environment where temperature and humidity are stable. When applying paste, make sure to use enough to fully cover the back of the wallpaper. Use a roller or brush to spread the paste evenly, avoiding thick or patchy areas that can cause uneven adhesion. Proper wall preparation combined with meticulous paste application guarantees your wallpaper will go up smoothly and last longer. A helpful surface assessment can identify potential issues before they become major problems. Conducting a wall condition check before starting can prevent many common wallpapering mistakes. Remember, proper surface assessment can save you time and effort later in the project. By taking the time to evaluate and correct wall flaws, you ensure a better outcome and avoid costly rework. In short, don’t start on a wall that’s poorly prepared or compromised in any way. Take the time to clean, smooth, and repair the surface before you begin. Apply the paste evenly and generously, and work in a stable environment. By choosing the right starting point and paying attention to wall preparation and paste application, you’ll avoid headaches and end up with a professional-looking finished wall.
wall repair spackle
As an affiliate, we earn on qualifying purchases.
As an affiliate, we earn on qualifying purchases.
Frequently Asked Questions
How Do I Identify the Best Starting Wall for Wallpapering?
You identify the best starting wall by choosing one with smooth, flat surfaces and minimal obstructions. Make sure to prepare the wall properly, cleaning and sanding if needed. Pick a wall with a simple wallpaper pattern to help you align edges easily. Avoid starting on outside corners or near doors and windows, as these areas can be tricky to wallpaper evenly. Proper wall preparation and pattern selection make your wallpapering process smoother.
Should I Avoid Certain Wall Types When Wallpapering?
Don’t put all your eggs in one basket when wallpapering—avoid certain wall types like textured or uneven surfaces. These can complicate wallpaper removal and hinder proper surface prep, leading to poor adhesion. Smooth, clean drywall or plaster are your best bets for a successful job. If you’re working with tricky surfaces, consider priming or repairing first to guarantee your wallpaper sticks well and looks flawless.
What Tools Are Essential for Starting Wallpapering Correctly?
You need essential tools like a wallpaper brush or roller for applying wallpaper adhesive evenly, a sharp utility knife for trimming edges, and a smoothing tool to remove air bubbles. Before starting, make certain proper wall preparation—clean the surface thoroughly and fix any imperfections. These tools and preparation steps help ensure your wallpapering job begins smoothly, preventing issues like peeling or bubbles that can ruin the final look.
How Do Lighting Conditions Affect Wallpaper Application?
Lighting can make or break your wallpaper project. If there’s lighting glare or shadow casting, it’s harder to see if the wallpaper is aligned properly. Bright, even lighting helps you spot bubbles or wrinkles early, ensuring a smooth finish. Avoid working in dim or uneven light, because it’s like trying to find a needle in a haystack. Good lighting keeps your work on the straight and narrow, making your results look professional.
Can Wall Imperfections Influence the Starting Point Choice?
Wall imperfections definitely influence your starting point choice when wallpapering. Textured surfaces and uneven imperfections can make it tricky to achieve a smooth finish, so you should avoid starting on walls with significant imperfections. Also, consider moisture levels, as high moisture can cause uneven adhesion. To get the best results, patch and sand imperfections first, and choose a wall with a smooth, dry surface to start your wallpapering project confidently.
wall smoothing tools
As an affiliate, we earn on qualifying purchases.
As an affiliate, we earn on qualifying purchases.
Conclusion
Remember, rushing to start on the first wall without preparation can lead to problems down the line. Patience and proper planning prevent poor results and peeling problems. Prioritize prep, patience, and precision for a perfectionist finish. When you wisely weave your work on the right wall, your wallpaper will wow with a flawless finish. So, steer clear of starting point pitfalls, and let your careful craft create an enchanting, confident, and consistent space.
wall preparation primer
As an affiliate, we earn on qualifying purchases.
As an affiliate, we earn on qualifying purchases.
wall cleaning supplies for wallpapering
As an affiliate, we earn on qualifying purchases.
As an affiliate, we earn on qualifying purchases.