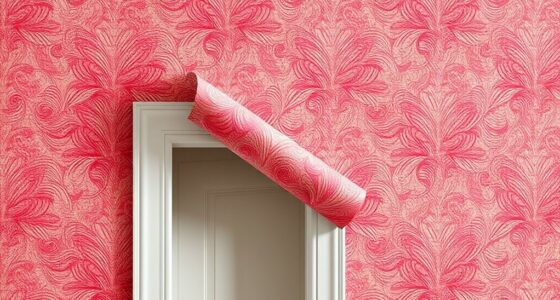

Knowing when to paint your ceiling as the fifth wall depends on visible issues like water stains, cracks, peeling paint, or discoloration. If your ceiling looks dull or uneven, it’s time to refresh it. Choosing the right color and finish can also help create the illusion of space or set a mood. Proper prep and timing are key, especially for textured or high ceilings. Keep going to discover how to make your ceiling look perfect and lasting.
Key Takeaways
- Paint the ceiling when you notice water stains, discoloration, cracks, peeling, or fading paint.
- Schedule ceiling painting during dry, moderate weather to ensure proper drying and finish quality.
- Repair any surface flaws like cracks or water damage before painting to achieve a smooth finish.
- Choose appropriate sheens and colors to enhance space perception and complement wall decor.
- Consider hiring professionals for complex textures or high ceilings to ensure a polished, safe result.
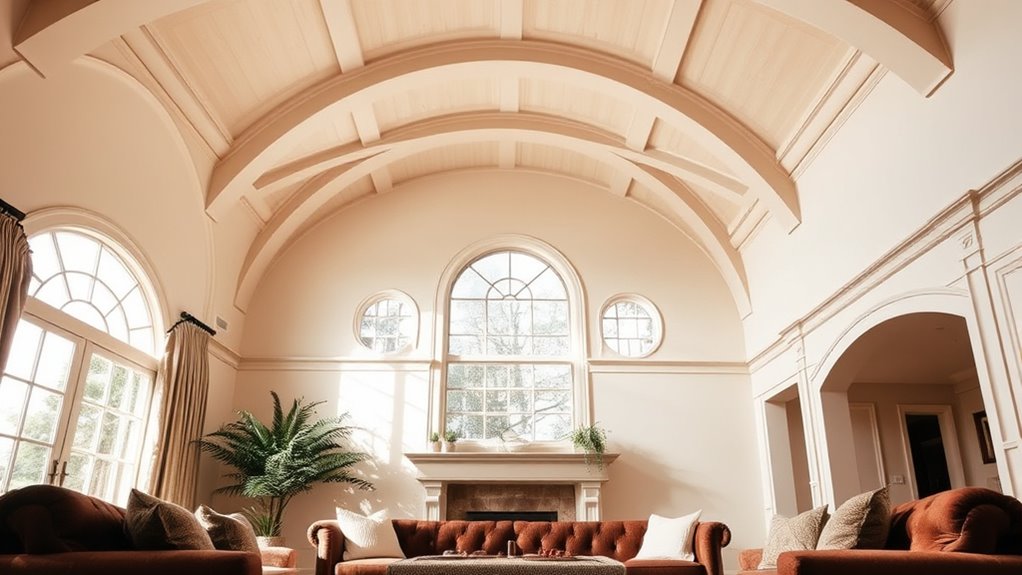
Recognizing When Your Ceiling Needs a Refresh

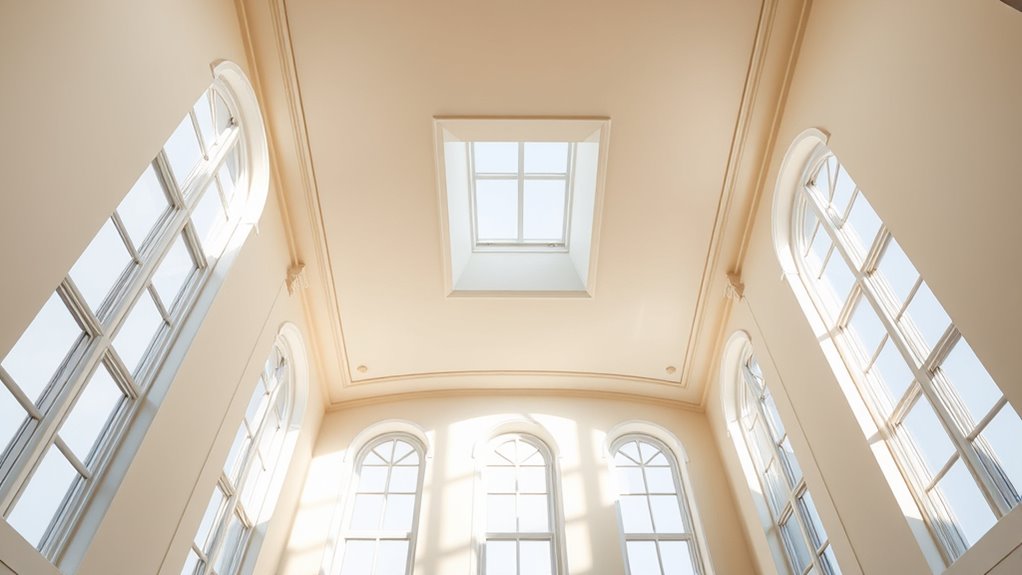
Sometimes, the signs that your ceiling needs a refresh are more obvious than you think. If your ceiling material shows water stains, discoloration, or cracks, it’s a clear indicator it’s time for a new coat of paint. Also, consider the ceiling height; lower ceilings can make imperfections more noticeable, making a fresh look essential. Over time, paint may peel or fade, diminishing your room’s appeal. If you notice uneven surfaces or sagging sections, these issues signal underlying problems that a simple refresh can address. Keeping an eye on these cues helps you decide when to update your ceiling, ensuring it remains a seamless part of your space’s design. Regular inspections prevent small issues from turning into costly repairs. Recognizing signs of deterioration and staying updated on home improvement trends can also inspire your home refresh projects. Additionally, understanding local business hours can help you plan visits to home improvement stores for supplies at the right time.
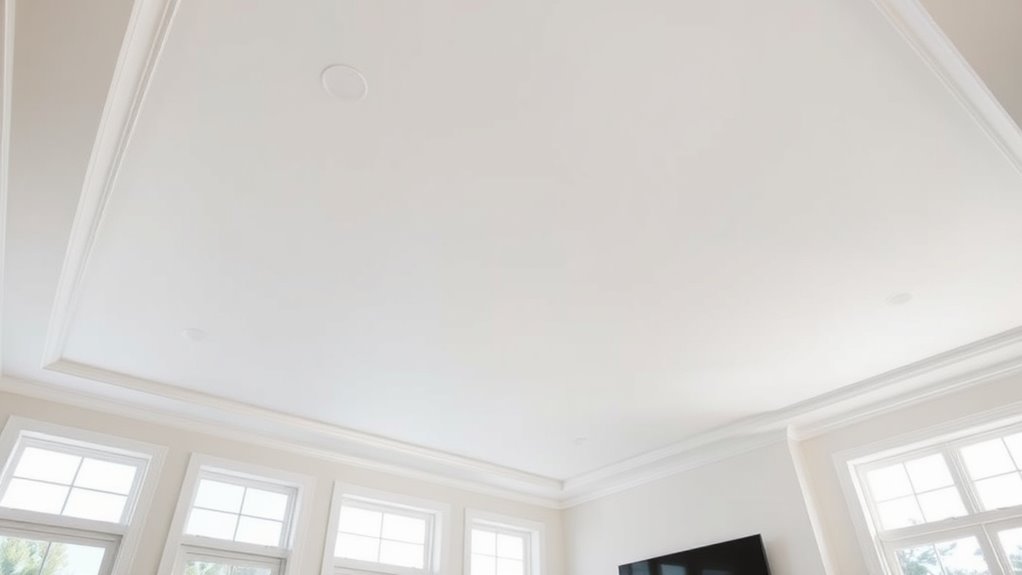
Creating the Illusion of Space With Ceiling Colors
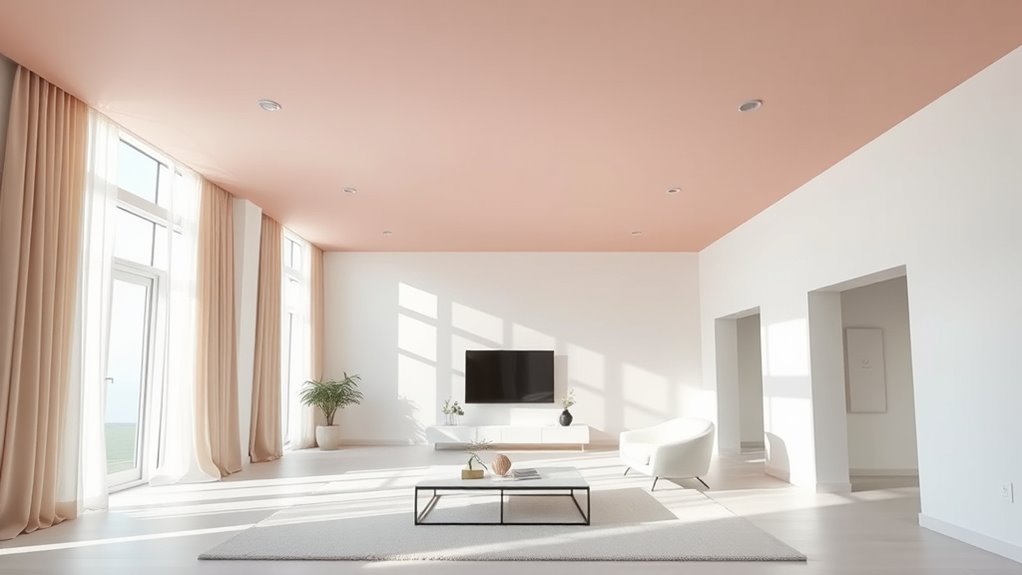
Choosing the right ceiling color can dramatically enhance the sense of space in your room. Light colors, like soft whites or pale pastels, reflect more lighting effects, making the ceiling appear higher and the room more open. Darker hues, on the other hand, can create a cozy, intimate feel but may reduce the perception of height if overused. Consider the architectural features of your space—highlighting crown molding with a subtle color contrast or painting the ceiling a shade lighter than the walls can draw the eye upward, expanding the room visually. By carefully selecting your ceiling paint, you can manipulate how light interacts with the space, emphasizing architectural details or creating a seamless, airy atmosphere that tricks the eye into perceiving greater height. Additionally, understanding color psychology can help you choose a hue that promotes the desired mood and perceived spaciousness in your room. For example, incorporating light-reflective finishes can further amplify the effect of your chosen color, making the space feel even more open. When selecting your paint, considering ambient lighting can also influence how the color appears throughout the day, enhancing the overall perception of space. Recognizing how perceived space interacts with your choice of ceiling color can lead to more satisfying and balanced interior design.
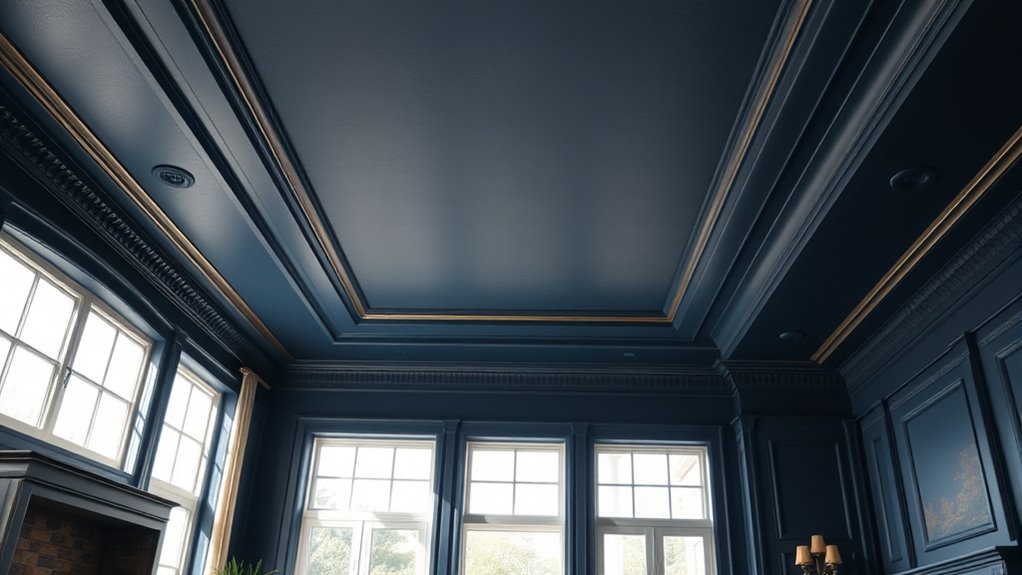
Enhancing Room Mood Through Ceiling Paint Choices

The color of your ceiling can profoundly influence the overall mood of a room, shaping how you feel within the space. Choosing soft, warm tones can create a cozy, inviting atmosphere, while bold or dark colors add drama and energy. Consider ceiling texture—smooth finishes evoke calmness, whereas textured surfaces like popcorn or decorative accents add visual interest and depth. These textures can complement your mood, making the room feel lively or serene. Bright colors can energize a space, perfect for creative areas, while muted shades promote relaxation. The right ceiling paint choice enhances your decor and sets the tone, making the space feel cohesive and intentional. Additionally, understanding paint hours can help you plan your decorating projects effectively. Being aware of painting durations ensures a smooth process with minimal disruption to your daily routine. Recognizing room lighting can further influence how your ceiling color appears under different conditions, helping you select the most suitable hue. Knowing about regional preferences can also guide you toward color choices that resonate with the overall style and ambiance of your home.
Timing Your Ceiling Makeover for Maximum Impact
Timing your ceiling makeover correctly can markedly enhance its visual impact and longevity. Ideally, schedule your project when your room is less prone to humidity and temperature fluctuations, such as during dry, moderate weather. This helps ensure even drying and minimizes imperfections. Consider the ceiling texture; textured surfaces often require more time for paint to settle, so plan accordingly. Additionally, choose the right paint sheen for your desired look and durability—matte finishes hide imperfections, while semi-gloss reflects light and adds brightness. Painting when the room is well-ventilated and free of frequent disturbances allows the paint to cure properly, preventing peeling or uneven coverage. Being aware of environmental factors like humidity levels can significantly influence the drying process. Proper timing can also help avoid the need for touch-ups and rework later on. For optimal results, it’s beneficial to check paint manufacturer recommendations regarding drying times and environmental conditions. By timing your project thoughtfully, you’ll maximize the ceiling’s visual impact and ensure a lasting, professional finish.
Preparing Your Space Before Painting the Ceiling

Before you start painting, clear the room so you have easy access and less mess to worry about. Fix any surface flaws on the ceiling to guarantee a smooth, professional finish. Don’t forget to protect your furniture and floors with drop cloths to keep everything safe from drips and splatters. Additionally, consider color calibration to understand how different lighting conditions and paint choices can affect the final appearance if you’re using online resources for inspiration or tutorials. Remember that vibrational energy can influence how well your space feels post-painting, so maintaining a positive mood during the process can enhance the overall outcome. Being mindful of the essential oils in your environment may also promote a calm and focused atmosphere while working.
Clear the Room
Have you ever tried painting a ceiling without clearing the room first? It’s a recipe for mess and frustration. To start, move furniture away or cover it with drop cloths. This is especially important if you’re dealing with a textured ceiling, as debris can easily settle into the texture, making cleanup harder. Clear the floor and any nearby surfaces to prevent accidental splatters. Be mindful of the ceiling height—higher ceilings may require tall ladders or scaffolding, so ensure the area is accessible and safe. Removing or covering items minimizes drips and splatters, keeping your space neat. Plus, a clear room boosts your visibility, helping you paint more evenly and confidently. Taking this step makes your ceiling painting smoother and less stressful. Additionally, having a well-organized space can enhance your overall bedroom atmosphere, making the project more enjoyable. Remember, proper home decor preparation can significantly improve your painting experience and results. Ensuring your workspace complies with safety guidelines, including ladder usage and secure footing, further contributes to a successful project. Using safety equipment such as goggles and masks can protect you from dust and paint fumes during preparation and painting.
Repair Surface Flaws
Once you’ve cleared the room, it’s time to focus on repairing surface flaws to guarantee a smooth ceiling finish. Start by inspecting the surface carefully for cracks, holes, or imperfections. Address texture repair by sanding down rough spots or uneven areas to create a level surface. For stains, use a stain removal solution to eliminate discoloration, ensuring it doesn’t bleed through the new coat of paint. Fill small cracks and holes with spackle, then sand once dry for seamless blending. Pay close attention to areas with peeling paint or water damage; these should be properly repaired or replaced. To achieve a flawless finish, prep the surface thoroughly, removing any debris or loose material before painting. Proper repair ensures your ceiling looks pristine and professional, and using protective techniques can help prevent future surface issues.
Protect Surroundings
Preparing your space thoroughly is essential to prevent paint splatters and protect your belongings. Cover furniture, floors, and fixtures with drop cloths or plastic sheets. If your ceiling has a high ceiling height, ensure you have sturdy ladders and extendable poles for safety and ease. Using painter’s tape around walls, trim, and light fixtures creates clean edges and avoids accidental splatters. Consider your decorative techniques—adding patterns or textures—by preparing the surface beforehand and protecting adjacent surfaces. Keep everything organized and within reach to streamline your work. Here’s a quick overview:
| Task | Tips |
|---|---|
| Cover furniture and floors | Use drop cloths or plastic sheets |
| Tape edges and fixtures | Use painter’s tape |
| Prepare for ceiling height | Use appropriate ladders or poles |
Choosing the Right Finish and Colors for Your Ceiling
Choosing the right finish and colors for your ceiling can dramatically influence the overall look and feel of your space. You want to select options that complement your room’s style and mood. Consider texture options like smooth, matte, or textured finishes to add depth or conceal imperfections. When selecting paint types, opt for high-quality, washable paints to ensure durability and easy maintenance. Keep in mind that lighter colors, such as whites or pastels, can make a room feel larger and more open, while darker shades add intimacy and warmth. To elevate your ceiling’s appearance, think about subtle variations in sheen, like eggshell or satin, which provide a sophisticated touch without overwhelming the space. Your choices will shape the atmosphere and aesthetic appeal of your room.
When to Hire Professionals for Ceiling Painting Projects
Hiring professionals for your ceiling painting project becomes essential when the scope is complex, the ceiling has multiple textures, or you lack the necessary tools and experience. Budget considerations also play a role—while DIY might seem cheaper upfront, mistakes can lead to costly repairs later. When weighing DIY vs. professional expertise, consider the time, effort, and potential for uneven results if you’re inexperienced. If your ceiling has intricate details or requires specialized techniques, a professional’s skill guarantees a smooth, flawless finish. Additionally, professionals have the right equipment, reducing mess and safety risks. Ultimately, if you’re uncertain about your skills or the project’s complexity, investing in expert help certifies a high-quality result that enhances your space and saves you stress.
Frequently Asked Questions
Can Ceiling Paint Improve Insulation or Energy Efficiency?
Yes, ceiling paint can improve insulation and energy efficiency. Some specialized paints contain reflective or insulating properties that help reduce heat transfer, keeping your space warmer in winter and cooler in summer. By choosing thermal insulation ceiling paint, you can enhance energy savings and maintain a more comfortable environment. Keep in mind, though, that while beneficial, paint alone won’t dramatically change insulation, but it can complement other energy-saving measures.
How Often Should I Repaint My Ceiling for Maintenance?
Think of your ceiling as a canvas that needs revitalizing every few years to keep it vibrant. Usually, you should repaint it every 5-7 years, depending on ceiling texture and paint sheen. If you notice discoloration, stains, or a dull finish, it’s time for a touch-up. Regular maintenance preserves the ceiling’s beauty and ensures your space feels lively and inviting, like a well-kept masterpiece.
Are There Eco-Friendly Paint Options Suitable for Ceilings?
You can definitely find eco-friendly paints and sustainable coatings suited for ceilings. Look for options labeled low-VOC or zero-VOC, which reduce harmful emissions and are better for your health and the environment. Brands now offer eco-friendly paints that provide great coverage, durability, and a beautiful finish. Using these sustainable coatings helps you maintain your space responsibly while enjoying a fresh, safe, and eco-conscious ceiling paint job.
What Are Common Mistakes to Avoid When Painting a Ceiling?
You might stumble if you skip proper paint preparation or ignore your ceiling’s texture. Always clean surfaces thoroughly to avoid uneven coverage, and consider the texture—rough or smooth—to choose the right tools. Be cautious with drips and overloading your brush; patience prevents messes. Also, avoid rushing through the job, as uneven coats can detract from your ceiling’s beauty. Take your time, and your ceiling will thank you.
How Does Ceiling Height Influence Color Choice and Design?
Your ceiling height greatly influences your color choice and design. If you have a low ceiling, opt for lighter shades to create a sense of openness and enhance visual balance. For high ceilings, darker or bold colors can add warmth and coziness while maintaining proportion. Consider ceiling proportion when selecting hues; balanced colors help avoid overwhelming the space, making your room feel more harmonious and inviting.
Conclusion
Your ceiling is the fifth wall, ready to transform your space with a splash of color or fresh paint. When you notice signs of wear or want to create a new mood, don’t hesitate to give it a refresh—think of it as giving your room a breathing space. With the right timing and prep, your ceiling can become the highlight, turning your entire room into a masterpiece. Let your ceiling’s new look elevate your home’s story.