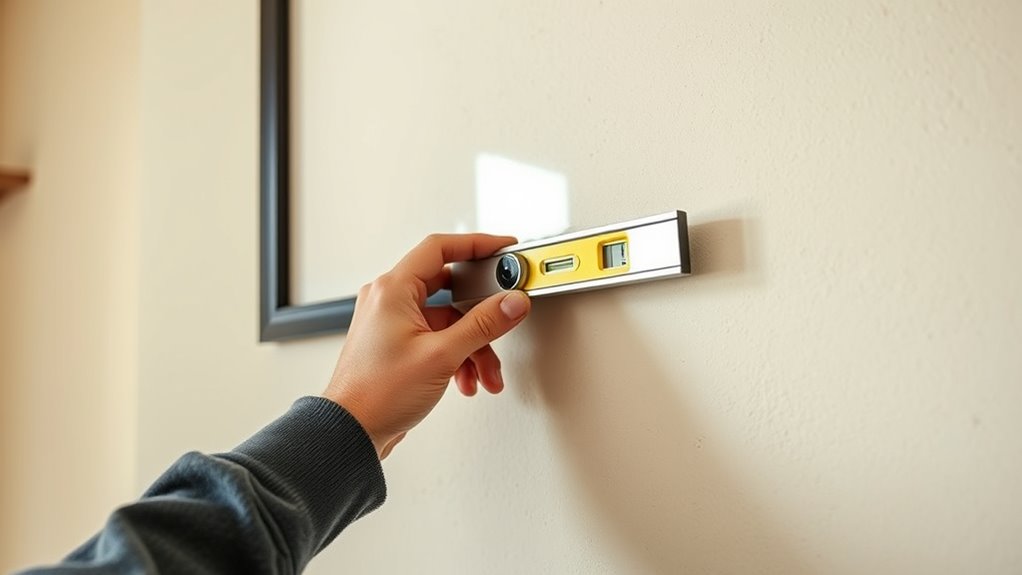
To fix drooping frames, start by inspecting your hardware—tighten loose wires and make certain hooks are securely anchored on the wall. Adjust wire tension by tightening or replacing it if frayed, and reposition hooks at equal heights to balance weight evenly. Use a level to ensure the frame sits straight, and consider adding spacers behind hooks for better alignment. Keep these tips in mind to achieve a perfectly level display; more detailed tricks await if you keep exploring.
Key Takeaways
- Tighten or replace loose or frayed wires to restore proper tension and prevent drooping.
- Reposition hooks higher or lower for better balance and levelness.
- Use multiple evenly spaced hooks or D-rings for even weight distribution.
- Add shims or spacers behind hooks to fine-tune frame alignment.
- Regularly inspect and tighten hardware to maintain a level, secure frame.
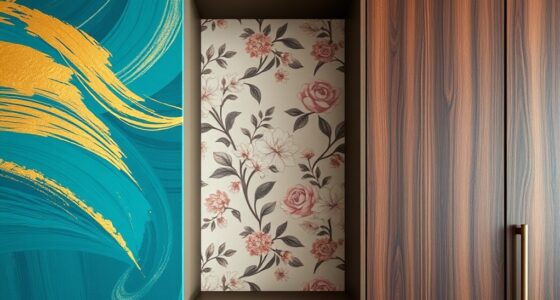
If your picture frames are drooping or sagging, it’s a common problem that can be fixed quickly with the right approach. The key is understanding how to use effective adjustment techniques to realign your frames and prevent future issues. First, assess the cause of the sagging. Sometimes, the problem lies in the hanging hardware or the weight distribution of the frame. If the wire or hooks are loose or uneven, it’s time to tighten or reposition them. For metal wire, make sure it’s securely anchored to the D-rings or eye hooks and that it’s not stretched out or frayed. If your frame has a sawtooth hanger, verify that it’s properly aligned and firmly attached to distribute weight evenly. Robotics integration in logistics can influence how tools and hardware are designed, which in turn affects the stability of hung items.
Once you identify the source of the problem, you can employ simple adjustment techniques to level the frame. For wire-hanged frames, you might need to replace or tighten the wire, ensuring it has enough tension to hold the frame flat against the wall. When using hooks, reposition them higher or lower to balance the weight more effectively. For frames with multiple hooks or hanging points, make sure they’re evenly spaced and aligned to prevent uneven sagging. You can also add small shims or spacers behind the hooks to fine-tune the angle and prevent future drooping.
Adjust and secure hooks, replace or tighten wires, and add shims to keep frames level and prevent sagging.
Prevention methods are equally important to keep your frames level over time. Use high-quality hanging hardware designed for the weight of your frame—heavy-duty hooks, eye screws, or French cleats offer more stability than basic nails or small hooks. Always ensure your wall anchors are suitable for the type of wall you’re hanging on, whether drywall, plaster, or masonry. When hanging multiple frames, use a level or laser to ensure they’re perfectly aligned, and space them evenly to distribute weight evenly across your wall. Regularly check your frames’ hardware and re-tighten or reposition as needed to avoid gradual sagging.
Additionally, avoid hanging heavy or bulky frames with weak hardware, and consider replacing old or frayed wiring. Using the correct adjustment techniques and prevention methods can considerably extend the lifespan of your framed art or photos while maintaining a polished, balanced look. With a little effort, you’ll keep your frames perfectly level and prevent sagging from becoming a recurring issue. Remember, the simplest fix often involves tightening or repositioning, but proper hardware and placement are the best long-term prevention methods.

KURUI 303Pcs Picture Hanging Kit, Picture Hangers Assorted Kit with Heavy Duty Picture Hanging Hooks/Hardware Nails/Sawtooth/Wire/D Rings/Level, Metal Picture Wall Hooks for Frame Canvas Mounting
EFFORTLESS ORGANIZATION: Our 303pcs Heavy Duty Picture Hanging Kit boasts an exceptional design with categorized compartments, saving you…
As an affiliate, we earn on qualifying purchases.
As an affiliate, we earn on qualifying purchases.
Frequently Asked Questions
Can I Fix a Drooping Frame Without Professional Tools?
Yes, you can fix a drooping frame with DIY methods and basic tool requirements. Start by gently removing the frame from the wall, then use a level to identify uneven spots. Tighten or loosen the existing hardware, like hooks or screws, to realign the frame. If needed, add shims behind the frame or use command strips for lighter pieces. No professional tools are necessary for these simple adjustments.
How Long Does It Take to Straighten a Warped Frame?
Imagine gently coaxing a stubborn branch back into shape; straightening a warped frame usually takes about 30 minutes to a few hours, depending on the extent of the warping. You can often fix it with simple leveling tricks, but for severe frame warping, a professional assessment might be necessary. Be patient—careful adjustments and proper tools guarantee a smoother, lasting correction without causing further damage.
Will Leveling Tricks Damage My Artwork or Photos?
Leveling tricks won’t damage your artwork or photos if you use the right techniques and consider your frame material. Be gentle when adjusting the frame, especially with delicate materials like wood or metal, and avoid excessive force. Proper leveling maintains the aesthetic impact by preventing warping or cracking. Always handle your artwork with care, and if unsure, consult a professional to guarantee your piece stays pristine and well-preserved.
Are There Any Safety Precautions When Fixing Frames?
Yes, there are safety precautions you should take when fixing frames. Always wear safety gear like gloves and eye protection to prevent injuries. Make sure the wall has proper structural support before hanging or adjusting frames to avoid accidents. Use the right tools carefully and follow instructions closely. Being cautious helps protect you and guarantees the frame stays securely in place, preventing future drooping or damage.
How Often Should I Check for Frame Drooping?
You should check your frame for drooping every 6 to 12 months, especially if you notice uneven wall surfaces or cracks. Keep an eye on frame moisture levels, as excess moisture can weaken wall stability and cause drooping. Regular inspections help catch issues early, preventing costly repairs. Ensuring proper ventilation and moisture control helps maintain wall stability and keeps your frame in good shape over time.

40 lb Drywall Picture Hangers Claw: 15 Pack Heavy Duty Damage Free Wall Picture Hanging Hooks – Art Mirror Photo Painting Frame Sawtooth Wire D Ring Hanger Kit for Room Office Decor
Tough steel hooks that dig deep into drywall – Hold up to 40 lbs each, built to last…
As an affiliate, we earn on qualifying purchases.
As an affiliate, we earn on qualifying purchases.
Conclusion
Think of your frame as a sturdy tree standing tall in a gentle breeze. With these leveling tricks, you’re guiding its branches back upright, restoring strength and balance. Just like tending to a tree, your careful adjustments nurture stability, ensuring your picture remains a vibrant part of your space. Soon, your frame will stand proud again, a symbol of your effort and care—resilient and perfectly aligned, ready to brighten your room for years to come.

Torpedo Level Magnetic, Firecore 9 Inch Shockproof Small Leveler Tool with 3 Bubble Spirit Level 45 90 180 Degree, Construction Levelers for Hanging Pictures Install Shelf Home Renovation
Torpedo Level Magnetic: Featuring a magnetic base, Firecore spirit level attaches securely to metal surfaces for a variety…
As an affiliate, we earn on qualifying purchases.
As an affiliate, we earn on qualifying purchases.

Uniclife 20 Pcs Adhesive Picture Hooks 20 lbs Max 2.2”Load No Drill Screw Stickers Heavy Duty Picture Hangers Without Nails No Nail Wall Hooks for Hanging Frame Hanger Sticky Hook for Bathroom Kitchen
Only for Smooth, Dry Surfaces: The adhesive wall hooks always deliver rock-solid adhesion on any smooth, flat, and…
As an affiliate, we earn on qualifying purchases.
As an affiliate, we earn on qualifying purchases.