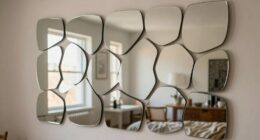

The Centerline Method for hanging art involves measuring the artwork’s center and creating a horizontal guide using a level and painter’s tape or chalk line. You mark the ideal height, typically around 57-60 inches from the floor, and align the artwork’s center with this guide. This guarantees a balanced, professional look for any piece. To learn how to apply this method effectively and achieve consistent results, keep exploring the details ahead.
Key Takeaways
- Measure the artwork’s center and mark the desired hanging height, typically at eye level (57-60 inches).
- Use a level and painter’s tape or chalk line to create a straight, horizontal centerline across the wall.
- Align the artwork’s center with the wall’s centerline during hanging for precise positioning.
- Ensure all hooks or wires are set so the artwork’s center matches the guide, maintaining consistent height.
- Step back to verify the artwork is level and centered, making adjustments as needed for a balanced display.
Hanging art can be challenging, but the Centerline Method offers a simple and reliable technique to guarantee your pieces are perfectly aligned. Whether you’re hanging a large statement piece or a series of smaller artworks, this method helps you achieve consistency and professionalism. The key is to measure and mark your wall carefully, ensuring that the centerline of your artwork matches a corresponding point on the wall. This prevents crooked displays and saves you from the frustration of re-hanging multiple times.
Start by deciding where you want your art to hang. Measure the height from the floor to the center of your artwork—most art looks best at eye level, which is roughly 57-60 inches from the floor, but personal preference and wall height can influence this. Once you’ve determined the ideal height, use a tape measure to mark this point lightly with painter’s tape or a pencil. Next, find the center of your artwork. For framed pieces, this is often the midpoint of the frame, but if you’re working with unframed canvases or mixed frame styles, measure the artwork’s width and divide by two to locate the center accurately.
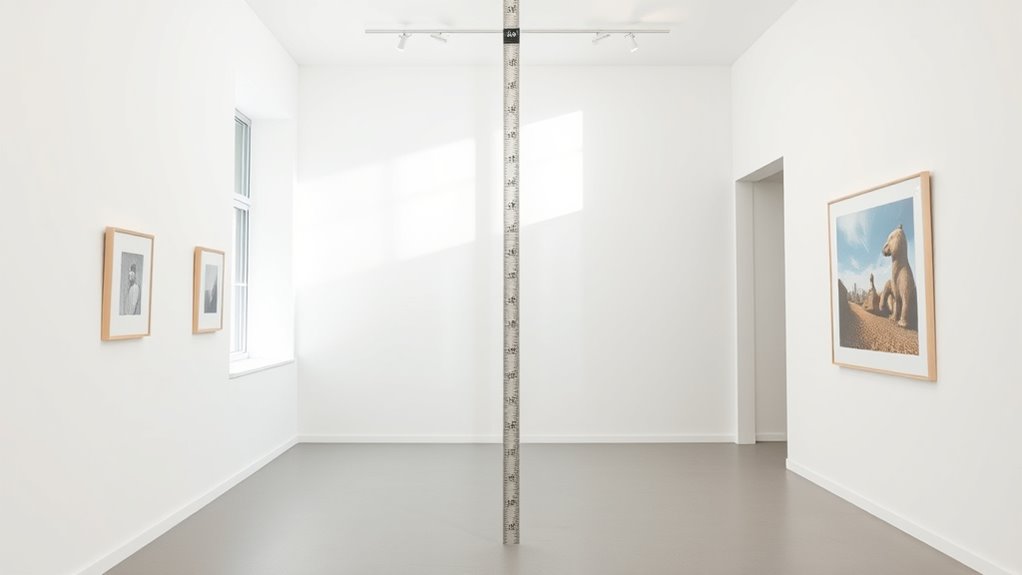
Now, create a centerline on the wall using a level and a long piece of painter’s tape or chalk line. Position the level so it’s perfectly horizontal and mark a straight line across the wall at your chosen height. This line becomes your guide for hanging. When hanging your art, align its center with this line. For framed art, ensure that the hooks or hanging hardware are positioned so that the center of the frame matches your mark. If your artwork has multiple hooks or wires, hang it so that the wire or hooks sit at the same height, ensuring the centerline of the art aligns with your guide.
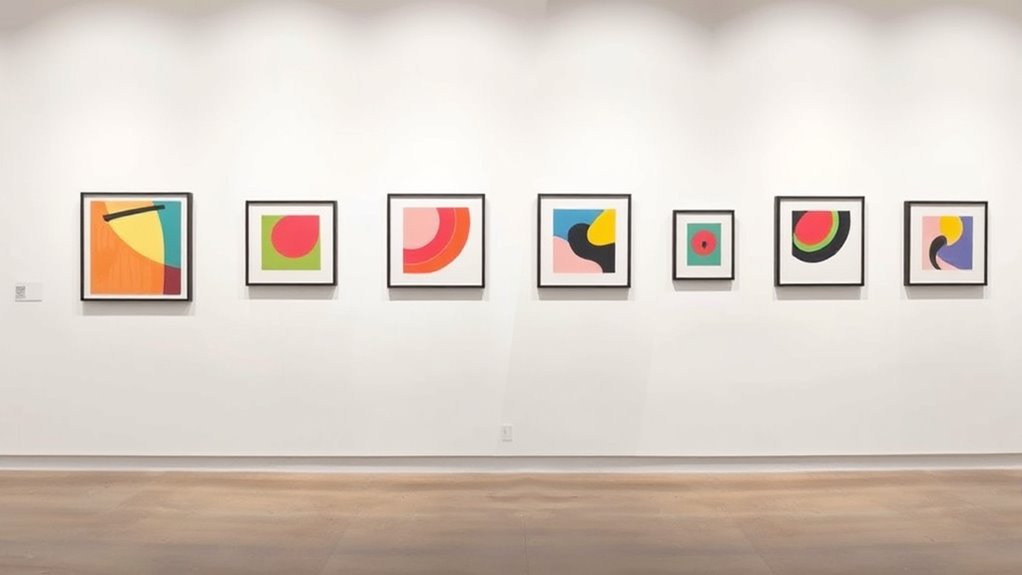
Gallery lighting plays a vital role in highlighting your art and can influence how you position pieces. Proper lighting not only accentuates the artwork’s details but also creates a welcoming atmosphere. When hanging multiple pieces, consider how the lighting will fall across each one to prevent glare or shadows. Frame styles also matter; sturdier frames like ornate or deep-set styles may require different hanging hardware or adjustments to guarantee they hang flush and straight. The Centerline Method adapts easily to all frame styles by focusing on the artwork’s center, making it a versatile tool for any display.
Once your art is hung, step back and review. Check that the centerline is straight and that the artwork is level. Adjust as needed, and you’ll have a clean, balanced display every time. Additionally, understanding the importance of visual balance in art display can help you create more harmonious arrangements. With this straightforward approach, your gallery lighting and frame choices come together seamlessly, elevating your space from cluttered to curated.
Top picks for "centerline method hang"
Open Amazon search results for this keyword.
As an affiliate, we earn on qualifying purchases.
Frequently Asked Questions
Can the Centerline Method Be Used for Uneven or Textured Walls?
Yes, you can use the centerline method on textured or uneven walls, but be aware of wall surface irregularities and textured wall challenges. These imperfections might make it tricky to get a precise center line, so take extra care when marking. Use a level and painter’s tape for accuracy, and consider adjusting your measurements slightly to account for bumps or uneven surfaces. This way, your art will hang evenly and look great.
How Do I Adjust for Different Artwork Sizes Using the Centerline Method?
Think of yourself as a master painter adjusting your canvas; for different artwork sizes, you’ll need to tweak the height adjustments and artwork spacing along the centerline. Start by measuring the height of each piece and mark the hanging points accordingly. For larger pieces, position the center at eye level, while smaller works might need a slight shift. This guarantees a balanced, cohesive display that feels intentional and refined.
Is the Centerline Method Suitable for Hanging Multiple Pieces in a Gallery Wall?
Yes, the centerline method works well for hanging a gallery wall. It helps you create a cohesive group arrangement by aligning the art along a shared centerline, ensuring consistent spacing and visual balance. This approach makes it easier to arrange multiple pieces, whether they’re different sizes or styles, and maintain a polished, harmonious look across your entire display. Use the centerline as your guide for a professional, balanced setup.
What Tools Are Recommended for Accurately Marking the Centerline?
Think of your tools as your trusty sidekicks in a quest—without them, you’re lost. You should use measuring tools like a tape measure or a ruler to find the perfect height and centerline. Marking instruments such as a pencil or painter’s tape help you make precise, visible marks. These tools make certain your gallery wall looks professional, with perfectly aligned art pieces that make a statement, just like a well-planned mission.
How Do I Ensure the Artwork Remains Level After Hanging?
To keep your artwork level after hanging, double-check the hanging height and use a level tool to verify level accuracy. Adjust the picture hooks or wires as needed until the artwork sits straight. It’s helpful to step back and view the piece from different angles, ensuring it appears level from all perspectives. Regularly recheck the level during the process to prevent any tilting and maintain a polished look.
Conclusion
Using the centerline method makes hanging art easier and more consistent. Did you know that artwork hung at eye level, around 57-60 inches from the floor, is most visually appealing? By applying this simple technique, you’ll guarantee your pieces are perfectly aligned and enhance your space’s overall look. Give it a try—you might be surprised how much a small adjustment can transform your room and impress your guests effortlessly.