If you notice panel gaps after painting, it’s often due to uneven surfaces, poor surface prep, or environmental factors like temperature and humidity changes. Inadequate cleaning, sanding, or primer application can weaken adhesion, causing panels to shift, especially if conditions aren’t ideal during painting. Surface movement from temperature swings then makes gaps more visible. To prevent this, guarantee proper surface prep and paint under ideal conditions. Keep exploring to discover how to fix and prevent these issues effectively.
Key Takeaways
- Improper surface preparation causes uneven paint adhesion, making panel gaps more visible after painting.
- Temperature and humidity fluctuations during painting lead to panel expansion or contraction, highlighting gaps.
- Inadequate primer application weakens bonding, resulting in panels shifting and revealing gaps over time.
- Painting under unsuitable environmental conditions causes uneven drying, exacerbating existing gaps.
- Failing to properly clean and sand surfaces before painting leads to poor adhesion and prominent panel gaps.
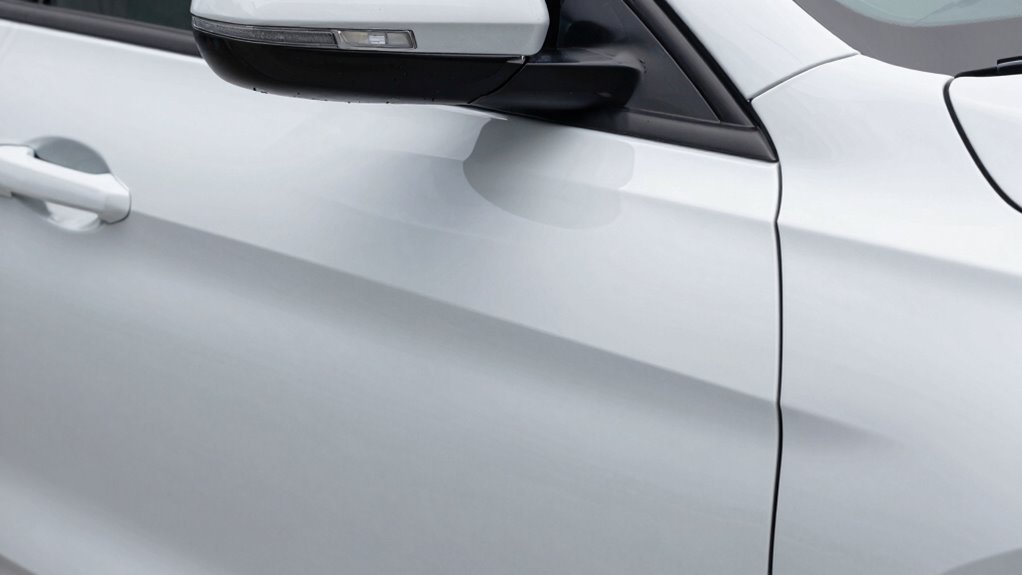
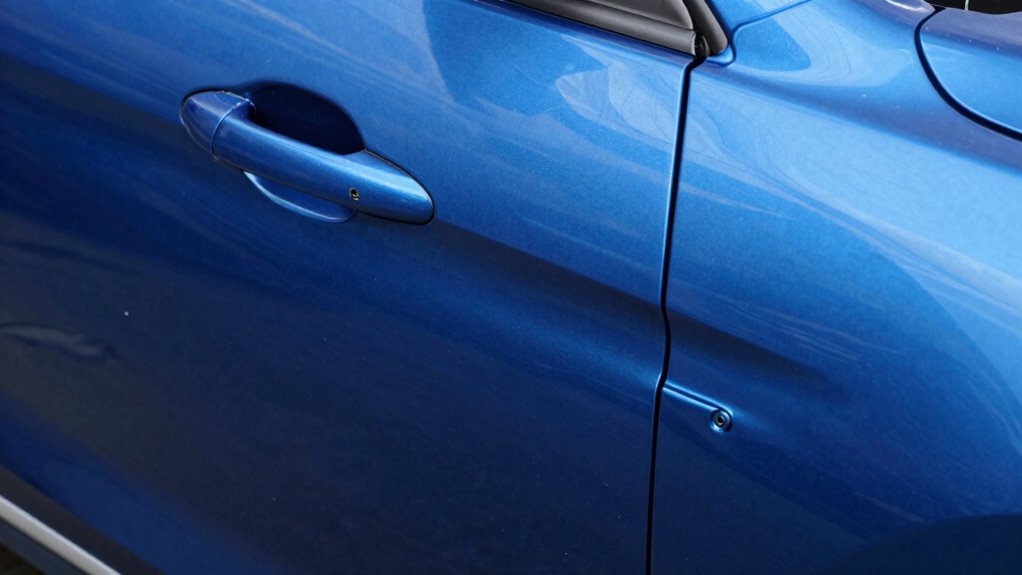
Have you ever noticed gaps between vehicle panels after a fresh paint job? It’s a frustrating sight, especially when you’ve invested time and money into making your vehicle look perfect. These gaps, often called panel gaps, can appear more pronounced after painting and make the entire job look unprofessional. One key reason for this issue is poor paint adhesion, which is directly linked to surface preparation. If the surface isn’t properly prepared before painting, the paint may not stick evenly, leading to uneven expansion and contraction of the panels as temperatures change. This movement can cause gaps to become more noticeable over time.
Proper surface prep is essential to prevent panel gaps and ensure a flawless, professional paint finish.
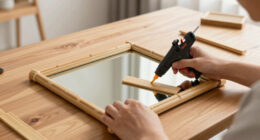
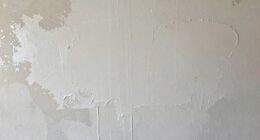
To avoid this problem, you need to focus on surface preparation before applying paint. Proper surface prep involves thoroughly cleaning the panels to remove dirt, grease, and rust, all of which can prevent the paint from adhering properly. Sanding the surface is equally vital; it creates a rough texture that helps the paint grip better. Skipping or rushing through these steps can compromise paint adhesion, leading to areas that don’t bond well and eventually cause the panels to separate or shift, resulting in visible gaps. Additionally, understanding the importance of surface preparation can help you achieve a more durable and professional finish. Proper surface preparation also includes inspecting for any existing damage or imperfections that might affect the final result.
Furthermore, using the right type of primer and applying it correctly is essential. Primer acts as a bonding agent, filling in small imperfections and creating a smooth, uniform surface for the paint to adhere to. If you skip this step or apply it unevenly, the paint may not bond uniformly across the panels, resulting in differential movement and gaps. When the paint finally cures, any weak spots or uneven adhesion can cause the panels to shift, revealing those unwanted gaps. Ensuring proper application techniques can further help in achieving a seamless finish.
Temperature and humidity during painting also influence how well the paint adheres. Painting in unsuitable conditions can cause the paint to dry unevenly or not bond properly. Always follow the manufacturer’s recommendations for ideal conditions, and if possible, work in a controlled environment. This minimizes the risk of surface contamination or environmental factors interfering with adhesion. Proper environmental control can significantly improve paint adhesion and ensure a flawless finish.
In the end, paying close attention to surface preparation makes a significant difference. It’s the foundation for achieving a smooth, professional-looking finish without those unappealing panel gaps. When you prioritize thorough cleaning, sanding, priming, and painting under proper conditions, you help guarantee the paint bonds securely. This prevents the panels from shifting or separating over time, keeping your vehicle’s appearance sleek and uniform. Remember, a little extra effort upfront can save you from costly rework later, and ultimately, give you that flawless finish you’re aiming for.
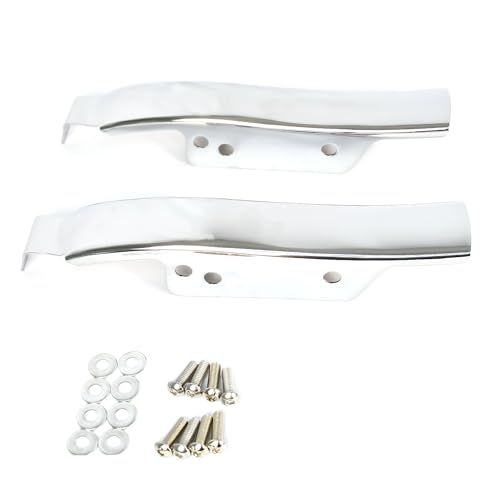
Cyreedom Motorcycle Metal Real Fender Saddlebag Filler Panels for Harley Touring 1993-2008, Electra Glide Road Glide FLTR EFI FLTRI (Chrome)
High-Quality Material: Crafted from premium metal, these gap filler panels are durable and long-lasting.
As an affiliate, we earn on qualifying purchases.
As an affiliate, we earn on qualifying purchases.
Frequently Asked Questions
What Causes Panel Gaps to Appear After Painting?
Panel gaps appear after painting mainly due to poor surface preparation and paint incompatibility. When you don’t properly clean or sand the surfaces, paint can’t adhere evenly, causing gaps to become more noticeable. Additionally, using incompatible paint types can lead to uneven expansion or contraction, making gaps more prominent over time. Ensuring thorough surface prep and selecting the right, compatible paint helps prevent these panel gaps from showing after painting.
How Can I Prevent Panel Gaps Before Painting?
You can prevent panel gaps before painting by ensuring proper panel alignment and bumper fitment. Adjust hinges, latches, and mounting points to achieve tight, even gaps, avoiding misalignment that leads to gaps after painting. Double-check all connections and use precise tools for measurement. This proactive approach helps maintain consistent panel fitment, reducing the risk of gaps and ensuring a smooth, professional finish.
Are There Specific Paints That Reduce Gap Visibility?
Yes, choosing high-quality paints designed for better paint adhesion can help reduce gap visibility. Look for paints with excellent flexibility and coverage, which minimize the appearance of gaps. Additionally, color matching plays a vital role; using the right shade can make gaps less noticeable. Proper surface preparation and applying multiple thin coats also improve the overall finish, ensuring the gaps blend seamlessly and look more uniform after painting.
Can Panel Gaps Be Fixed Without Repainting?
Yes, you can fix panel gaps without repainting by improving panel alignment and using proper adhesive techniques. First, realign the panels carefully, then apply a high-quality automotive adhesive or sealant to fill the gaps. Use a smooth tool to guarantee even coverage and a flush finish. Once cured, sand lightly if needed, and polish the surface for a seamless look. This method avoids repainting and restores a clean, professional appearance.
Do Panel Gaps Affect the Vehicle’s Resale Value?
Yes, panel gaps can affect your vehicle’s resale value because they often signal poor quality or neglect. You might think fixing them is costly, but ignoring gaps can lead to bigger issues down the road, impacting your car’s value. Manufacturers have standards for panel alignment, and if gaps are noticeable, it could lower your car’s appeal. Addressing gaps now helps maintain resale value and guarantees your vehicle meets quality expectations.

Rust-Oleum 260510 Stops Rust Automotive 2-in-1 Filler & Sandable Primer Spray, 12 oz, Gray
Filler and sandable primer is suitable for use on wood, metal and fiberglass surfaces
As an affiliate, we earn on qualifying purchases.
As an affiliate, we earn on qualifying purchases.
Conclusion
Think of your car as a finely woven tapestry, each panel a thread carefully stitched together. When paint fills the gaps, it’s like spilling dye onto a fabric—highlighting flaws instead of hiding them. To keep your masterpiece looking flawless, you must address these gaps before painting, just like a skilled tailor adjusts every stitch. Only then can your car’s surface stay smooth and unified, turning a simple repair into a work of art.

Adam's Polishes Surface Prep (16oz) – A Surface Cleanser Spray for Auto Paint Prep to Apply Any Ceramic Coating, Car Wax, or Spray Sealant | Use After Clay Bar, Car Wash & Orbital Polisher Treatment
✅ LUBRICATING FORMULA WITH HIGH IPA CONCENTRATIONS! Glide your towels across the surface reducing risks of scratches this…
As an affiliate, we earn on qualifying purchases.
As an affiliate, we earn on qualifying purchases.

Dura-Block Set 6pc – Flexible EVA Foam Wet or Dry Autobody Sanding Blocks Kit for Automotive Bodywork
[Durablock Difference]: The flexible large sanding surface area ensures even smoothing for your project with the Durablock Auto…
As an affiliate, we earn on qualifying purchases.
As an affiliate, we earn on qualifying purchases.