
When choosing photo print sizes, consider both DPI and viewing distance. Higher DPI (300 or more) creates sharp, detailed prints perfect for close-up viewing, while lower DPI (150-200) works for larger prints viewed from afar. Smaller prints need higher DPI for clarity, but bigger prints can hide flaws when viewed from a distance. Understanding how resolution, size, and distance work together guarantees your images look professional. Keep exploring to master the art of perfect photo printing.
Key Takeaways
- The optimal DPI for photo prints depends on viewing distance; higher DPI (e.g., 300) suits close-up viewing, while lower DPI (150-200) works for distant displays.
- To determine print size, divide image pixel dimensions by the desired DPI, ensuring clarity and avoiding pixelation.
- Closer viewing distances reveal flaws like pixelation or blurriness; larger prints viewed from afar tend to hide these imperfections.
- Adjust print size based on intended viewing distance and DPI to balance detail, sharpness, and practical print limitations.
- Proper calibration of color and paper texture enhances perceived quality, especially at different viewing distances.
Understanding the Basics of Print Sizes and Resolution
When choosing the right print size for your photo, understanding resolution is vital because it directly affects image quality. Higher resolution ensures your photo remains sharp and detailed, especially when scaled up. Optimal print quality depends heavily on maintaining an appropriate resolution that matches the intended size, preventing pixelation or blurriness. Color calibration plays a key role, helping you achieve accurate colors that match your original image, regardless of the print size. Additionally, paper textures influence how your photo appears; smoother papers highlight fine details, while textured papers can add depth but may soften some sharpness. Recognizing how resolution interacts with these factors helps you select an appropriate print size without sacrificing quality. Proper resolution management also impacts contrast ratio and is essential for achieving optimal print results.
How DPI Influences Image Sharpness and Detail
DPI, or dots per inch, directly impacts how sharp and detailed your printed photo appears. Higher DPI increases pixel density, meaning more dots per inch are used to create the image, which enhances image clarity. When you use a higher DPI, fine details become sharper, and the overall image looks crisper. Conversely, a lower DPI results in less pixel density, making the photo appear softer or pixelated, especially when viewed up close. Choosing the right DPI depends on the print size and viewing distance, but generally, a higher DPI ensures your image’s sharpness and detail are preserved. Keep in mind, increasing DPI also increases file size and printing time, so balance your needs for clarity with practical considerations. Additionally, selecting an appropriate DPI can help optimize your skincare product images for professional printing and presentation. Proper DPI settings are essential to prevent image distortion and ensure your printed photos meet quality standards. Understanding the relationship between DPI and print resolution can further improve the overall quality of your prints. Moreover, understanding your specific print medium can guide you in choosing the most suitable DPI for your project.
The Role of Viewing Distance in Perceived Quality
When you view a print up close, you’re more likely to notice imperfections and fine details. As you step back, your perception of sharpness and clarity changes, often making flaws less obvious. Keep in mind, the ideal viewing distance varies widely depending on the print size and your personal preferences. Additionally, understanding the resolution and DPI of your print can further influence how it is perceived at various distances. The type of printing process used can also impact the final appearance and perceived quality of the print at different viewing distances. Moreover, visual acuity plays a role in how you perceive the quality of prints at various distances, as individual eyesight can affect perception.
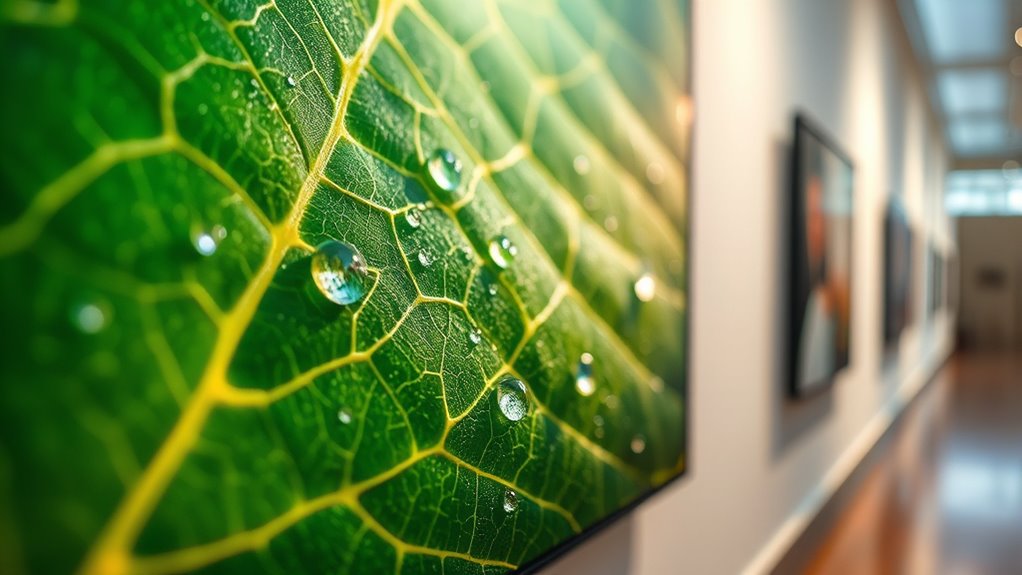
Closer Viewing Reveals Flaws
As you move closer to a printed photo, flaws that were barely noticeable from a distance become more apparent. Low pixel density can cause pixelation, where individual pixels are visible, disrupting the image’s smoothness. Similarly, poor color accuracy reveals itself through muddy or mismatched hues, detracting from realism. To understand this better, consider the following:
| Flaw | Effect | Visible When |
|---|---|---|
| Pixelation | Loss of detail, blocky | Closer viewing |
| Color Mismatch | Inaccurate hues | Up close |
| Blurriness | Lack of sharpness | Tight inspection |
Your viewing distance plays an essential role in perceiving quality; what looks fine from afar may reveal imperfections up close. Additionally, resolution directly impacts how these flaws manifest at different distances.
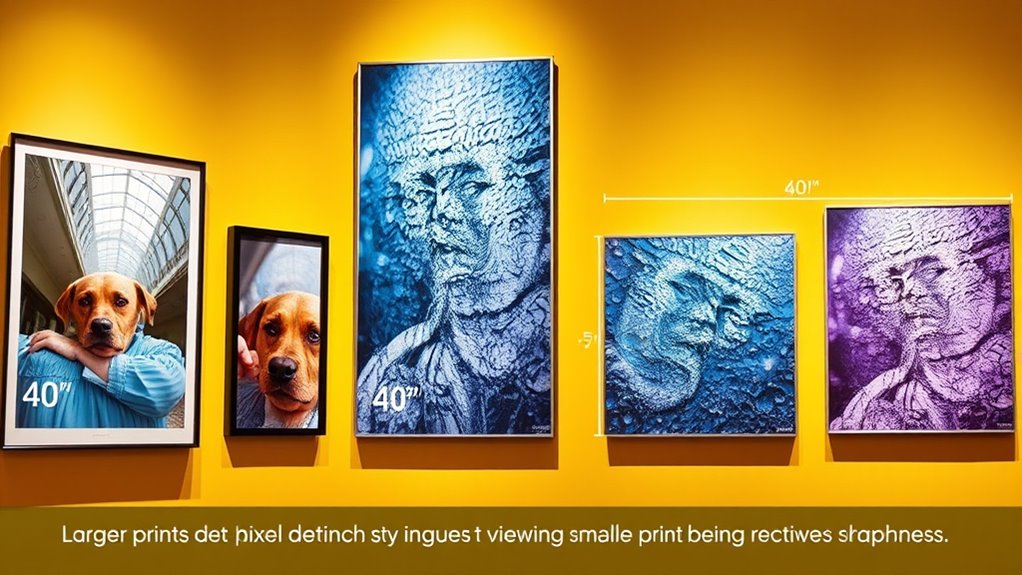
Distance Influences Detail Perception
Viewing distance considerably influences how you perceive the details and overall quality of a printed photo. When you stand closer, your eyes pick up finer details, so a higher pixel density improves clarity and sharpness. Conversely, at greater distances, your eyes merge pixels, making image compression less noticeable and reducing the need for ultra-high resolution. This means that even images with lower pixel density can appear sharp from afar, as your brain interprets the overall scene rather than every detail. Understanding this relationship helps you choose the right print size and resolution for the intended viewing distance. Additionally, awareness of perceived image quality can guide your decisions to achieve the best visual outcome. Ultimately, the perceived quality depends less on technical specifications and more on how far you’ll view the photo, balancing pixel density and image compression accordingly. Recognizing the viewing distance’s impact allows for more effective planning of print sizes and resolutions for optimal visual appeal. Moreover, considering factors like image compression can further enhance how well the photo maintains quality at various sizes and distances. Being mindful of print material and finish can also influence the overall appearance and durability of the photograph at different viewing ranges.
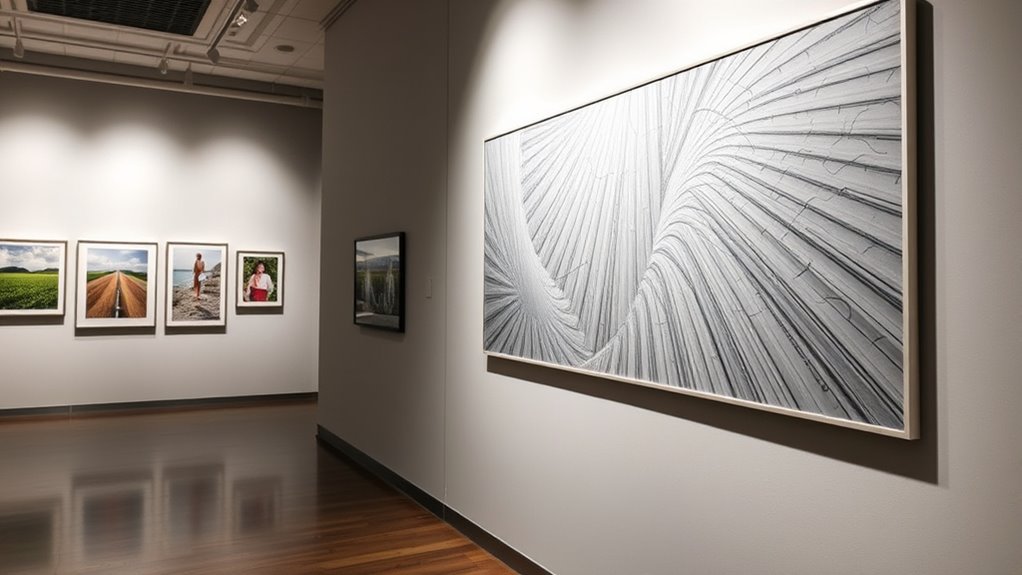
Optimal Viewing Varies Widely
The ideal viewing distance for a printed photo varies considerably depending on its size and the viewer’s perspective. When you view large prints from afar, your eyes blend pixels better, making details like color calibration and paper textures less noticeable. Conversely, closer distances reveal finer details and imperfections. Factors such as paper textures influence how light interacts with the surface, affecting perceived quality. Viewing angles also matter; some prints look better when viewed straight on, while others benefit from a side glance. Adjusting your distance based on print size ensures maximum visual impact, whether for intimate viewing or gallery displays. Additionally, understanding the DPI and print size relationship can help you select the optimal print resolution for your specific viewing conditions, enhancing overall image quality. The use of appropriate DPI in relation to viewing distance is crucial for achieving sharp, detailed images without unnecessary file size or printing costs. Properly considering print resolution and its connection to viewing distance can lead to more satisfying results in your printing projects. Recognizing the print surface and texture can further refine how light and details are perceived, contributing to the overall viewing experience.
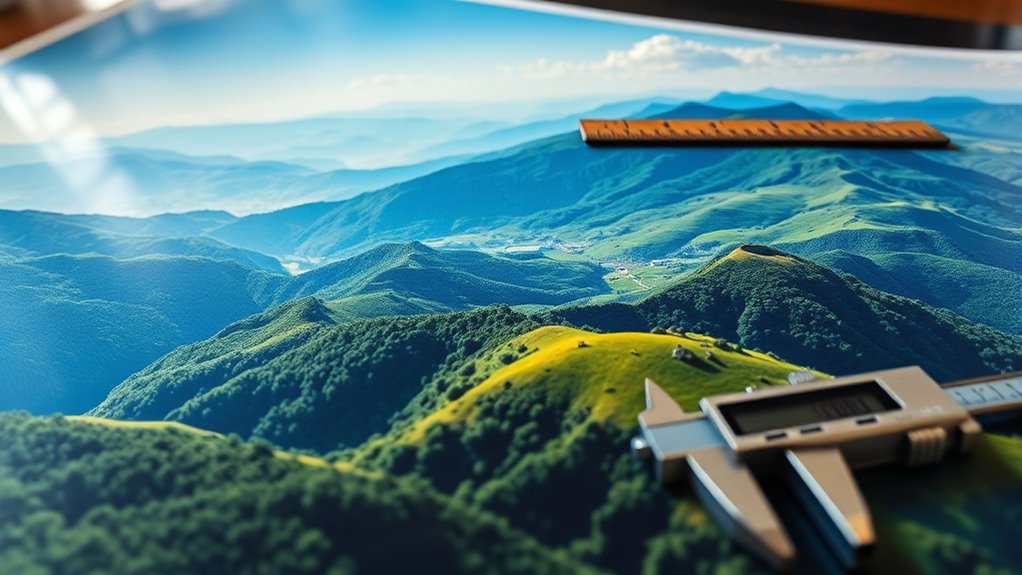
Calculating Optimal Print Sizes for Different DPI Settings
Understanding how to calculate ideal print sizes for different DPI settings is essential to guarantee your photos look sharp and professional. First, evaluate your image’s pixel dimensions and divide them by the desired DPI to find the maximum print size. For example, an image with 3000 pixels in width at 300 DPI results in a 10-inch print. Keep in mind that color calibration guarantees consistent hues across prints, while paper textures can influence perceived sharpness—rough textures may reduce apparent detail. Adjust your print size based on the DPI that balances detail with viewing distance. Higher DPI (like 300) suits close-up viewing, while lower DPI (around 150-200) works for larger displays seen from afar. Calculating these sizes accurately helps you avoid pixelation and ensures your prints look their best. Additionally, understanding Water Parks and their features can provide inspiration for vibrant, lively images to showcase in your prints. Knowing the Father and Daughter Bond can also inspire personalized and meaningful photo prints that celebrate relationships. Considering sound healing science principles can inspire calming and harmonious visuals to enhance the overall aesthetic of your print displays.
Practical Tips for Choosing the Right Print Size
Choosing the right print size involves balancing image resolution, intended display distance, and the purpose of your print. To optimize your results, consider factors like color calibration, which guarantees accurate hues, and paper textures, affecting tactile feel and visual quality. When selecting a size, keep in mind:
- Match print dimensions to viewing distance for clarity
- Use consistent color calibration to prevent color shifts
- Choose paper textures suited to the image style (glossy, matte, textured)
- Avoid enlarging images beyond their resolution limits
- Consider the print’s purpose—art display, decoration, or gift
- Understanding digital literacy can help you better manage and edit digital images before printing.
Common Mistakes That Affect Print Quality
One common mistake is ignoring resolution requirements, which leads to blurry or pixelated prints. You also might overlook the viewing distance, resulting in a print size that doesn’t look sharp up close. Paying attention to these factors helps guarantee your prints turn out clear and professional.
Ignoring Resolution Requirements
Ignoring resolution requirements is a common mistake that can seriously undermine your print quality. Many fall prey to resolution myths, believing higher megapixels always mean better prints, but that’s not true without proper DPI. You might also buy into print size myths, assuming larger prints are just scaled-up versions of smaller images, which can lead to pixelation. Failing to check your image’s resolution or using images with insufficient pixels causes blurry, grainy results.
Be aware of:
- Relying solely on pixel dimensions without considering DPI
- Ignoring minimum resolution recommendations for print sizes
- Believing that larger images always mean better quality
- Using compressed images that lose detail
- Overlooking the importance of viewing distance in resolution choices
Overlooking Viewing Distance
Many people overlook how viewing distance impacts print quality, but it’s a crucial factor in determining the ideal print size and resolution. When you consider viewing distance, you ensure the print’s frame aesthetics complement your space without sacrificing color accuracy. Up close, a higher DPI is necessary to maintain sharp details, but from afar, lower resolutions may suffice. Ignoring this balance can lead to prints that look pixelated up close or lack vibrancy from a distance. By accounting for how far you’ll view your print, you can choose the right size and resolution, optimizing both visual appeal and color fidelity. This approach prevents common mistakes that compromise quality, ensuring your print looks professional and cohesive within its environment.
Tools and Resources for Planning Your Photo Prints
To guarantee your photo prints turn out just as you envision, leveraging the right tools and resources is essential. Using professional print shop equipment ensures high-quality results, while digital image editing helps optimize your photos for size and clarity. Planning ahead with these resources makes the process smoother:
Using the right tools and planning ahead ensures stunning, high-quality photo prints.
- Digital image editing software for resizing and color correction
- Online print size calculators to match DPI and viewing distance
- Print shop equipment catalogs for compatible media and formats
- Color calibration tools to ensure accurate color reproduction
- Tutorials on preparing files for large-format printing
These tools empower you to make informed decisions, avoid common pitfalls, and achieve stunning prints that meet your expectations.
Frequently Asked Questions
How Does Lighting Affect the Perceived Quality of Printed Photos?
Lighting considerably impacts how you perceive printed photos. When ambient lighting is warm or cool, it can alter the color temperature, making colors look different than intended. Bright, well-balanced lighting enhances details and sharpness, while poor lighting can cause glare or shadows that diminish quality. To see your prints at their best, view them under consistent, neutral lighting conditions, ensuring colors stay true and details remain clear.
What Are the Best Viewing Angles for Large Photo Prints?
A picture is worth a thousand words, so choose your viewing angles wisely. For large photo prints, you should position yourself at eye level and stand directly in front of the image for the ideal display. This guarantees the details are clear and colors vibrant. Avoid viewing from extreme angles, as distortion can occur. Keep these tips in mind to fully enjoy your stunning photo display!
How Long Does Printed Photo Quality Typically Last?
Printed photo quality typically lasts around 20 to 100 years, depending on factors like print longevity and archival quality. To guarantee your photos stay vibrant longer, choose prints with archival quality materials and proper coatings. Keep your prints away from direct sunlight, high humidity, and pollutants. Proper storage and framing can substantially extend their lifespan, helping you preserve your memories for generations.
Can Professional Printing Techniques Improve Small Photo Print Quality?
Did you know that professional printing techniques can greatly enhance small photo print quality? By applying precise color correction and optimizing print resolution, you can achieve sharper details and more vibrant colors. These methods guarantee your photos look their best, even at smaller sizes. Investing in professional services can make a noticeable difference, transforming ordinary prints into stunning displays that truly capture your memories with clarity and depth.
How Do Different Paper Types Influence Print Sharpness and Color Vibrancy?
Different paper types considerably influence print sharpness and color vibrancy. Smooth textures like glossy paper enhance sharpness and make colors pop, while matte or textured papers can soften details, reducing sharpness but adding artistic appeal. Paper texture affects ink absorption; glossy papers absorb ink less, resulting in crisper images, whereas matte papers absorb more ink, which can dull vibrancy. Choose the right paper to match your desired sharpness and color intensity.
Conclusion
Now that you know how DPI and viewing distance impact your photo prints, you’re practically a printing wizard! Remember, choosing the right size and resolution can turn your photos into breathtaking masterpieces that even your grandma would gasp at. Don’t let blurry prints ruin your art—think of your print as your photo’s superhero cape, ready to impress everyone. So go ahead, create stunning prints and make your walls pop like a fireworks show!