
To perfectly center artwork above furniture, start by measuring the furniture’s width and mark its midpoint on the wall. Next, measure the artwork’s width and find its midpoint; lightly mark it too. Align the artwork’s center with the furniture’s midpoint for a balanced look. Use a level to guarantee it’s straight, and decide on the ideal height—typically 60-66 inches from the floor—adjusting for scale and style. Keep practicing these steps to master the technique.
Key Takeaways
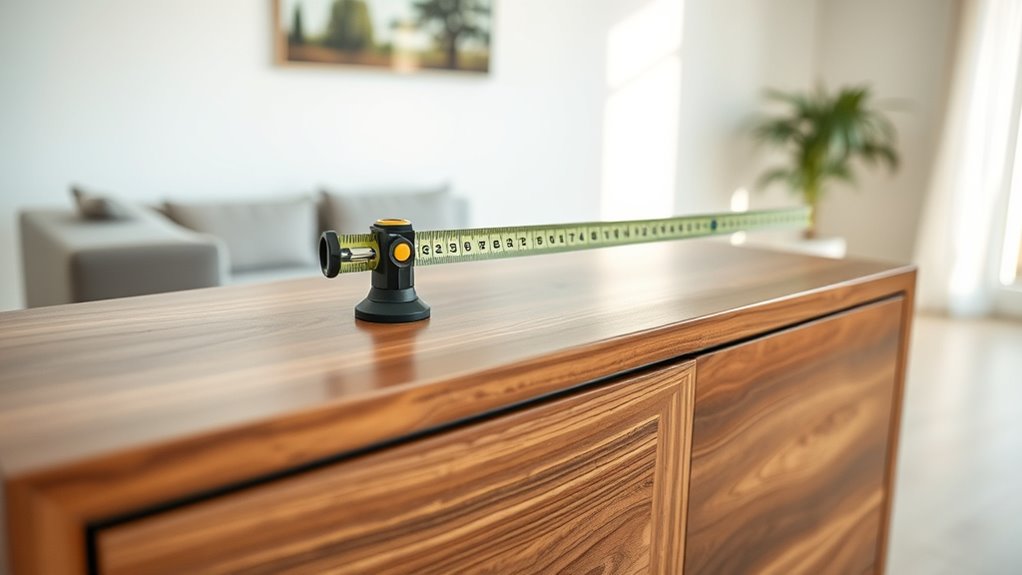
- Measure the width of the furniture and find its midpoint, then lightly mark this on the wall.
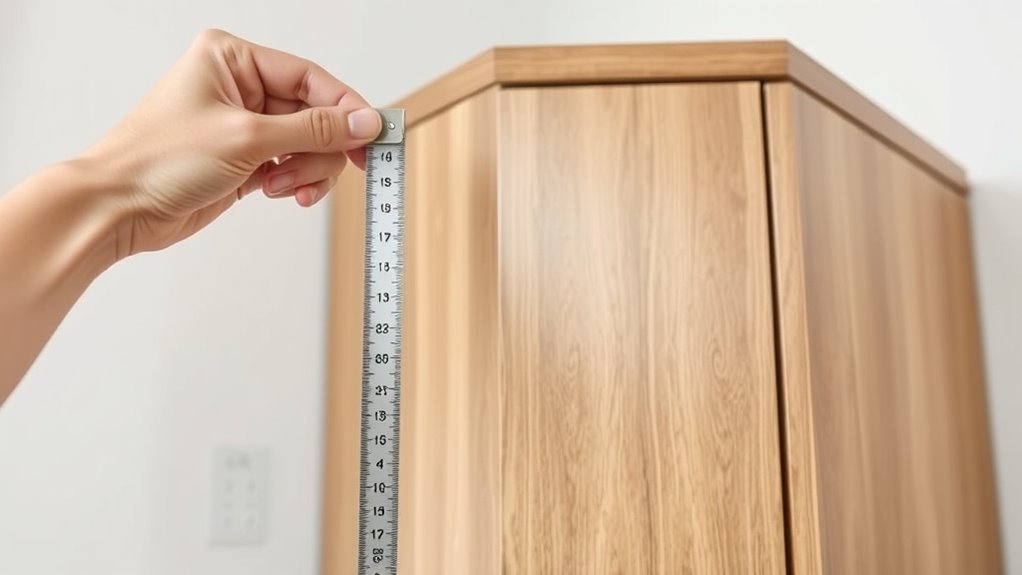
- Determine the desired height for the artwork center, typically 60-66 inches above the floor, adjusting for furniture height.
- When above furniture, position the artwork so its bottom edge is 4-6 inches higher than the top of the furniture.
- Use a level to ensure the artwork will hang straight, aligning the midpoint with the wall or furniture midpoint as needed.
- Double-check measurements and spacing before hanging to create a balanced, cohesive look above the furniture.
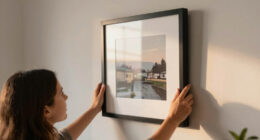
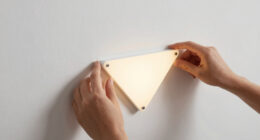
Ever wondered how to achieve perfectly centered artwork or fixtures above your furniture? It all comes down to understanding wall symmetry and hanging height. When you’re looking to create a balanced, visually appealing arrangement, paying attention to these details makes a huge difference. First, consider the wall itself. Walls aren’t always perfectly symmetrical, so measure carefully to identify the true center of the space. Use a tape measure to find the midpoint between the two edges of the wall, and mark it lightly with a pencil. This center point will serve as your reference for aligning artwork or fixtures, ensuring they’re placed precisely where they should be.
Identify the true wall center by measuring between edges for perfectly aligned artwork.
Next, think about your furniture and what you want to hang above it. The goal is to create a harmonious relationship between the furniture and the artwork, which often involves adjusting the hanging height. A common rule of thumb is to hang artwork so that its center is roughly 60 to 66 inches above the floor, but this can vary depending on ceiling height and personal preference. When hanging above furniture, you want the art to complement the piece, not overwhelm it. Typically, a good starting point is to position the artwork so that its midpoint is about 4 to 6 inches above the top of the furniture. This creates a cohesive look, emphasizing the artwork while keeping it anchored to the furniture below.
To ensure perfect centering, measure the width of your furniture and find its midpoint. Mark this spot lightly on the wall, aligning it with your earlier wall center mark if possible. When hanging your artwork, use a level to keep it straight and match the midpoint of the piece to your reference point on the wall. Remember, the hanging height depends on the size of the artwork and the furniture. For larger pieces, you might want them a bit lower for impact, while smaller pieces can be hung a little higher. Always double-check your measurements before hammering nails or hooks into the wall.
Additionally, understanding wall symmetry can help you make more precise adjustments for a professional appearance. Ultimately, achieving perfect centering above furniture involves a combination of precise measurements and aesthetic judgment. By paying attention to wall symmetry and hanging height, you ensure that your artwork looks intentional and polished. Take your time to measure carefully, use the right tools, and step back periodically to evaluate how everything looks. With a little patience, your wall arrangements will feel balanced and visually pleasing, making your space look thoughtfully curated and harmonious.
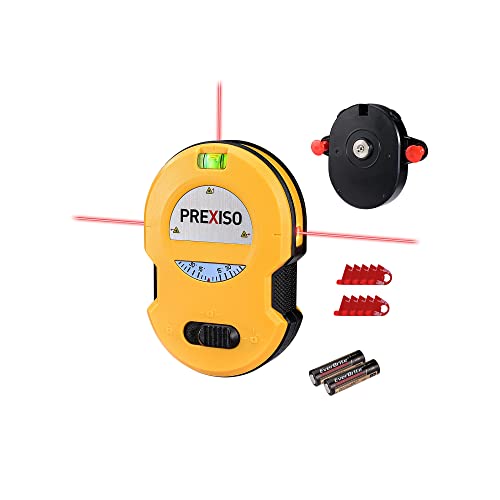
PREXISO Multi Surface Laser Level LED Light Vial, 30Ft Horizontal & Vertical Line Laser with Wall Mount Base, 2 Pins, 10 Sticker, 2 AA Batteries for Hanging Frames & Picture, Construction Wall Writing
One-switch Operation: Simple one-switch operation powers 3 laser lines on and off, projecting 3 level line onto surface;…
As an affiliate, we earn on qualifying purchases.
As an affiliate, we earn on qualifying purchases.
Frequently Asked Questions
What Tools Are Best for Precise Measurements?
You should use a measuring tape and a laser level for precise measurements. The measuring tape helps you get accurate distances and guarantee everything lines up perfectly. The laser level projects a straight, visible line across surfaces, making it easier to align items and maintain symmetry. Together, these tools give you the precision needed to achieve perfect centering above furniture, saving you time and ensuring a professional-looking result.
How Do I Account for Uneven Wall Surfaces?
Did you know that up to 30% of walls have some level of uneven surfaces? When measuring for perfect centering, you should first identify wall irregularities using a level or laser tool. Mark the highest points to ensure your measurements account for uneven surfaces. Adjust your measurements accordingly, and double-check with a level to guarantee your furniture will sit perfectly centered, even on irregular walls.
Should I Consider Furniture Height Variations?
Yes, you should consider furniture height variations to achieve artificial symmetry and visual balance. When measuring, account for differing heights so your artwork or decor aligns harmoniously with the furniture’s overall look. Use a level or tape measure to mark consistent points, ensuring the centered piece complements the varying heights. This creates a cohesive, balanced appearance that enhances your space’s aesthetic appeal.
How Do I Measure for Multiple Pieces Above Furniture?
To measure for multiple pieces above furniture, start by determining the total width you want to cover. Use a measuring tape to mark equal distances for each piece, ensuring consistent spacing. Install hanging hardware at the calculated points, focusing on visual symmetry for a balanced look. Double-check measurements before hanging to maintain alignment, and adjust as needed to achieve a cohesive, polished display.
What Are Common Mistakes to Avoid During Measurement?
When measuring, avoid common mistakes like using a flimsy measuring tape that can bend or stretch, which leads to inaccurate results. Don’t forget to mark spots with a pencil before drilling or anchoring into the wall. Make sure your wall anchors are suited for your wall type to prevent damage. Double-check your measurements for symmetry and consistency, especially when aligning multiple pieces, to maintain a balanced, professional look.

Amazon Basics Self-Locking Tape Measure with Belt Clip, 16-Feet (5-Meters), Inch/Metric Scale, MID Accuracy, Black, Yellow
Tape measure with MID accuracy and both inch and metric scales; measures up to 16 feet (5 meters)
As an affiliate, we earn on qualifying purchases.
As an affiliate, we earn on qualifying purchases.
Conclusion
Now that you know how to measure for perfect centering above your furniture, you’re ready to create a balanced and polished look. Did you know that rooms with well-centered art or decor tend to feel 30% more inviting? By applying these simple tips, you’ll boost your space’s harmony and style effortlessly. Remember, a little precision goes a long way in transforming your room—so grab your tape measure and get started today!

KURUI 303Pcs Picture Hanging Kit, Picture Hangers Assorted Kit with Heavy Duty Picture Hanging Hooks/Hardware Nails/Sawtooth/Wire/D Rings/Level, Metal Picture Wall Hooks for Frame Canvas Mounting
EFFORTLESS ORGANIZATION: Our 303pcs Heavy Duty Picture Hanging Kit boasts an exceptional design with categorized compartments, saving you…
As an affiliate, we earn on qualifying purchases.
As an affiliate, we earn on qualifying purchases.

Stud Finder Wall Scanner – 5 in 1 Stud Finder Tool w/Smart Chip and HD LCD Display, Stud Detector Beam Finders for the Center and Edge of Wood AC Wire Metal Studs Joist Pipe (Silver Plate)
Accurate and Rapid: The wall stud finder adopts an intelligent micro-sensor chip with the highest sensitivity which can…
As an affiliate, we earn on qualifying purchases.
As an affiliate, we earn on qualifying purchases.