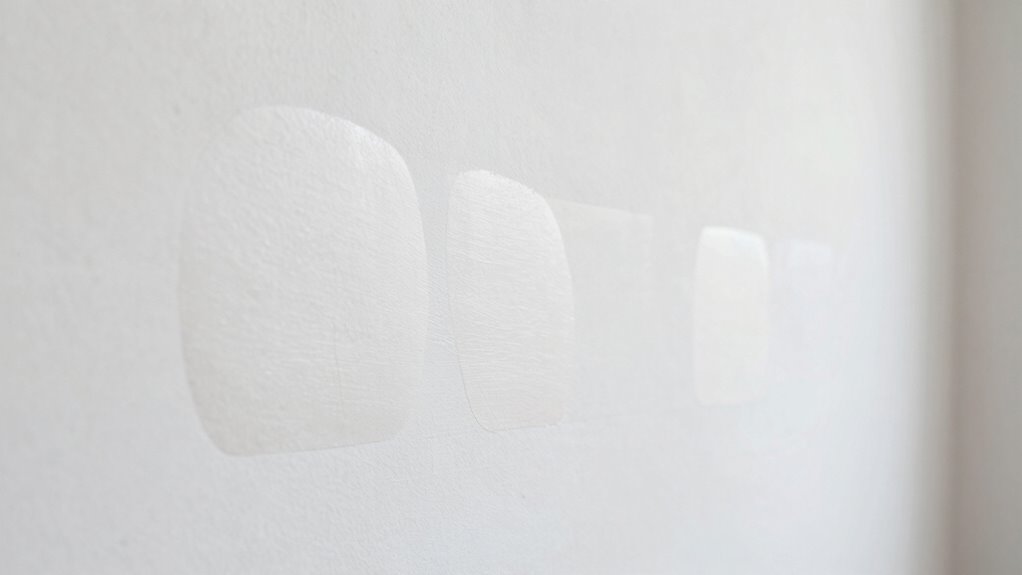

To make patches disappear better, start with thorough surface prep by sanding edges, removing dust, and applying primer if needed. Use feathering and blending techniques to smooth paint edges and match your wall’s finish. Replicate textures with stippling or sponging, practice blending layers, and apply multiple thin coats for seamless integration. Patience in drying and finishing touches guarantees your repair fades into the wall. Keep exploring these steps, and you’ll master a flawless repair.

Get furniture and decor delivered free — and shop member deals
- Fast, free delivery on millions of items
- Access to Prime Big Deal Days deals on October 6–7
- Prime Video, Amazon Music and more included
Key Takeaways
- Properly prepare the surface with sanding, cleaning, and priming for optimal paint adhesion.
- Use feathering techniques to seamlessly blend paint edges outward from the patch.
- Match wall texture with stippling, sponging, or pattern replication for invisibility.
- Apply multiple thin coats and lightly blend layers for a natural, seamless finish.
- Allow sufficient drying time and perform light sanding to smooth out any inconsistencies.
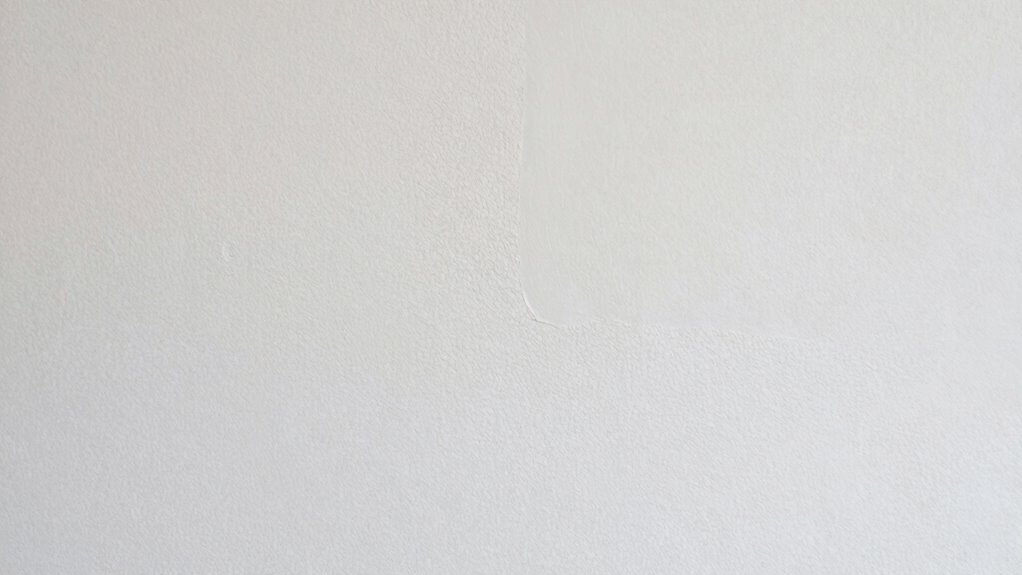
When your walls develop cracks or holes, wall repair patches offer a quick and effective solution to restore their appearance and integrity. However, making these patches disappear seamlessly requires more than just sticking them on. To truly blend repairs with the surrounding wall, you need to follow a precise sequence that emphasizes painting techniques and texture blending. This process helps your repairs look like they’ve never happened, restoring your wall’s smooth, uniform look.
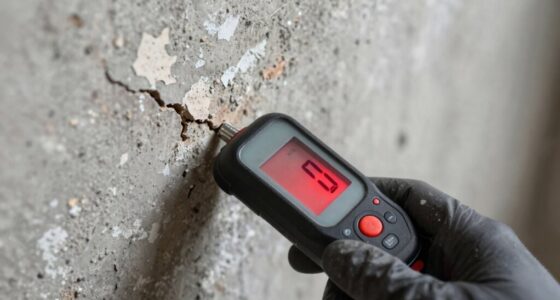
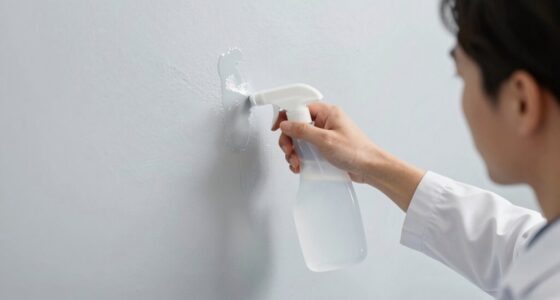
Start by preparing the patch area thoroughly. Sand around the edges of the patch to create a smooth transition between the repair and the existing wall surface. Remove any dust or debris, because a clean surface ensures better adhesion and a more even finish. Once you’ve prepped the area, apply a primer if necessary, especially if the patch material is different from the wall’s surface. Priming helps the paint adhere better and prevents uneven absorption, which can make repairs stand out. Proper surface preparation is essential for paint adhesion and achieving a seamless finish. Additionally, paying attention to the material compatibility between patch and wall can help improve the overall repair quality. Being aware of wall surface types can also aid in selecting the most suitable repair materials and techniques.
Thoroughly sand and clean the patch area for smooth, even wall repair blending.
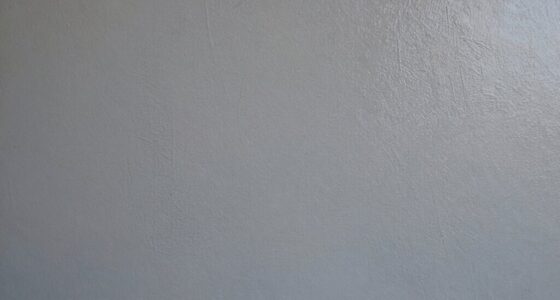
Next, focus on applying the paint. Instead of just rolling or brushing on a coat of paint, employ specific painting techniques to match the original wall finish. Feather the edges of your paint strokes outward from the patch, gradually blending the new paint with the old. This technique reduces harsh lines and creates a seamless transition. For textured walls, texture blending becomes crucial. Use a stippling or sponging technique to mimic the original wall texture, carefully matching its pattern and depth. If you’re unsure about replicating the texture, practice on a scrap piece or a hidden section first. Additionally, understanding the importance of texture matching can significantly improve the overall invisibility of your repair.
Once the paint and texture are applied, step back and evaluate your work. It’s often necessary to add additional layers of paint or texture to ensure complete integration. Multiple thin coats tend to blend better than one thick coat, preventing drips and unevenness. Use a fine brush or roller, depending on your wall’s texture, to gently feather the edges of the repair. Keep a damp sponge or cloth handy to lightly blend any visible lines or imperfections before the paint fully dries. Patience in layer application and blending is key to a flawless repair. Taking your time during each step allows for more control and a more natural look. Being patient and meticulous can make the difference between a noticeable patch and a virtually invisible repair.
Finally, give your repair ample drying time, and if needed, lightly sand the area once the paint has cured. This extra step can help smooth out any slight inconsistencies. With patience and attention to detail, your repair will fade into the wall, making the patch virtually invisible. The key is to focus on painting techniques and texture blending throughout the process, ensuring your wall looks flawless and restored without obvious signs of repair.
As an affiliate, we earn on qualifying purchases.
Frequently Asked Questions
How Long Does the Repair Process Typically Take?
The repair process usually takes around a day or two, depending on wall textures and drying times. You’ll want to start with prepping and filling the patch, then let it dry thoroughly. When painting tips come into play, you should sand and prime the area smoothly to match the wall texture. Patience guarantees your patches blend seamlessly, making your repairs virtually invisible and saving you time in the long run.
What Tools Are Essential for This Repair Sequence?
Have you ever wondered what tools make wall repairs seamless? To achieve a flawless finish, you need essential tools like putty knives, sanding blocks, and a sponge for surface cleaning. Painting techniques matter too—use brushes and rollers suited for your wall type. These tools help you smooth patches and blend repairs effortlessly. Isn’t it satisfying when your wall looks untouched? With the right tools, you can make patches disappear perfectly.
Can This Method Be Used on Textured Walls?
Yes, you can use textured wall techniques and surface blending methods on textured walls. To blend patches seamlessly, match the existing texture, whether it’s knockdown, swirl, or stipple. Use tools like sponges, brushes, or trowels to recreate the pattern. Apply joint compound carefully, then texture the repaired area while it’s still wet, ensuring it blends with the surrounding wall for a uniform finish.
Is Special Prep Required Before Starting the Repair?
Yes, you’ll need to do some special prep before starting the repair. First, clean the surface thoroughly to remove dust, grease, or dirt—this guarantees good adhesion. Then, apply a primer to the area; it helps the patch blend seamlessly and improves durability. Skipping these steps can lead to poor adhesion or visible patches, so don’t rush. Proper surface cleaning and primer application make your repair nearly invisible and long-lasting.
How Durable Are the Patched Areas Over Time?
Did you know that properly patched walls can last over a decade with minimal cracking? You’ll find that patches made with our method are highly durable, especially when paired with precise paint matching. This not only improves the appearance but also helps prevent future cracks. By following the repair sequence carefully, you guarantee the patched areas stay strong and blend seamlessly, offering long-lasting crack prevention and maintaining your wall’s integrity over time.
As an affiliate, we earn on qualifying purchases.
Conclusion
Now that you’ve mastered this repair sequence, imagine stepping back to admire your flawless wall—no patches, no signs of repair. But wait—what if a tiny crack reappears overnight? Will your careful work hold, or will the mystery of the disappearing patches return? Keep an eye on your work, because true perfection is a delicate balance. With each repair, you’re not just fixing walls—you’re uncovering the secret to seamless, invisible restoration.
As an affiliate, we earn on qualifying purchases.
As an affiliate, we earn on qualifying purchases.
Fall Picks
fall essentials
As an affiliate, we earn on qualifying purchases.