To blend repaired wall textures seamlessly, start by matching the original texture style, whether it’s knockdown, orange peel, or popcorn. Properly prepare the surface by cleaning and lightly sanding the edges. Use the right tools, like a sprayer or stippling brushes, to replicate the texture accurately. Blend edges carefully and refine with light sanding if needed. Paying close attention to detail guarantees a natural finish, and you’ll discover more tips to achieve perfect results as you continue.
Key Takeaways
- Match the existing wall texture type accurately using spray or hand application techniques.
- Properly prepare the surface by cleaning and lightly sanding for smooth blending.
- Use color-matched paint with fine application tools to ensure seamless visual integration.
- Recreate the original texture style carefully, practicing on scrap if needed before the final application.
- Lightly sand and refine the textured area post-application to achieve a consistent, invisible repair.
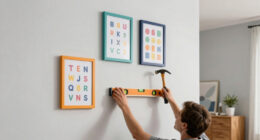
Blending repaired texture into old walls can be challenging, but with the right techniques, you can achieve a seamless finish. The key lies in understanding how to match the existing wall’s texture and color, making the repair virtually invisible. Start by carefully inspecting the wall’s surface to identify the type of texture—whether it’s knockdown, orange peel, or popcorn. Once you know the texture style, you can replicate it more accurately during drywall finishing, guaranteeing the repair blends seamlessly.
Matching wall texture and color is essential for seamless drywall repairs.
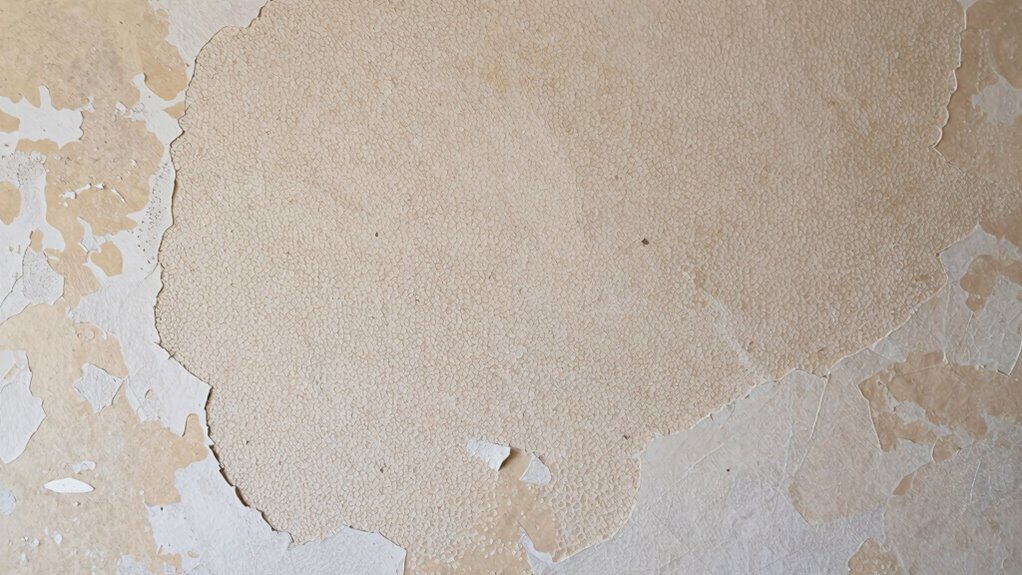
When working on drywall finishing, it’s essential to prepare the surface properly. Remove any loose paint or debris around the repair area, and sand the edges lightly to create a smooth transition. This step helps prevent visible ridges or bumps once you apply texture. After prepping, you’ll want to focus on paint matching. Find a paint sample that closely matches your wall’s current color—sometimes, a small sample of the original wall color is enough. If the wall has faded over time, consider mixing a slightly lighter or darker shade to match the underlying hue more precisely. Using high-quality paint and a fine brush or roller can help you blend the edges of the repair with the surrounding wall.
Next, recreate the original texture. For spray textures like orange peel or knockdown, you might need a texture sprayer, which allows you to apply a thin, even coat that mimics the existing wall. For hand-applied textures, use a stippling brush, sponge, or trowel, depending on the style. Practice on a piece of scrap drywall if needed to get the technique just right. Understanding wall textures is crucial for achieving a natural blend, as it helps you replicate the original finish more accurately. Additionally, paying attention to the application technique can significantly impact how well the texture matches. Once the texture is applied, lightly sand any uneven spots and reapply texture if necessary, ensuring consistency across the repair site.

Wagner Spraytech 0520000 Power Tex Electric Corded Texture Sprayer, Sprays 3 Textured Patterns – Popcorn, Knockdown, and Orange Peel, 1 Gallon Hopper
TEXTURE SPRAY GUN: The Wagner Power Tex paint sprayer is designed to apply a textured finish on your…
As an affiliate, we earn on qualifying purchases.
As an affiliate, we earn on qualifying purchases.
Frequently Asked Questions
How Long Should I Wait Before Painting After Repair?
You should wait at least 24 to 48 hours before painting after your repair, giving the patch time to fully dry. Proper painting preparation is key, so make certain the surface is clean and smooth. During this period, focus on texture matching by gently blending the repair with the existing wall texture. This wait allows the repair to cure, preventing paint from peeling or cracking and ensuring a seamless, professional finish.
Can I Use DIY Methods to Match Old Wall Textures?
Yes, you can use DIY techniques for texture matching and blending repaired sections into old walls. You’ll want to observe the existing texture closely, then replicate it with tools like sponge, brush, or trowel. Mix your compounds to match consistency, layer gradually, and adjust until the textures align seamlessly. Patience and practice turn simple DIY techniques into effective solutions, creating a smooth, cohesive surface that blends repair with original wall texture.
What Tools Are Best for Blending Textured Surfaces?
For blending textured surfaces, you should focus on proper surface preparation and choosing the right tools. Use a putty knife or trowel to feather the edges smoothly, and a drywall sanding sponge for refined blending. A texture sprayer or roller can match existing wall textures effectively. Make certain the surface is clean and primed before applying new texture, which helps tools work better and results blend seamlessly.
How Do I Prevent Future Damage to Repaired Areas?
To prevent future damage to repaired areas, you should regularly inspect and maintain your walls, addressing minor issues early. Keep humidity levels balanced to avoid cracks or peeling, and use gentle cleaning methods to prevent surface wear. Applying a protective sealant can also help safeguard the texture. Follow consistent maintenance tips, like avoiding harsh cleaners and being cautious during moving or furniture placement, to guarantee your repairs stay intact longer.
Is It Necessary to Remove All Old Paint Before Blending?
You don’t always need to remove all old paint before blending, but surface preparation is essential. For example, if you’re repairing a textured wall with glossy paint, sanding the area creates a better bond. Make certain paint compatibility by choosing the right primer and paint. Lightly sanding the old paint helps the new blend seamlessly, preventing peeling or uneven texture. Proper surface prep guarantees a smooth, durable repair.

ToolPro 8-Inch Horse Hair Stipple Brush – Professional Texture Brush for Drywall and Ceiling Finishing
Note: This brush is intended for texturing and not for applying compound to walls or ceilings.
As an affiliate, we earn on qualifying purchases.
As an affiliate, we earn on qualifying purchases.
Conclusion
Don’t worry if your repaired texture doesn’t match perfectly at first — blending takes patience. Remember, a seamless look isn’t about perfect uniformity but about creating a natural progression that’s pleasing to the eye. With careful blending and a little time, your walls will look fresh and cohesive. Embrace the process, and you’ll find that even imperfect repairs can become a charming part of your home’s character.

COLOR MUSE Colorimeter – Mobile Color Matching Tool – Instantly identify closest matching paint colors, products, and digital color values
SIMPLE AND PORTABLE – Scan any flat surface to find the closest matching paint colours and products in…
As an affiliate, we earn on qualifying purchases.
As an affiliate, we earn on qualifying purchases.

BONCART 8.6oz Drywall Patch Repair Kit – Professional All-in-1 Tool Set (Scrapers/Sandpaper/Texture Sponge/Gloves/Putty Knife) for Fast Wall Hole Repair
All-in-One Repair Solution:BONCART Wall Mending Agent combines patching and priming in one step, eliminating multiple product purchases. Perfect…
As an affiliate, we earn on qualifying purchases.
As an affiliate, we earn on qualifying purchases.