
To make cleanup easier, start by taping edges and covering furniture before you paint. Begin with the ceiling to prevent drips on walls, then paint the walls from top to bottom. Finish with trims and baseboards. Use smaller brushes for edges and rollers for large areas. Once you’re done, remove painter’s tape carefully and clean brushes right away. Following this order keeps messes minimal and simplifies cleanup—stick around for more tips on completing your project smoothly.
Key Takeaways
- Paint the ceiling first to prevent drips on walls and reduce rework.
- Start with edges and corners using small brushes before using rollers for large areas.
- Complete the entire wall surfaces before moving on to trim or accents.
- Allow sufficient drying time before removing painter’s tape for clean edges.
- Clean brushes and tools after finishing each section to prevent buildup and facilitate easier cleanup.
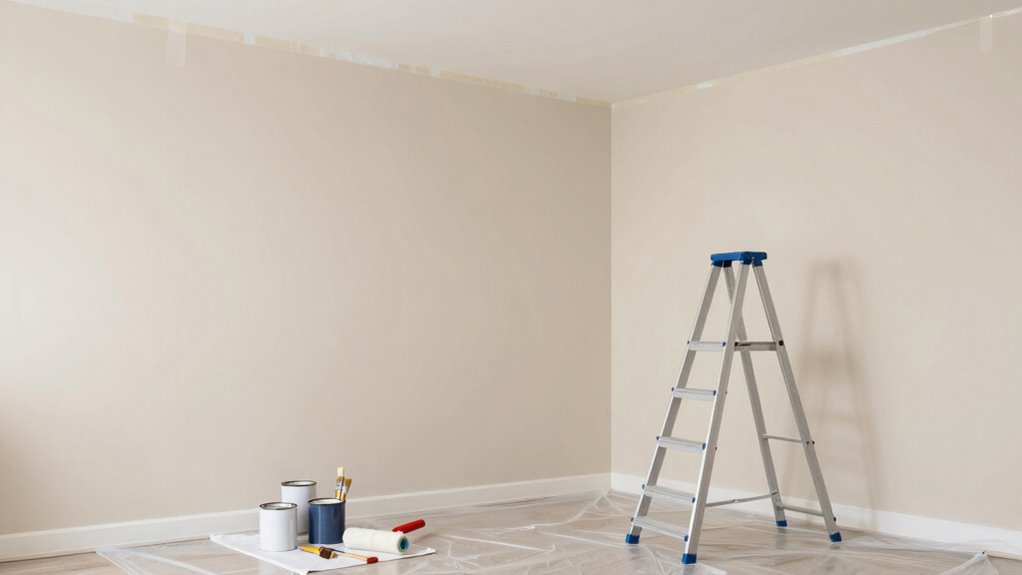
Painting a room can be a messy task, but planning the order of your work can make cleanup much simpler. When you approach your project with a clear plan, you reduce the risk of drips and splatters ending up on surfaces you aren’t ready to paint yet. This means you can work efficiently and keep your space cleaner throughout the process.
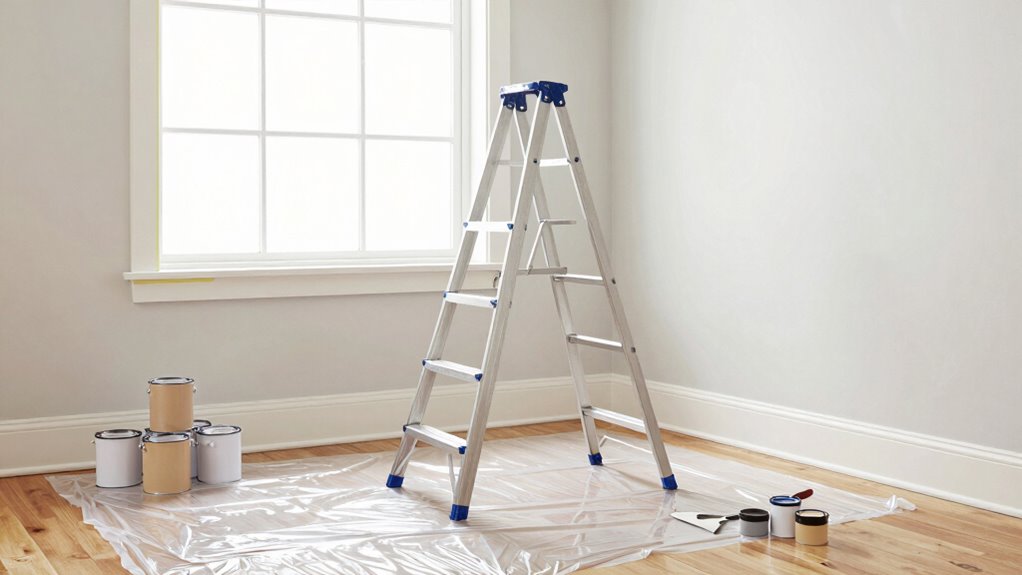
Start by preparing your room thoroughly—covering furniture and flooring, taping edges, and gathering all your supplies. Once everything’s ready, it’s best to begin with the ceiling, especially if you’re painting with a roller or brush techniques that might cause drips downward. Painting the ceiling first prevents any accidental splashes from ruining freshly painted walls later. After the ceiling, tackle the walls, working from top to bottom in sections. This way, any drips or splatters on the walls won’t drip onto surfaces you’ve already painted.
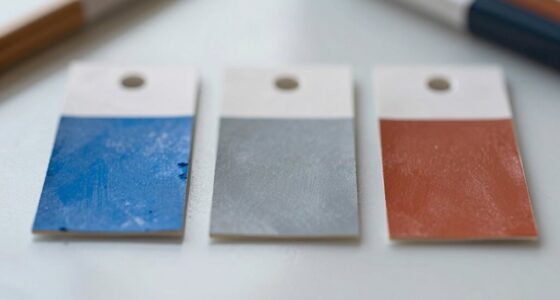
When choosing your paint color, opt for shades that complement each other and suit the room’s purpose. Your paint color selection influences your workflow; lighter shades are generally easier to cover with darker colors and vice versa. If you’re working with multiple colors, plan your sequence so you can minimize cleaning brushes between color changes. For example, if you’re using similar hues, you might be able to switch quickly without thorough cleaning, saving time and reducing mess.
Brush techniques are key to a clean and professional-looking finish. Use smooth, controlled strokes, starting from the edges and corners with a smaller brush and then moving to larger rollers for the broad surfaces. Avoid overloading your brush or roller, as excess paint can cause drips and uneven application. When you’re done with each section, rinse your brushes promptly to prevent dried paint, which makes cleanup more difficult later. Additionally, choosing the right paint application tools can significantly improve your overall results and ease of cleanup. Proper brush maintenance also contributes to a cleaner workspace and better paint finish. Being mindful of cleaning brushes during the project can help maintain their effectiveness and extend their lifespan.
Finally, once the main painting is complete, allow enough drying time before removing painter’s tape and cleaning up. This prevents smudging and accidental smears on your freshly painted surfaces. By working in this logical order—ceiling first, then walls, and finally any trim or moldings—you keep your workspace manageable. Incorporate your brush techniques carefully and choose your paint colors wisely to streamline your process and make cleanup less of a chore. With a clear plan in place, your painting project will be smoother, neater, and more satisfying.

Pro Grade Paint Brushes, 5-Piece Paint Brush Set, Flat & Angle Brushes for Walls, Trim, Cabinets, Interior & Exterior Latex and Oil Paints, Stains
COMPLETE 5-PIECE BRUSH SET FOR EVERY PAINTING TASK — Includes 1 Inch Flat, 1.5 Inch Angle, 2 Inch…
As an affiliate, we earn on qualifying purchases.
As an affiliate, we earn on qualifying purchases.
Frequently Asked Questions
How Long Should I Wait Between Coats of Paint?
You should wait about 2 to 4 hours between coats of paint, depending on the paint’s drying time and your room’s conditions. Check the paint label for specific drying times, as thicker coats or humid environments may extend this. Using proper paint application techniques, like applying thin, even coats, helps the paint dry faster and reduces the wait time. Make sure the previous coat feels dry to the touch before applying the next.
Can I Paint Over Wallpaper or Should I Remove It First?
You should remove wallpaper before painting for the best results. Wallpaper removal guarantees a smooth surface, preventing bubbles or peeling later. If you paint over wallpaper, the paint may not adhere well and could cause issues down the line. Proper surface preparation, including removing existing wallpaper, helps achieve a clean, professional finish and makes cleanup easier. Take your time to strip the wallpaper thoroughly before applying primer and paint.
What Type of Paint Is Best for High-Traffic Areas?
For high-traffic areas, you should choose a durable paint with a satin or semi-gloss finish, as these withstand wear and are easy to clean. When selecting color, opt for shades that hide scuffs and fingerprints, like neutral tones or muted hues. The right paint finish guarantees longevity, while thoughtful color selection keeps your space looking fresh longer. Always prep surfaces well to maximize your paint’s durability.
How Do I Prevent Paint From Dripping or Spilling?
To prevent paint from dripping or spilling, start with careful color selection, choosing high-quality paints that flow smoothly. Use proper brush techniques, like loading just enough paint and applying it in thin, even coats. Keep a steady hand, work slowly around edges, and avoid overloading your brush. Use painter’s tape for clean lines, and always have drop cloths in place to catch drips, making cleanup easier.
Should I Prime the Walls Before Painting?
A touch of primer preparation can greatly enhance your painting results. You should prime the walls before painting, especially if they’re stained, uneven, or a different color. Proper surface sanding ensures the primer adheres smoothly, creating a flawless foundation. Priming helps paint stick better and provides a uniform finish, reducing the need for touch-ups later. Skipping this step might compromise your project’s durability and appearance, so don’t neglect it for a professional-looking result.

Pro Grade Paint Roller Kit, Brush & Roller,10 Piece Set, Wall Painting Naps for Professionals & Homeowners – All Paints & Stains, Washable, Reusable, Easy to Clean, Superior Absorbency.
Complete Painting Solution: This ten piece set includes everything for interior paint jobs; use paint brushes for walls…
As an affiliate, we earn on qualifying purchases.
As an affiliate, we earn on qualifying purchases.
Conclusion
By following the right painting order, you’ll make cleanup a breeze and avoid unnecessary messes. Remember to start high and work your way down, and don’t forget to protect your floors and furniture. When you stick to a plan, painting becomes less of a headache and more of a smooth sailing experience. With a little planning, you’ll finish up with a fresh-looking room and a clean space, proving that sometimes, a well-laid plan truly is worth its weight in gold.

ScotchBlue PROSharp Painter's Tape 2 Inch Wide (1.88 in x 60 yd) 1 Roll Blue Tape Protects Surfaces and Removes Easily, Edge-Lock Tape for Indoor and Outdoor Use (2093+-48EC)
OUR SHARPEST LINE YET: Engineered to provide our sharpest paint lines yet, this ScotchBlue painters tape provides 2X…
As an affiliate, we earn on qualifying purchases.
As an affiliate, we earn on qualifying purchases.
ROLLINGDOG 4 in 1 Paint Brush Comb – Paint Brush&Roller Cleaner Tool
RUGGED & CORROSION-RESISTANT: Made of strong 420 stainless steel that flexes without breaking. Stays sharp and resists rust,…
As an affiliate, we earn on qualifying purchases.
As an affiliate, we earn on qualifying purchases.