
To optimize your full drench workflow, choose cabinet and trim colors that complement your wall color while enhancing visibility. Light, reflective finishes like semi-gloss or satin help brighten the space and make organization easier. Pairing durable, easy-to-clean paints with strategic lighting improves hygiene and reduces maintenance needs. Consistent color schemes and finishes create a cohesive, efficient environment. Keep exploring to discover how these details can boost workflow safety and effectiveness even further.
Key Takeaways
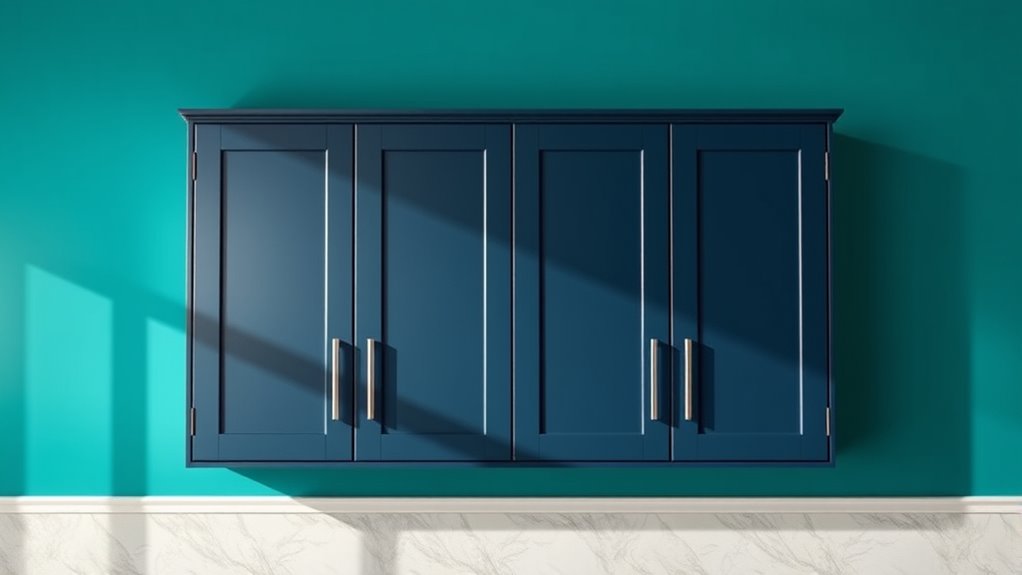
- Choose light-colored walls and trim with satin or semi-gloss finishes to reflect light and enhance workspace brightness.
- Coordinate cabinet colors with wall tones for a cohesive appearance and easier workspace organization.
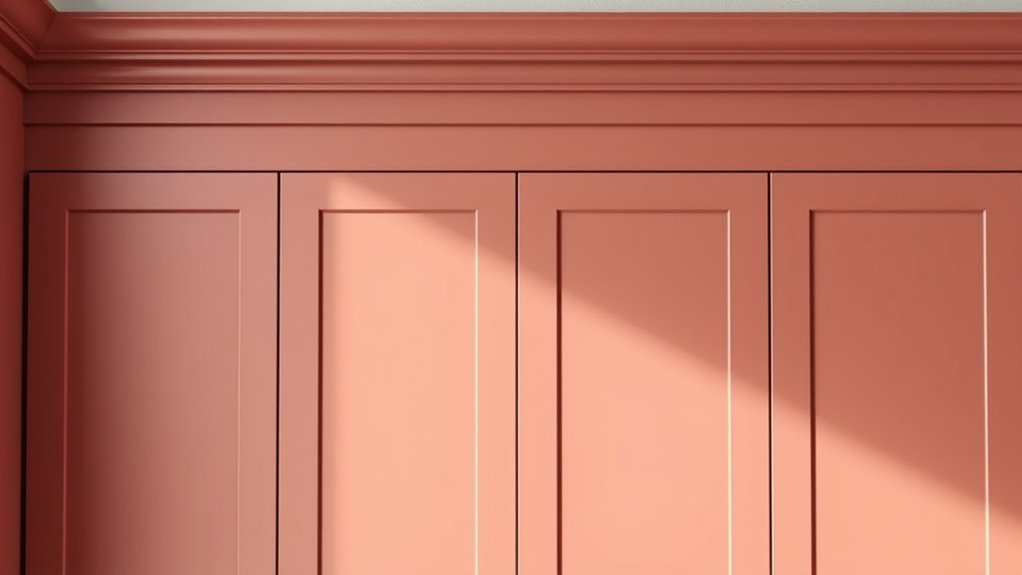
- Use durable, high-gloss or semi-gloss paints on cabinets and trim to resist water, scratches, and facilitate cleaning.
- Ensure cabinet placement maximizes accessibility and visibility for efficient medication and tool management.
- Incorporate strategic lighting to highlight cabinets and trim, improving safety and workflow during full drench procedures.
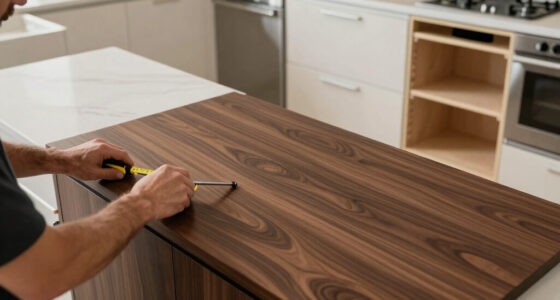
A full drench workflow is vital for efficiently administering medications and ensuring your livestock’s health. When setting up your treatment area, paying attention to details like the cabinet and trim on the wall color can make a significant difference in the workflow’s effectiveness. The paint finish you choose for the walls and cabinetry influences how well the space functions and how easy it is to maintain cleanliness. Opt for a semi-gloss or high-gloss finish, as these are more resistant to stains, easier to wipe down, and provide a smooth surface that prevents dirt from accumulating. These finishes also help reflect light better, which brings us to lighting choices—a fundamental element in a well-functioning drench station.
Lighting isn’t just about brightness; it’s about creating a workspace where every detail is visible, reducing the chance of errors during medication administration. Bright, white LED lighting is ideal because it offers clear, consistent illumination without casting shadows. Position your lights strategically to eliminate blind spots around cabinets and work surfaces. This ensures you can see clearly whether you’re measuring doses or inspecting equipment, which directly impacts accuracy and safety. Good lighting also reduces eye strain during long medication sessions and allows you to quickly identify any spills or contamination that need immediate attention.
Proper lighting enhances visibility, accuracy, and safety during livestock medication administration.
The cabinet and trim should complement your lighting choices, not compete with them. Light-colored walls and trim with a satin or semi-gloss finish reflect more light, enhancing visibility and making your workspace feel larger and cleaner. Darker colors or matte finishes tend to absorb light, which can dull the environment and make detailed work more challenging. When selecting your paint finish, consider the durability needed in a livestock treatment area; high-gloss or semi-gloss paints are more resistant to scratches and water, making cleaning straightforward and maintaining an hygienic environment easier. Additionally, selecting durable paint finishes can extend the lifespan of your workspace surfaces and reduce maintenance efforts over time.
Furthermore, integrating your cabinet and trim with your lighting choices creates a cohesive look that promotes efficiency. Clear, well-lit cabinets with glass or open shelving can help you organize medications, syringes, and other tools, so everything’s within reach when you need it. Use lighting to highlight these areas, reducing fumbling and speeding up the drench process. Overall, combining thoughtful paint finishes with strategic lighting choices results in a functional, hygienic, and visually pleasing space that supports your full drench workflow. This attention to detail guarantees your livestock receives proper care with minimal stress and maximum precision.
semi-gloss wall paint for kitchen
As an affiliate, we earn on qualifying purchases.
As an affiliate, we earn on qualifying purchases.
Frequently Asked Questions
How Do I Choose the Right Cabinet and Trim Colors to Match My Wall?
To choose the right cabinet and trim colors, focus on color coordination that enhances your walls. You can create contrast for a bold look or harmony for a more subtle effect. Consider your wall color and decide if you want your cabinets to stand out or blend in. Test samples together, observe how they look in different lighting, and trust your eye to find a balance that suits your style.
What Tools Are Essential for Achieving a Full Drench Paint Finish?
Achieving a full drench paint finish is like releasing a tsunami of color! You’ll need essential tools like high-quality brushes for smooth brush techniques, a roller for even coverage, painter’s tape to protect edges, and drop cloths to keep your space clean. Proper paint preparation, including thorough mixing and priming, is key. These tools help you apply paint seamlessly, creating a stunning, immersive wall effect that’s truly breathtaking.
How Long Should I Wait Between Coats for Optimal Results?
You should wait about 2 to 4 hours between coats, depending on the paint’s drying times. Make certain each coat is fully dry to promote proper paint adhesion and prevent drips or uneven coverage. If the paint still feels tacky or soft, give it more time. Rushing can compromise the finish, so patience guarantees a smooth, durable, full drench finish with vibrant, even color.
Can I Use the Same Paint for Cabinets, Trim, and Walls?
Yes, you can use the same paint for cabinets, trim, and walls, but choose a suitable sheen—satin or semi-gloss for cabinets and trim, matte or eggshell for walls. Make certain to use a high-quality primer suited for each surface to guarantee durability and a smooth finish. Keep in mind that using the same paint simplifies your work, but selecting the right sheen and primer is vital for a polished look.
What Are Common Mistakes to Avoid During the Full Drench Workflow?
You should watch out for uneven brush strokes and paint drips during the full drench workflow. Avoid rushing through each coat; take your time to confirm smooth application. Keep your brush or roller well-loaded but not overloaded, and maintain a consistent pressure. Don’t forget to tape edges properly to prevent paint from bleeding, which can ruin your finish. These mistakes can lead to uneven textures and a less polished look.
As an affiliate, we earn on qualifying purchases.
Conclusion
In the end, a flawless finish bridges chaos and calm, transforming your space from chaos into comfort. While the cabinet and trim may seem like mere details, they hold the power to elevate your entire room — a quiet affirmation to patience amid the vibrant chaos of color. Embrace the process, knowing that every brushstroke, every drench, weaves together precision and creativity, leaving behind a space that’s both bold and serene—a true reflection of your dedication.
As an affiliate, we earn on qualifying purchases.
As an affiliate, we earn on qualifying purchases.