After removing adhesive hooks, you should inspect the wall for holes, sticky residue, or uneven spots. Use a putty knife to fill any holes with spackle or repair compound, smoothing it out to blend with the wall. Once dry, lightly sand the area for a smooth finish. Then, apply matching paint with a small brush, feathering the edges for seamless repair. For step-by-step guidance, you can explore how to achieve the best results.
Key Takeaways
- Clean the area thoroughly to remove adhesive residue and loose debris before repairing.
- Fill any holes or gouges with spackle or wall repair compound using a putty knife.
- Sand the dried filler smoothly to ensure it is flush with the surrounding wall surface.
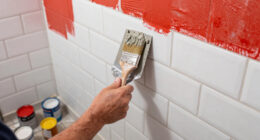
- Apply matching paint in thin, feathered coats over the repaired area for seamless blending.
- Allow the paint to dry completely and inspect the repair for a barely noticeable finish.
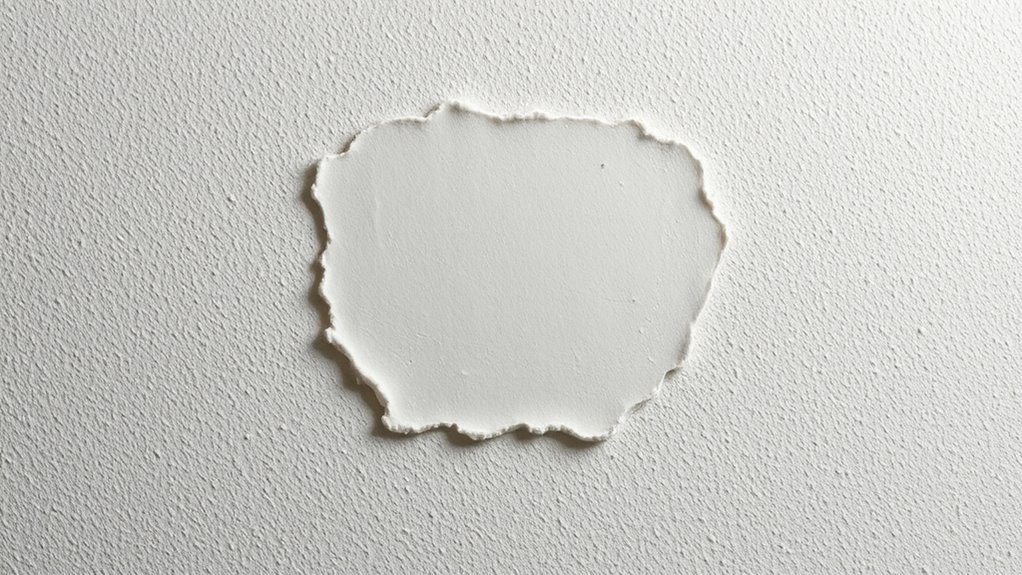
Removing adhesive hooks from your wall can sometimes leave behind residue or small holes that need fixing. Those tiny drill holes from mounting or the marks left after peeling off the hooks can make your wall look uneven or dirty. Luckily, fixing these imperfections is straightforward, and you don’t need much more than some basic supplies. First, assess the damage. If you notice a small drill hole, it’s a good idea to prepare your wall for repair. You’ll want to gather some spackle or a wall repair compound, a putty knife, sandpaper, and matching paint for touch-up.
Start by cleaning around the damaged area. Remove any loose debris or adhesive residue, so the filler adheres properly. If you see a drill hole, use a putty knife to fill it with your spackle or repair compound. Press the filler into the hole firmly, ensuring it’s slightly overfilled because it will shrink as it dries. Smooth out the surface with the knife, removing any excess. Once you’ve filled the hole, give it some time to dry as per the product instructions. Usually, waiting a few hours or overnight guarantees the filler is fully set.
After the filler has dried, lightly sand the area with fine-grit sandpaper until it’s flush with the surrounding wall. Be gentle to avoid damaging the paint around the repair. Proper surface preparation enhances the effectiveness of wall repair techniques and helps achieve a seamless finish. Once smooth, you’ll want to do a paint touch-up. Using a small brush, dab matching wall paint over the patched area. If you don’t have the original paint, try to find a matching shade at your local hardware store or use a paint sample card to get an accurate match. Apply thin coats of paint, allowing each layer to dry before applying the next. This will help blend the repair seamlessly with the rest of the wall.
If the paint touch-up isn’t perfect initially, don’t worry. Sometimes, a second coat is necessary to fully hide the repair. Make sure to feather the edges of your touch-up paint into the existing wall paint to avoid visible lines. Once the paint is dry, step back and check your work. The small drill hole or marks left from the adhesive hook should now be barely noticeable, if at all. With a little patience and the right tools, your wall will look as good as new, ready for the next decoration or hook.

Drywall Repair Kit Drywall Hole Repair Patch Kits Wall Spackle Repair Paste with 8.5OZ White Wall Repair Putty with Scraper, Wall Surface Hole Fill Quick and Easy Solution (1Pack)
Complete Repair Kit: Contains 1 pieces repair putty(8.5oz), 2 inch wall repair patches(2pcs), 4 inch wall repair patches(1pcs),…
As an affiliate, we earn on qualifying purchases.
As an affiliate, we earn on qualifying purchases.
Frequently Asked Questions
How Long Does Wall Repair Typically Take?
Wall repair typically takes about one to three hours, depending on the size of the patch needed. You’ll start with drywall patching to fill any holes or gouges, then sand the area smooth. Once dried, you can do paint touch-up to match the surrounding wall. If you’re thorough, expect this process to take a bit longer, but overall, it’s a manageable repair that can be completed in a day.
Can Wall Repair Be Done Without Repainting?
Yes, you can repair walls without repainting by carefully removing adhesive residue and blending the repair area. Use a gentle solvent to clean off any sticky residue, then sand the patch smooth. To match the existing paint, you might need a small touch-up with matching paint, but if the repair is minor, it often won’t require a full repaint. This way, your wall looks seamless and fresh.
What Tools Are Best for Wall Patching?
You’ll want drywall tools like a putty knife, sanding sponge, and drywall saw for patching. Use a putty knife to apply spackle smoothly over the repair area, ensuring you follow proper spackle techniques to prevent cracks and bubbles. Once dry, sand the patch with a fine-grit sanding sponge for a seamless finish. These tools and techniques help you achieve a professional-looking repair with minimal effort.
Are There Temporary Fixes for Wall Damage?
Yes, you can use temporary fixes for wall damage like adhesive residue and minor cracks. Apply a small amount of spackle or joint compound to cover cracks, then smooth it out with a putty knife. For adhesive residue, gently scrape it off with a plastic scraper and wipe the area clean. These quick fixes help improve the wall’s appearance until you’re ready for a more permanent repair.
How Do I Prevent Future Wall Damage From Hooks?
To prevent future wall damage from hooks, switch to adhesive alternatives like hooks that use suction or magnetic options, which are less likely to cause harm. You can also add wall protection by applying removable strips or padding before hanging items. Always follow the weight guidelines and remove hooks gently to minimize damage. These steps help preserve your walls while still allowing you to hang your favorite decorations easily.

Goo Gone Spray Adhesive Remover Gel 12 Oz with Scraper, Removes Glue, Stickers, Tape Residue, Grease, Gum & Wax, Adhesive Spray with Citrus Cleaning Power for Hard Surfaces, Carpets & Fabrics
Thick Spray Gel for adhesives: Goo Gone Adhesive Remover Spray Gel, which won a 2026 Good Housekeeping Cleaning…
As an affiliate, we earn on qualifying purchases.
As an affiliate, we earn on qualifying purchases.
Conclusion
Think of your wall as a canvas that’s been temporarily painted over. Removing adhesive hooks is like peeling off a sticker—sure, it leaves a mark, but with a bit of patching and a gentle touch, you restore the masterpiece. Just like an artist restores their work, your patience and care will bring your wall back to life. Soon, it’ll shine again, ready for your next creative touch or simple beauty.

spot. Touch-Up Paint | Matte Finish for Cabinets, Walls, Doors & Furniture | Multi-Tone Beige Repair Kit | Quick-Dry, Self-Priming, Low-Odor, Eco-Friendly | No-Sanding or Primer Needed | 3 Pack
Includes Three Shades to Match 90% of Surfaces: We offer two color shades of Matte Beige and one…
As an affiliate, we earn on qualifying purchases.
As an affiliate, we earn on qualifying purchases.

3M Drywall Sanding Sponge, Fine/Medium Grits, Dual Grit Block, Medium Grit to Remove, Fine Grit to Smooth, Ideal for Sanding and Smoothing of Joint Compounds, 2-5/8 in x 3-3/4 in (9095DC-NA)
IDEAL FOR MODERATE SANDING AND SMOOTHING of joint compounds
As an affiliate, we earn on qualifying purchases.
As an affiliate, we earn on qualifying purchases.