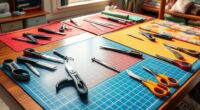
To safely paint over oil-based paint, start by cleaning the surface thoroughly with mild detergent or TSP to remove dirt and grease. Lightly sand with 120–220 grit paper to dull the glossy finish, then wipe away dust. Choose a compatible bonding primer designed for oil-based surfaces, apply it evenly, and let it fully dry—usually 24 hours. Using quality brushes or rollers, apply your topcoat, ensuring proper drying times. If you follow these steps, your paint will adhere well and last longer.
Key Takeaways
- Thoroughly clean and degrease the surface to remove dirt, grease, and contaminants before painting.
- Lightly sand the oil-based paint to create a rough surface for better adhesion of the new paint.
- Use a compatible bonding primer designed for oil-based surfaces to ensure proper adhesion.
- Allow the primer to fully dry and cure as per manufacturer instructions before applying topcoat.
- Apply high-quality latex or oil-based paint evenly and follow drying times for a safe, durable finish.

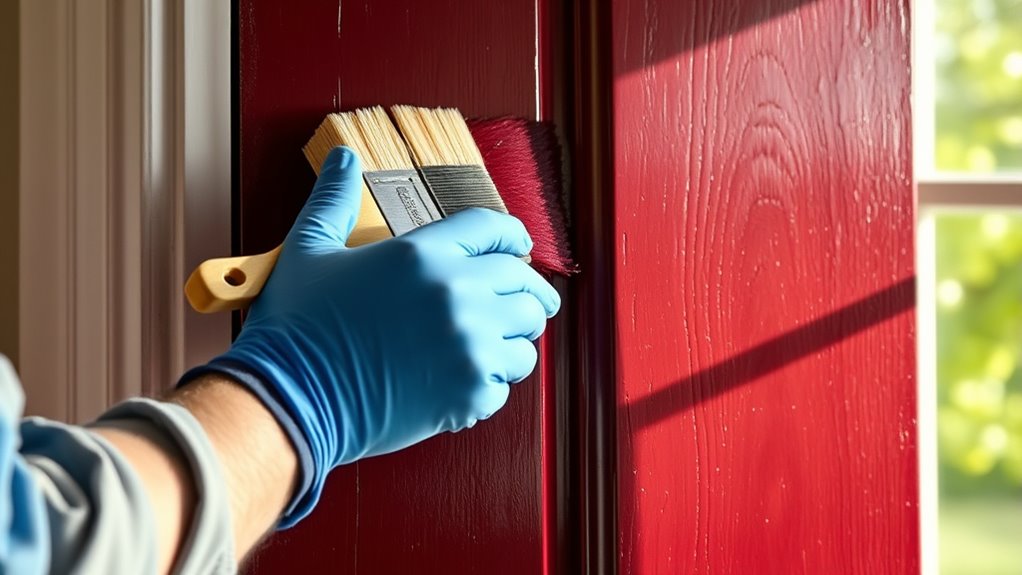
Have you ever wondered how to successfully paint over oil-based paint without causing peeling or adhesion problems? The key lies in understanding primer compatibility and thorough surface preparation. Oil-based paints create a tough, glossy finish that can be tricky for new coats to adhere to, especially if the surface isn’t properly prepared. To guarantee your new paint sticks well and lasts, you need to start with a clean, well-prepared surface and select the right primer.
First, surface preparation is essential. Oil-based paints can trap dirt, grease, or other contaminants, which interfere with adhesion. Begin by cleaning the surface thoroughly with a solution of mild detergent and water, then rinse with clean water. If there’s grease or oil, use a degreaser or a mixture of TSP (trisodium phosphate) to remove residues. After cleaning, sand the surface lightly with fine-grit sandpaper—around 120 to 220 grit—to dull the glossy finish. This creates a rougher surface, allowing the primer and paint to bond better. Be sure to wipe away any dust with a damp cloth or tack cloth afterward. Skipping these steps can lead to adhesion issues down the line, causing paint to peel or blister.
Once the surface is clean and sanded, it’s time to choose the right primer. Not all primers are suitable for oil-based paints, so look for one that explicitly states it’s compatible with oil-based surfaces or is a bonding primer designed to adhere to glossy finishes. Bonding primers contain special resins that create a strong bond between the old oil paint and the new topcoat, guaranteeing durability. Applying the primer correctly is just as important as selecting the right type. Use a high-quality brush or roller, and apply an even coat. Allow the primer to dry completely—usually 24 hours—before applying your topcoat.
In addition to primer compatibility, pay attention to the curing time. Rushing the process by applying paint too soon can trap solvents or cause poor adhesion. Make sure the primer is fully cured, and the surface feels dry to the touch. When you’re ready to paint, use a high-quality latex or oil-based paint suitable for your project, and follow the manufacturer’s instructions carefully.

Zinsser 3608 Cover Stain Oil Base Primer Spray, 13 oz, White
Get ultimate hiding power indoors and out with Zinsser Cover Stain Primer
As an affiliate, we earn on qualifying purchases.
As an affiliate, we earn on qualifying purchases.
Frequently Asked Questions
Can I Use Latex Paint Directly Over Oil-Based Paint?
You shouldn’t apply latex paint directly over oil-based paint because of compatibility issues. First, you need to use an oil-based primer to guarantee proper adhesion and prevent peeling. Once the primer is dry, you can safely paint with latex, as it’s compatible after priming. This process guarantees a smooth, durable finish and avoids future peeling or cracking caused by incompatible paint layers.
How Long Should I Wait After Priming Before Painting?
Imagine priming a bathroom wall with an oil-based primer, then waiting too little time before painting. You risk poor paint adhesion if you don’t wait enough. Typically, you should wait at least 24 hours after priming to make certain the surface is fully cured and ready. Proper surface preparation and patience help the paint adhere better, resulting in a smoother, longer-lasting finish.
Is There a Specific Type of Brush Best for Oil-Based Primer?
You should use a high-quality, natural bristle brush for oil-based primer because it’s best for primer compatibility and provides smooth, even coverage. Flat or angled brushes work well, depending on your project. Avoid synthetic brushes, as they don’t hold up as well with oil-based paints. Always choose a brush designed for oil-based products to guarantee proper adhesion and a professional finish.
Can I Paint Over Oil-Based Paint With a Different Color?
Yes, you can paint over oil-based paint with a different color. To guarantee good color matching and paint adhesion, first clean the surface thoroughly and lightly sand it. Apply a high-quality bonding primer designed for oil-based surfaces, which helps the new paint adhere properly. Once the primer dries, you can confidently choose your new color, knowing it will stick well and look vibrant.
What Are the Risks of Not Properly Preparing the Surface?
If you don’t properly prepare the surface, you risk surface contamination, which can cause the new paint to peel or chip over time. Poor preparation also affects primer adhesion, making it harder for the new paint to stick evenly. This can lead to uneven color and finish, requiring you to redo the job. Always clean, sand, and prime thoroughly to guarantee a smooth, durable, and long-lasting paint job.

Heirloom Traditions Deglosser Surface Prep Wipes, heavy duty Degreaser, 40CT
Degreaser, Surface Cleaner
As an affiliate, we earn on qualifying purchases.
As an affiliate, we earn on qualifying purchases.
Conclusion
So, after all that effort to guarantee safety and proper preparation, it’s ironic that the real challenge isn’t just about the paint itself but trusting your work will truly last. You’ve taken the necessary steps, yet sometimes, the stubborn oil-based paint still refuses to say goodbye. But don’t worry—by following these tips, you’re giving your new coat the best chance to shine. After all, it’s only paint—until it’s not.
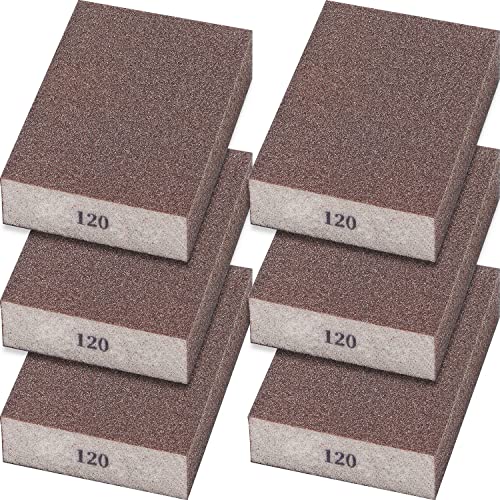
Sunxeke 6 Pack Sanding Sponge,120 Grit Drywall Sanding Blocks,Washable and Reusable Sandpaper Block for Wood Furniture,Wall,Pot,Sheetrock,Metal and Brush Sanding
Sanding blocks are suitable for polishing both flat and irregular surfaces, ideal for wood furniture polishing, metal dust…
As an affiliate, we earn on qualifying purchases.
As an affiliate, we earn on qualifying purchases.

Pro Grade Paint Brushes, 5-Piece Paint Brush Set, Flat & Angle Brushes for Walls, Trim, Cabinets, Interior & Exterior Latex and Oil Paints, Stains
COMPLETE 5-PIECE BRUSH SET FOR EVERY PAINTING TASK — Includes 1 Inch Flat, 1.5 Inch Angle, 2 Inch…
As an affiliate, we earn on qualifying purchases.
As an affiliate, we earn on qualifying purchases.