
To combine paint and wallpaper seamlessly, start with thorough surface prep by cleaning, repairing, sanding, and priming walls to guarantee good adhesion. Measure carefully, mark straight guidelines, and use painter’s tape to create crisp edges. Apply wallpaper smoothly, removing bubbles, then paint over edges lightly to blend transitions. Focus on matching patterns, textures, and finishes for harmony. For more expert tips, explore how precise techniques can help you achieve a flawless, unified look.
Key Takeaways
- Ensure surface preparation by cleaning, repairing, and priming walls for optimal adhesion of both paint and wallpaper.
- Use precise measurements and guidelines to align edges and pattern matching seamlessly between paint and wallpaper.
- Select colors and finishes that complement each other, considering texture, sheen, and mood for a cohesive look.
- Apply wallpaper smoothly, avoiding bubbles and wrinkles, then lightly paint over edges for a seamless transition.
- Finalize with thorough inspection, correcting any imperfections, and carefully removing painter’s tape for crisp boundaries.
Planning Your Design Concept and Color Scheme
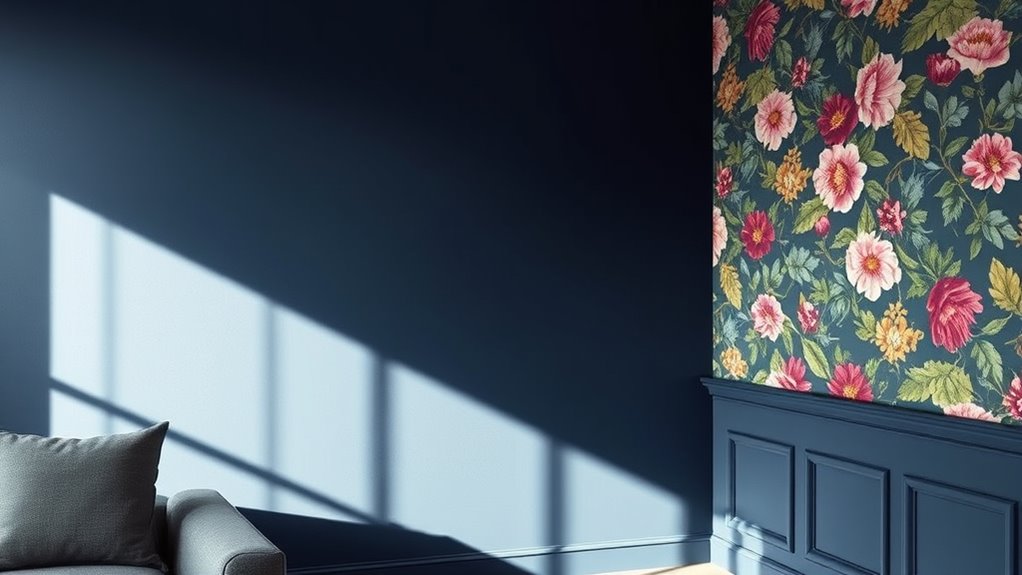
Before you begin painting or hanging wallpaper, it’s essential to define your design concept and select a cohesive color scheme. Understanding color theory helps you choose hues that harmonize and set the mood you desire. Warm colors like reds and oranges evoke energy and warmth, perfect for lively spaces. Cool tones such as blues and greens create calm and relaxation, ideal for bedrooms or reading nooks. Consider how different colors influence mood setting, and plan your palette accordingly. Keep in mind the overall style and atmosphere you want to achieve, ensuring your paint and wallpaper choices complement each other. A clear plan will guide your selections, making the decorating process smoother and resulting in a cohesive, inviting space. Incorporating natural elements can further enhance tranquility and harmony in your design, which aligns with the principles of creating a balanced and aesthetic environment. Being mindful of color psychology can help you select hues that reinforce your desired ambiance and make your space more inviting. Additionally, utilizing sound design principles, such as incorporating calming ambient sounds, can subtly influence the atmosphere you create.
Choosing Complementary Wallpaper and Paint Finishes
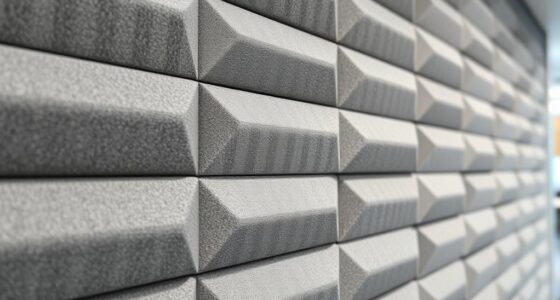
Selecting the right finishes for your wallpaper and paint is essential to achieving a polished look. You want textures and sheens that complement each other, creating harmony without overpowering. Consider texture coordination—pair matte paints with subtle textured wallpapers for a sophisticated feel. Pattern balancing is equally important; if your wallpaper features a bold pattern, opt for a flat or eggshell finish to keep the focus balanced. For a more subtle effect, combine semi-gloss paint with wallpaper that has a soft, intricate pattern. Keep in mind that contrasting finishes can add depth, but too much variation might clash. Aim for a cohesive look by choosing finishes that enhance each other’s qualities, creating a seamless transition between wallpaper and paint. Additionally, understanding the impact of finish selection on mood and atmosphere can help tailor your space to your desired ambiance. Incorporating lighting considerations can further refine how these finishes interact, enhancing the overall aesthetic and feel of your room.
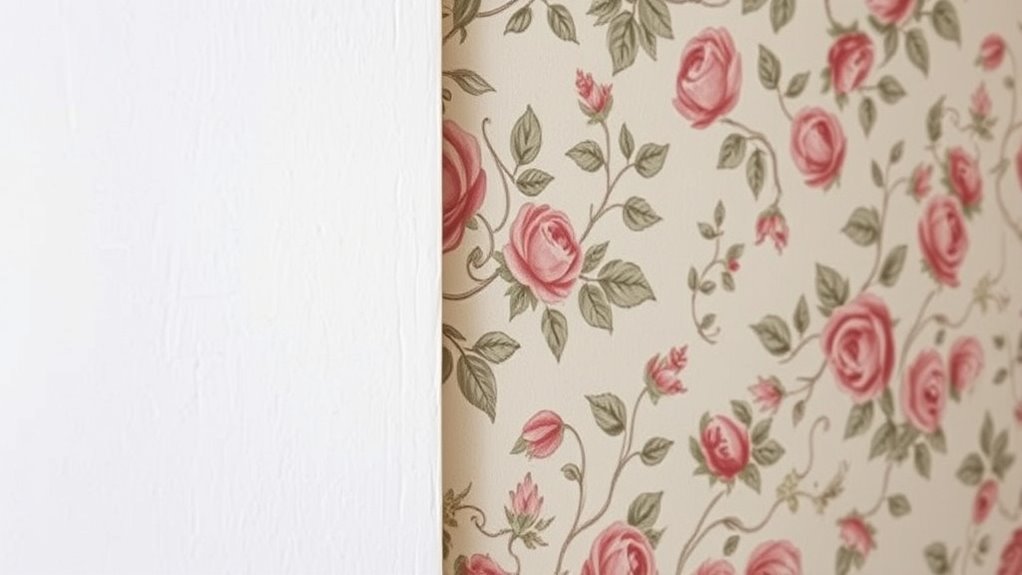
Preparing Your Walls for a Seamless Transition
Before applying paint and wallpaper, you need to guarantee your walls are clean and free of damage. Sand down rough spots and prime the surface to create a smooth, even base. Choosing materials that work well together will help you achieve a seamless, professional-looking shift. Additionally, understanding the importance of proper surface preparation and water chemistry can ensure long-lasting results and a flawless finish. Properly balancing pH levels can also prevent issues like peeling or bubbling over time, especially when considering the impact of surface pH on adhesion and durability. For optimal results, selecting the right wall protection products can further enhance the longevity of your wall finishes.
Clean and Repair Walls
To guarantee a seamless shift between paint and wallpaper, start by thoroughly cleaning your walls to remove dust, dirt, and grease that could interfere with adhesion. Proper cleaning ensures the wall texture is even and free of debris, promoting better adhesive compatibility. Once clean, inspect for damages like cracks or holes, and repair them to create a smooth surface. Filling imperfections helps ensure the wallpaper adheres properly and blends seamlessly with painted areas. Also, check for uneven patches or peeling paint that might cause a mismatch. Remember, a well-prepared wall minimizes issues later on and results in a flawless transition between surfaces. Additionally, considering wall surface preparation techniques can further enhance adhesion and durability, especially when addressing surface smoothness for optimal results.
Sand and Prime Surface
Have you ever noticed how uneven or rough patches can make a painted wall stand out oddly next to wallpaper? To prevent this, you need to sand the surface smoothly, reducing texture contrast that disrupts pattern coordination. Use fine-grit sandpaper to gently smooth out imperfections and create an even base. After sanding, wipe the wall clean to remove dust, guaranteeing a seamless finish. Next, apply a primer suited for both paint and wallpaper, which helps hide minor flaws and improves adhesion. Priming creates a uniform surface, making it easier to achieve a consistent look where paint and wallpaper meet. Properly preparing your walls by sanding and priming ensures a smooth transition, enhances pattern coordination, and results in a professional, seamless combination. Additionally, regular assessment and rotation of items during the prep process can help maintain a clutter-free workspace, making the project more efficient and enjoyable. Recognizing the importance of relationships dynamics can also promote a more harmonious decorating experience, especially when collaborating with others. Developing a supportive environment and emotional expression can further create a welcoming and uplifting environment for your home improvement endeavors.
Choose Compatible Materials
How do you guarantee your paint and wallpaper work harmoniously on the same wall? The key is choosing compatible materials. First, make certain your surfaces are properly prepared through surface preparation, which helps improve material compatibility. Use high-quality primers suited for both paint and wallpaper to create a smooth, even base. Consider the following:
- Select paints and wallpapers with similar base types (e.g., both water-based).
- Check manufacturer recommendations to confirm compatibility.
- Avoid mixing materials that may cause adhesion issues or peeling later.
- Remember that surface preparation techniques can also be applied to meticulous surface preparation, ensuring the best possible adhesion and aesthetic outcome.
- Additionally, understanding material compatibility can prevent future damage and ensure your design remains flawless over time, especially when considering factors like projector technology that influence wall finishes.
Measuring and Marking Your Wall Sections Accurately
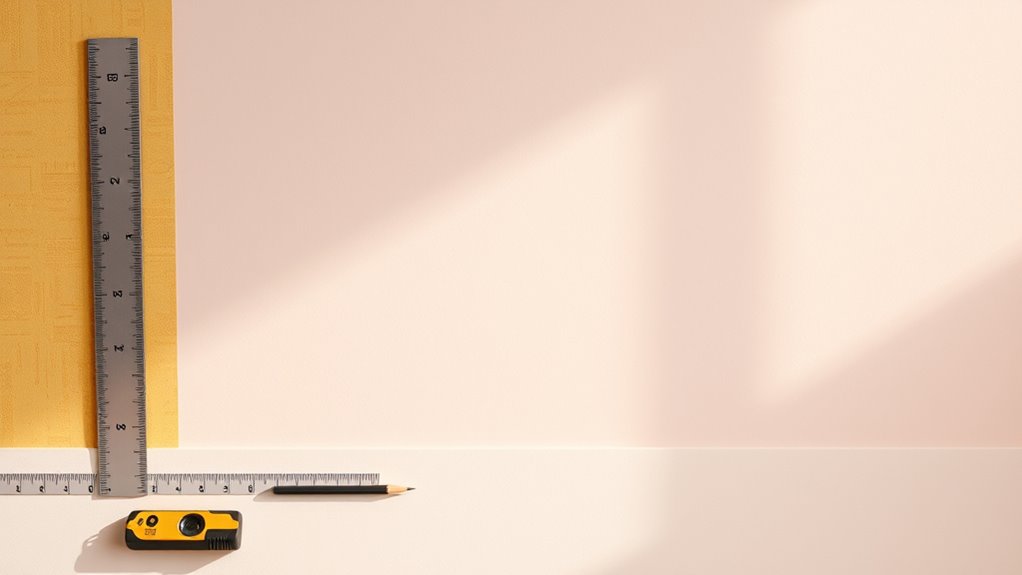
Accurate measuring and marking are essential steps before you start applying paint or wallpaper. Proper wall measurement ensures your design aligns seamlessly, avoiding gaps or overlaps. Use a tape measure to determine wall height and width, and note these dimensions carefully. Marking accuracy is key; use a level to draw straight guidelines and a pencil for precise marks. To help visualize, consider this table:
| Wall Measurement | Marking Tools | Tips for Accuracy |
|---|---|---|
| Length & height | Level, pencil | Measure twice, mark once |
| Sections | Tape measure | Keep markings consistent |
| Corners & edges | Chalk line | Check for evenness |
Additionally, using a measuring tape can improve precision when taking measurements, reducing errors that could impact the final look. Incorporating proper tools into your process can make a significant difference in achieving a professional finish. accurate marking with appropriate tools helps ensure the final result looks professional and polished. Following these steps guarantees your paint and wallpaper blend flawlessly without misalignment.
Techniques for Creating Clean, Straight Lines
Wondering how to achieve crisp, professional-looking edges when painting or wallpapering? The key is mastering simple techniques for clean, straight lines. Start with proper brush techniques: use a steady hand, apply light pressure, and keep the brush angled correctly to prevent paint bleed. For wallpaper, carefully align your edge and smooth it out as you go. To assure sharp boundaries, focus on color blending where paint meets wallpaper—use a damp brush or sponge to gently feather any overlaps, avoiding harsh lines. Keep your brush or smoothing tool perpendicular to the edge for consistent results. Practice steady strokes and take your time to prevent smudging. With these methods, your lines will look flawless and seamlessly connect between paint and wallpaper.
Using Painter’s Tape and Edge Guides Effectively
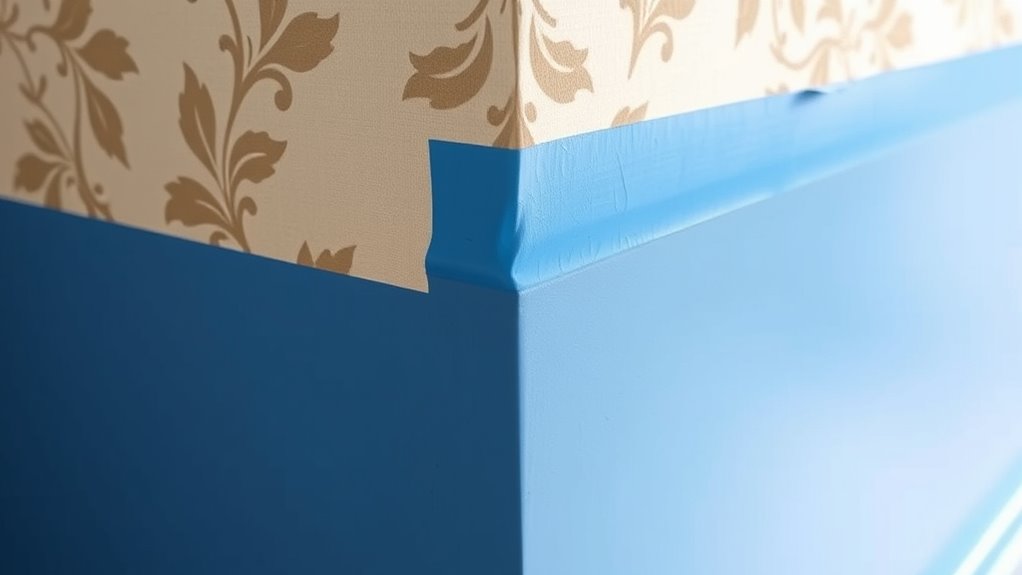
To achieve crisp paint lines, you need to apply painter’s tape carefully along the edges you want to protect. Using edge guides correctly helps keep your lines straight and prevents paint bleed. When it’s time to remove the tape, do so slowly to avoid damaging your clean work.
Precisely Apply Tape Edges
Applying painter’s tape precisely along edges is essential for clean lines when combining paint and wallpaper. Proper application guarantees sharp boundaries, especially when incorporating decorative techniques like faux finishing. To achieve this, press the tape firmly along the edge, avoiding gaps or bubbles. Use a steady hand to follow the wall’s contours, ensuring the tape aligns perfectly with your design. For a seamless look, consider masking off areas where wallpaper meets painted sections, creating a crisp separation. Think of this step as setting the stage for your decorative techniques, where clean lines enhance the overall effect. Visualize the process as painting delicate borders or creating textured finishes, where precision makes all the difference. Accurate tape application is your foundation for professional-looking results.
Use Edge Guides Correctly
Using edge guides correctly is crucial for achieving sharp, clean lines when combining paint and wallpaper. To guarantee painting precision, position your edge guides, like painter’s tape or straightedges, carefully along the boundary. Press down firmly to prevent paint bleed and keep the guide straight, avoiding any wiggles that could distort the line. Use a level or a straightedge if needed for extra accuracy, especially on long or uneven edges. When applying the guides, work slowly and double-check their placement before painting. Consistent pressure and proper alignment help create crisp, professional-looking results. Remember, the key to seamless transitions between paint and wallpaper lies in your ability to use edge guides effectively, ensuring you maintain clean, sharp lines throughout your project.
Remove Tape Carefully
Once you’ve finished painting or wallpapering, removing your painter’s tape carefully is key to maintaining sharp lines and a professional look. To avoid jagged edges, peel the tape back slowly at a 45-degree angle. This method minimizes the risk of tearing paint or wallpaper and reduces adhesive residue left behind. Be gentle to prevent damaging your work and ensure clean, crisp borders. If adhesive residue remains, use a soft cloth dampened with warm, soapy water or a gentle adhesive remover.
- Visualize peeling slowly, revealing a crisp line without smudges
- Imagine residue lifting easily with minimal effort
- Picture a smooth, clean edge that looks professionally finished
Applying Wallpaper and Paint for a Smooth Finish

Achieving a smooth finish when combining paint and wallpaper requires careful preparation and technique. Start by ensuring your wallpaper and paint colors are well-matched to create a seamless progression. Use color matching tools or samples to verify consistency. As you apply the wallpaper, focus on texture blending by smoothing out air bubbles and wrinkles with a wallpaper brush or smoother. When painting over the wallpaper edges, paint lightly to avoid thick ridges that disrupt the surface. Keep your brush or roller consistent to prevent uneven textures. Work slowly along the seam lines, blending the paint into the wallpaper’s edge for a uniform appearance. Proper attention to detail during application ensures your finish looks polished, with no visible lines or mismatched textures.
Tips for Correcting Mistakes and Touch-Ups
Even with careful preparation, mistakes can happen during wallpapering and painting. When you notice uneven color blending or mismatched patterns, swift touch-ups can save your project. To correct these issues, start by gently feathering the paint to blend edges seamlessly. For pattern mismatches, use a fine brush to realign or carefully trim and reposition sections. Keep a small amount of leftover paint or wallpaper paste nearby for quick fixes. When blending colors, work gradually, blending out from the mistake’s center to avoid noticeable spots. For pattern matching, take your time to realign sections, ensuring designs flow naturally. Patience is key—small, precise adjustments make a significant difference in creating a flawless, cohesive look.
Final Inspection and Ensuring a Cohesive Look

Before wrapping up your project, it’s essential to perform a thorough final inspection to guarantee everything looks perfect. Check for inconsistencies in color coordination between paint and wallpaper, ensuring the shades complement each other. Look closely at texture blending where paint and wallpaper meet; seamless gradations are key to a cohesive look. Verify that all edges are smooth, with no gaps or overlaps that could detract from the overall finish. Use natural light to spot any imperfections or uneven spots. If you notice areas that need touch-ups, address them immediately to maintain uniformity. A careful final inspection helps you catch small flaws before they become noticeable, ensuring your combined paint and wallpaper work looks polished and professionally executed.
Frequently Asked Questions
How Do I Choose the Best Wallpaper Pattern for a Seamless Look?
To choose the best wallpaper pattern for a seamless look, pick a design with subtle textures or patterns that complement your wall paint. Focus on wallpaper texture and color coordination to guarantee harmony. Opt for patterns with soft, flowing lines or small motifs that won’t overwhelm the space. Measure your walls carefully, and consider a neutral or matching color palette to create a smooth, cohesive shift between paint and wallpaper.
What Tools Are Essential for Blending Paint and Wallpaper Edges?
You’ll need a few essential tools to blend paint and wallpaper edges smoothly. Start with painter’s tape for precise edge protection, preventing bleeding. Use an edge smoothing tool or a putty knife to gently blend the wallpaper seam into the painted area, ensuring a seamless progression. A fine detail brush can help touch up any rough spots. With these tools, you’ll create a flawless, cohesive look that’s both professional and satisfying.
How Can I Prevent Color Bleeding Between Paint and Wallpaper?
To prevent color bleeding between paint and wallpaper, start with a good paint primer along the edges to create a barrier. Use edge sealing techniques, like applying a thin layer of sealant or painter’s tape, to prevent paint from seeping onto the wallpaper. Carefully cut and seal the edges, and wait for each layer to dry thoroughly. These steps help maintain clean lines and prevent unwanted color transfer.
Are There Specific Wallpaper Types Better Suited for Seamless Integration?
Like fitting puzzle pieces together, choosing the right wallpaper type makes all the difference. Opt for vinyl or non-woven wallpapers, as they offer better texture matching and are easier to work with. These types are less prone to peeling and allow for seamless integration when paired with matching adhesives. By selecting these wallpapers and carefully matching textures, you’ll create a smooth, cohesive look that feels natural and flawless.
How Do Lighting Conditions Affect the Final Appearance of Combined Finishes?
Lighting effects and ambient illumination substantially influence how your combined paint and wallpaper finish looks. Bright, natural light can enhance the vibrancy and reveal textures, while softer, warm lighting creates a cozy, harmonious atmosphere. Poor or uneven lighting may highlight seams or inconsistencies. To achieve a seamless look, consider the type and placement of lighting fixtures, and test your finishes under different lighting conditions before finalizing your design.
Conclusion
By carefully planning your design and using precise techniques, you can achieve a flawless blend of paint and wallpaper. Imagine transforming a dull living room into a stunning space where the seamless progression draws everyone’s eye. With patience and attention to detail, your effort pays off—just like Sarah, who turned her outdated walls into a modern masterpiece. You can do the same, creating a beautiful, cohesive space that truly reflects your style.