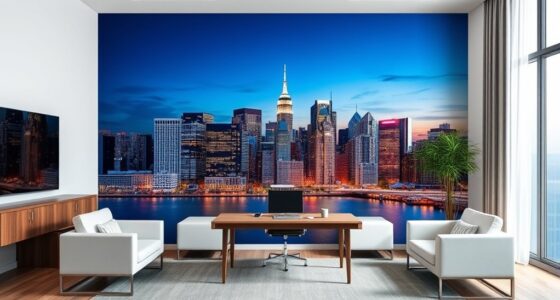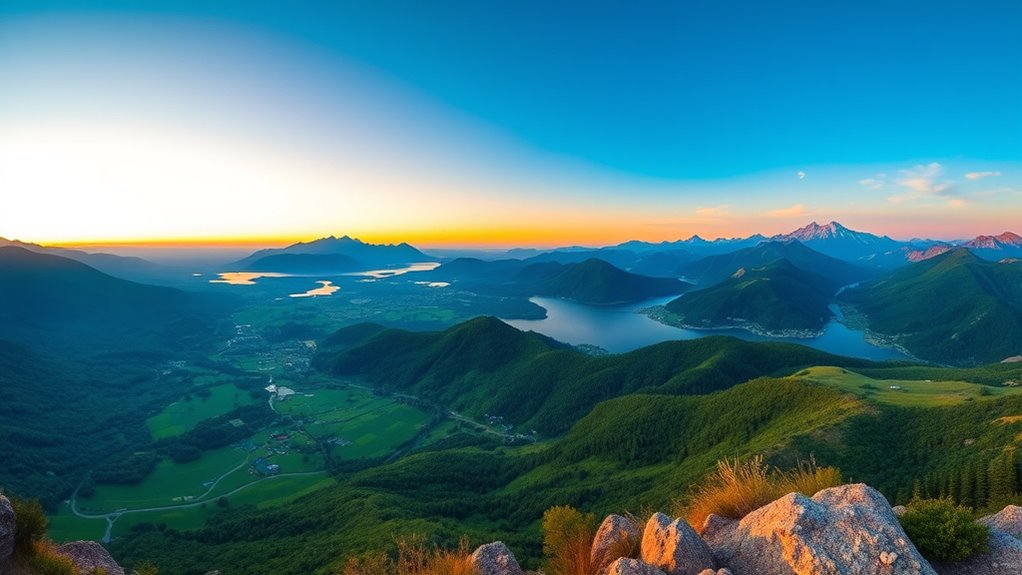

To frame panoramic photos effectively, pick ratios like 16:9 for balanced results or 3:1 for dramatic effects, depending on your scene. Use a sturdy rail to keep your camera steady and rotate around the nodal point to minimize parallax. This stability guarantees seamless stitching and sharp images. Proper framing enhances your scene’s story and impact. Keep exploring; you’ll uncover more tips to elevate your panoramic photography skills beyond basics.
Key Takeaways
- Use sturdy tripods and panoramic rails to ensure stability and smooth rotation around the nodal point.
- Select appropriate framing ratios like 3:1 for dramatic scenes or 16:9 for balanced panoramas.
- Position the camera on rails to facilitate consistent panning and minimize parallax errors.
- Maintain uniform framing across shots to ensure seamless stitching and accurate composition.
- Crop and adjust images during post-processing to enhance framing, balance ratios, and emphasize key scene elements.

Have you ever wondered how to best showcase the sweeping grandeur of a panoramic scene? Capturing a wide, breathtaking landscape requires more than just a wide-angle lens; it calls for thoughtful framing and careful technique. One of the most critical aspects is choosing the right ratio and using tools like rails to keep your shots consistent. But even with perfect equipment, you’ll need to consider how to keep your camera steady and how to enhance your images in post processing to truly do justice to the scene.
Camera stabilization plays a vital role in panoramic photography. When you’re capturing multiple shots to stitch together later, any slight movement can cause misalignments, resulting in blurry or uneven panoramas. Using a sturdy tripod and a panoramic rail helps maintain consistent positioning and smooth panning across the scene. A panoramic rail allows you to rotate your camera around the nodal point, reducing parallax errors and ensuring that the images align seamlessly during stitching. This stability is especially crucial when working with wider ratios like 16:9 or even panoramic formats like 3:1, where even minor shifts can become glaring flaws.
Sturdy tripods and panoramic rails ensure consistent, seamless stitching in wide-angle panoramic shots.
Once you’ve taken your shots with proper stabilization, post processing techniques come into play. Stitching software can seamlessly combine your images into a single, expansive view, but the process isn’t foolproof. To enhance your panoramic photos, you might need to adjust exposure levels, correct distortions, or crop the final image for better framing. Proper post processing can also help you balance colors and contrast, making the scene appear more vivid and true to life. Pay attention to straightening horizons, especially in wide-angle panoramas, to prevent a skewed appearance that distracts from the grandeur of the landscape.
Framing ratios are another crucial element. Deciding whether to shoot in a 3:1 ratio for a dramatic, elongated effect or a more balanced 16:9 depends on your artistic vision. Rails and composition choices influence how well your scene fits within these ratios, and understanding how to crop and frame during post processing helps you emphasize the most striking elements. Additionally, understanding how contrast and color affect the final image can help you make better editing decisions to enhance visual impact. Ultimately, the goal is to create a panoramic image that conveys the vastness and beauty of the scene without feeling cluttered or awkward.
In short, capturing and producing stunning panoramic photos involves a mix of stable equipment, strategic framing, and skillful post processing. When you combine camera stabilization techniques with thoughtful ratios and effective editing, you’ll be able to showcase panoramic scenes that truly captivate viewers. It’s about more than just snapping wide shots — it’s about controlling every step to produce a seamless, awe-inspiring final image.
Top picks for "fram panoramic photo"
Open Amazon search results for this keyword.
As an affiliate, we earn on qualifying purchases.
Frequently Asked Questions
What Equipment Is Best for Framing Panoramic Photos?
You should choose a sturdy tripod for maximum stabilization when framing panoramic photos, preventing any shakes or shifts during shooting. Use a wide-angle or specialized panoramic lens to capture expansive scenes with clarity. Additionally, ensure your equipment allows for smooth panning and precise control. This combination helps you achieve sharp, seamless panoramic images, giving you the best results with steady tripod stabilization and the right lens selection.
How Do Different Aspect Ratios Affect Panoramic Composition?
Did you know that choosing the right aspect ratio can substantially impact your panoramic composition? A wider ratio offers a more immersive perspective, but it might also introduce perspective distortion if not carefully framed. Following framing guidelines helps you balance these effects, ensuring your scene appears natural. Different ratios shape how viewers perceive depth and scale, so selecting the appropriate one enhances storytelling while minimizing distortions.
Can Smartphone Cameras Effectively Capture Panoramic Images?
Yes, smartphone cameras can effectively capture panoramic images, helping you enhance depth perception and color accuracy. Modern smartphones have built-in panoramic modes that simplify the process, allowing you to sweep across scenes smoothly. While they may not match professional gear in some aspects, they’re great for capturing wide landscapes quickly. Just keep your phone steady, follow the on-screen instructions, and you’ll get vibrant, detailed panoramas that showcase depth and true-to-life colors.
What Editing Techniques Improve Panoramic Photo Framing?
Ironically, the best way to improve your panoramic framing is to ignore the scene’s chaos and focus on subtle edits. You should enhance depth of field to add sharpness and clarity, guiding viewers through the expansive scene. Color grading helps unify the image’s tones, creating mood and harmony. These techniques refine your panoramic photo, ensuring it feels both vast and cohesive, elevating your visual storytelling.
How Do Lighting Conditions Influence Panoramic Photo Framing Choices?
Lighting conditions greatly influence your panoramic framing choices. When lighting is consistent, you can confidently frame wide scenes without worrying about abrupt shadow changes, ensuring a smooth, cohesive image. However, if shadows are prominent or uneven, you might need to adjust your composition to minimize their impact or wait for better lighting. Proper shadow placement and maintaining lighting consistency help create balanced panoramas that look natural and visually appealing.
Conclusion
When framing panoramic photos, consider that the ratio and rail choices aren’t just technical details—they reflect how you perceive and tell stories of vast landscapes. Believe that the perfect frame captures the essence of a scene, but remember, sometimes breaking conventional ratios reveals a deeper emotion or perspective. Trust your intuition and experiment; the true art lies in how your chosen framing invites viewers to explore the expansive beauty beyond the frame.