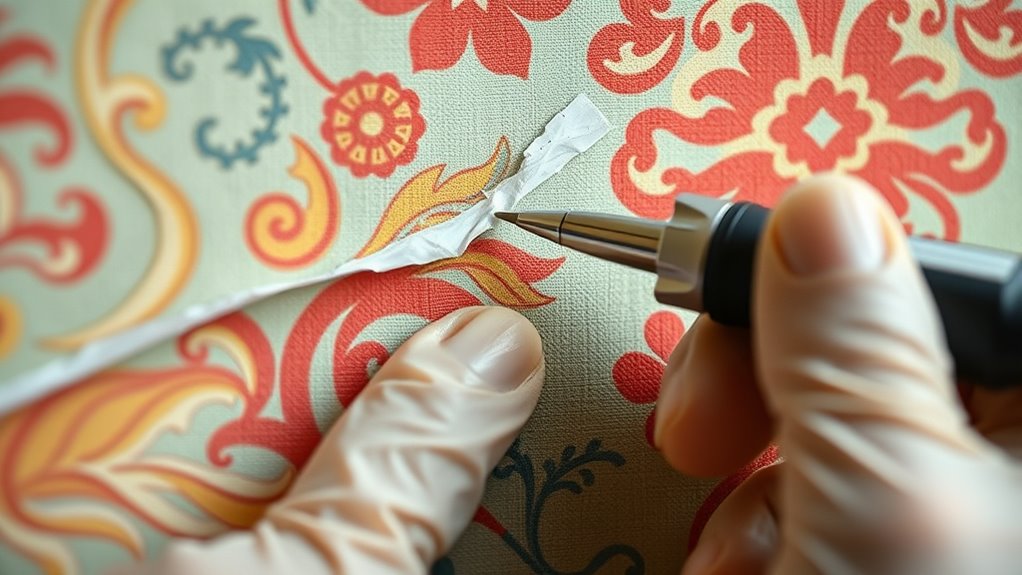
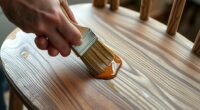
To fix open wallpaper seams, start by gently lifting the edge of the seam and applying a small amount of high-quality adhesive underneath with a brush. Then, use a hairdryer or heat gun on a low setting to soften the adhesive, making it easier to press the seam back into place. Smooth out bubbles with a seam roller, ensuring the adhesive bonds properly. For more tips on achieving a seamless repair, keep exploring these techniques.
Key Takeaways
- Use gentle heat from a hairdryer or heat gun to soften adhesive and reattach open seams safely.
- Lift the wallpaper edge carefully and reapply high-quality adhesive underneath for a secure seal.
- Smooth the seam with a seam roller to eliminate bubbles and ensure even adhesion.
- Properly prepare the wall surface before installation to improve adhesive bonding and prevent future seams.
- Control heat carefully to avoid wallpaper damage while effectively restoring seam adhesion.

Wallpaper seams can become visible over time due to environmental factors or improper installation. To address this, applying heat with a hairdryer or heat gun can help soften the adhesive behind the wallpaper, making it easier to press the seam back into place. Gently lifting the edge of the wallpaper and reapplying adhesive underneath can also reinforce the seam. Using a seam roller helps to smooth out bubbles and ensure the wallpaper adheres evenly, reducing the appearance of seams. For stubborn seams, a patch of matching wallpaper adhesive applied with a small brush can seal the edges effectively. Proper surface preparation, including cleaning and smoothing the wall, is crucial for long-lasting results. Additionally, adhesive strength plays a vital role in preventing future seam issues, so choosing quality adhesives and ensuring proper drying times are essential.
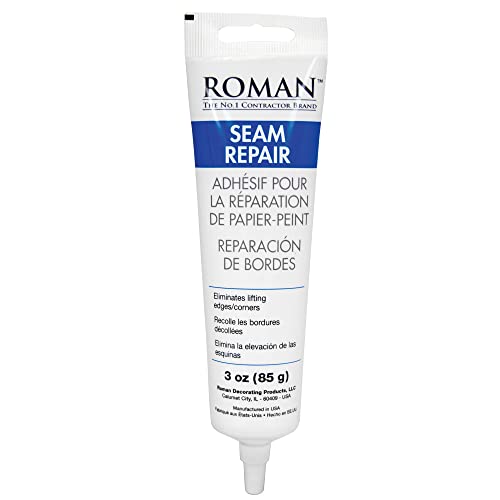
Roman Seam Repair Adhesive – Sealer for Wallpaper Tears and Loose or Overlapping Edges – White, 3 Ounce Tube with Applicator Nozzle
ALL PURPOSE REPAIR GLUE – Repair torn wallpaper, lifted edges, and overlapping seams with ROMAN Seam Repair Paste…
As an affiliate, we earn on qualifying purchases.
As an affiliate, we earn on qualifying purchases.
Frequently Asked Questions
Can Heat Repair All Types of Wallpaper Seams Effectively?
Heat can effectively repair many wallpaper seams, especially if they’re flexible and the wallpaper pattern allows for it. You’ll want to use a hairdryer or a heat gun carefully to soften the adhesive behind the seam. This helps the seam lay flat and blend with the pattern. However, some textured or delicate wallpapers might not respond well to heat, so always test a small area first to avoid damage.
What Temperature Should I Use When Applying Heat to Wallpaper Seams?
Remember when vinyl records played smoothly? Applying heat to wallpaper seams requires careful control—use a heat gun set between 80-100°F (27-38°C). Follow proper temperature guidelines and heat application techniques to avoid damage. Keep the heat moving evenly, and don’t hold it in one spot. Too hot can melt or scorch the paper, so always test in a small area first. Stay patient, and your seams will be flawless.
Are There Any Safety Precautions When Using Heat on Wallpaper?
When using heat on wallpaper, prioritize heat gun safety by keeping the tool moving to prevent burns or scorching. Always wear protective gear like gloves and safety goggles to shield your skin and eyes from heat and potential debris. Make certain proper ventilation to avoid inhaling fumes, and keep the heat gun away from flammable materials. By following these precautions, you can safely repair wallpaper seams without accidents.
How Long Should I Wait After Applying Heat Before Pressing the Seam?
Imagine you’re repairing a seam, and you’ve just applied heat to activate the adhesive. You should wait about 10-15 seconds before pressing the seam, allowing the heat to work effectively. Patience in timing during heat application is key; rushing could weaken the bond. Use a clean cloth or seam roller immediately afterward to press firmly, ensuring a strong, smooth seam without damaging the wallpaper.
Can Adhesives Be Used on Textured or Vinyl Wallpaper Seams?
Yes, adhesives can be used on textured or vinyl wallpaper seams, but you need to verify their compatibility with your wallpaper type. Use a flexible, strong adhesive suitable for textured surfaces or vinyl to guarantee good adhesion without damaging the pattern. Test a small area first to see how the adhesive interacts with the wallpaper texture or vinyl. Proper application will help seams stay secure and look seamless.

SEEKONE Mini Heat Gun, 350W 2-Temp Settings 500℉ & 842℉(260℃& 450℃) Fast Heat Hot Air Gun Tool with Reflector Nozzle and 4.9Ft Long Cable Overload Protection for Crafting, Vinyl Wrap and Shrink Tubing
【Dual Temperature Mode】SEEKONE HG350 mini heat gun has been upgraded to a new dual temperature mode: 500°F (260°C)…
As an affiliate, we earn on qualifying purchases.
As an affiliate, we earn on qualifying purchases.
Conclusion
Now that you know how to fix open wallpaper seams with heat and adhesives, you’ll confidently restore your walls. Remember, over 60% of homeowners face wallpaper issues at some point, making your skills more valuable than ever. With patience and the right tools, you can prevent minor flaws from turning into costly repairs. Don’t let loose seams ruin your room’s look—tackle them early and enjoy a flawless finish that lasts.
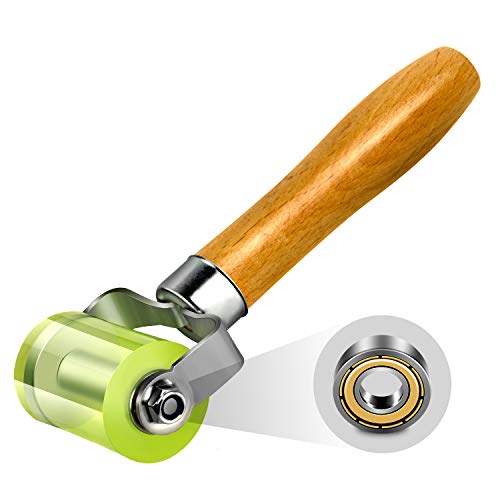
LUMITECO Bearings Equipped Automotive Car Audio Sound Deadening Application Wheel Roller, Heat Abatement Mat Wallpaper Application PU Smoothing Tool Seam Roller
【Upgraded Bearings Equipped】This seam roller is constructed by durable polyurethane(PU) roller held to a wooden handle with a…
As an affiliate, we earn on qualifying purchases.
As an affiliate, we earn on qualifying purchases.

Roman PRO-880 Wallpaper Adhesive, Ultra Clear Strippable – 1-Gallon
VERSATILE – Ideal for hanging most types and weights of wallcoverings including vinyl, solid-vinyl, non-woven, paste-the-wall, paste-the-paper, and…
As an affiliate, we earn on qualifying purchases.
As an affiliate, we earn on qualifying purchases.