
To test wall smoothness before priming, start with a thorough visual inspection under bright light to spot cracks, holes, and rough patches. Use your hand to feel for bumps and ridges, and hold a straightedge or level against the surface to check for uneven areas. Spray a light mist of water to see if the surface beads or absorbs evenly, indicating porosity. Mastering these steps helps guarantee a flawless finish, and you’ll discover more useful tips as you continue.
Key Takeaways
- Conduct a visual inspection under bright lighting to identify cracks, holes, and uneven patches.
- Tactile test: run your hand over the wall to feel for bumps, ridges, or rough spots.
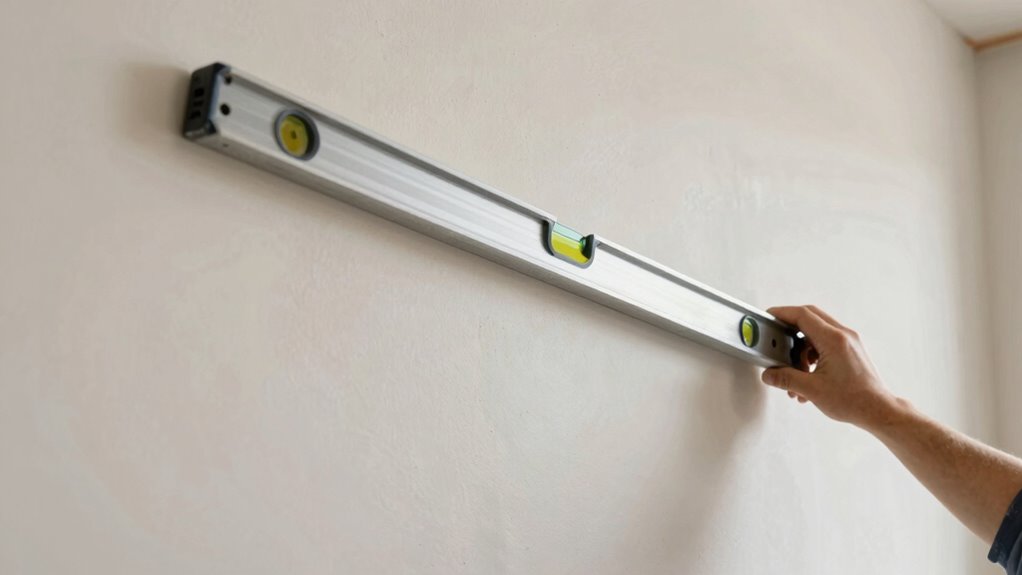
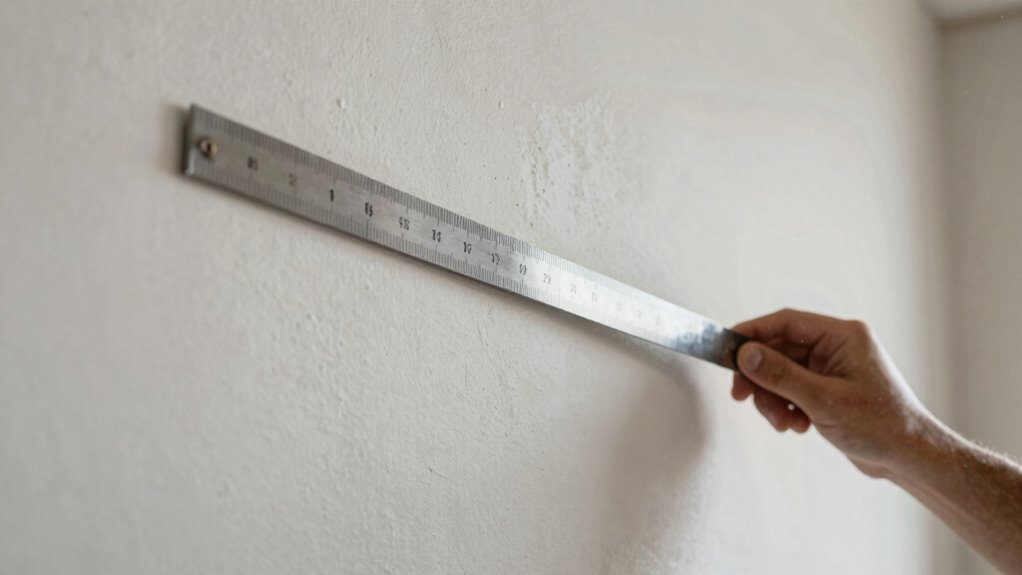
- Use a straightedge or level to check for surface flatness and identify high or low spots.
- Perform a water spray test to assess porosity and surface smoothness by observing water absorption or beading.
- Repair and sand all imperfections to ensure a smooth, even surface before priming.
Ensuring your walls are smooth before priming is essential for a flawless finish, and the right testing methods can make all the difference. When preparing to prime, you want to identify any surface imperfections that could affect the final look. These imperfections—such as bumps, dents, or uneven patches—can compromise primer adhesion, leading to peeling or an uneven paint job. To achieve a smooth, professional result, you need to thoroughly assess your wall’s surface first.
Start by visually inspecting the entire wall. Look for obvious flaws like cracks, holes, or rough spots. Sometimes, imperfections are subtle and won’t be noticeable until you get close or run your hand over the surface. Use good lighting—natural daylight or bright work lights—to cast shadows that reveal uneven areas. As you examine, keep a mental or written note of where these flaws are located so you can address them later.
Inspect your wall visually with bright lighting to spot flaws and note their locations for proper fixing.
Next, perform a simple tactile test. Lightly run your hand over the wall’s surface. You’ll feel bumps, ridges, or rough patches that may not be obvious visually. If you find surface imperfections, you’ll need to sand or patch these areas to ensure they’re smooth before applying primer. This step is crucial because even small flaws can prevent the primer from adhering properly, which jeopardizes the durability of your paint job.
A straightforward method to confirm surface smoothness involves using a piece of scrap drywall or a flat, rigid object like a straightedge or a level. Hold it against the wall and look for gaps or unevenness underneath. If you notice any high or low spots, mark them so you can fix those areas. After repairing, it’s important to sand the surface smoothly, removing any residual dust and ensuring an even base for primer application. Additionally, understanding the surface properties can help you choose the appropriate preparation methods for optimal results.
Another effective approach is to spray a light mist of water on the wall’s surface. If the water beads up, it indicates a rough or non-porous surface that might need additional prepping. If the water absorbs evenly, it’s a good sign that the surface is ready for priming. This test helps you gauge how well your surface will accept primer and paint. Recognizing the surface characteristics can guide you in selecting suitable primers and prep techniques, ultimately improving the final outcome.

Nichiyo 7" Textured Paint Roller, Wall Texture Roller for Pattern Art
- Texture Effect: Creates textured wall patterns with elastomeric coatings
- Pattern Size: 7-inch roller for detailed pattern application
- Suitable Paints: Ideal for thick slurry elastomeric coatings and heavy paste paints
As an affiliate, we earn on qualifying purchases.
As an affiliate, we earn on qualifying purchases.
Frequently Asked Questions
How Often Should I Re-Test Wall Smoothness During Painting?
You should re-test wall smoothness during painting whenever you notice changes in surface appearance or feel rough patches. Regular surface assessments help guarantee your paint preparation remains ideal. Typically, check after applying each coat to catch any imperfections early. Re-testing guarantees your wall stays smooth and ready for the next layer, preventing issues like uneven paint or texture problems. Staying vigilant ensures a professional finish every time.
Can Wall Texture Affect the Testing Method?
Like a dial-up modem in a fiber optic world, your wall texture can influence testing methods. Surface irregularities and material variations impact how accurately you assess smoothness. Textured or uneven walls may require different tools, like a straightedge or a level, to detect imperfections. Recognizing these differences helps you choose the right testing approach, ensuring a flawless priming process and a professional finish, no matter the wall’s texture.
What Tools Are Best for Testing Wall Smoothness?
You should use a straightedge or a level to check for surface irregularities, as they help identify bumps or dips. A feeler gauge can detect subtle unevenness, while a sanding block helps smooth out imperfections. Make certain your tools are properly calibrated and clean for accurate results. This way, you get a true assessment of wall smoothness, making priming more effective and the final finish flawless.
How Do Environmental Factors Influence Wall Smoothness Testing?
Environmental factors greatly impact wall smoothness testing; in fact, humidity fluctuations and temperature variations can cause walls to expand or contract by up to 0.5%. These changes can lead to inaccurate assessments if you don’t regulate conditions. You should test walls in a stable environment, ideally between 50-70°F with consistent humidity levels, to guarantee your results reflect true surface smoothness, not temporary environmental effects.
Is Wall Smoothness Testing Necessary for Textured or Patterned Walls?
Wall smoothness testing isn’t necessary for textured or patterned walls, since surface irregularities are part of the design. However, if you’re applying a smooth finish or primer, testing accuracy helps identify any hidden imperfections that could affect the final look. For textured walls, focus on maintaining the pattern’s consistency, but for smooth finishes, thorough testing guarantees you address surface irregularities, improving the overall quality of your project.

BONCART 8.6Oz Drywall Patch Repair Kit – Professional All-in-1 Tool Set
- All-in-One Repair Solution: Combines patching and priming in one step
- Versatile Surface Repair: Fixes dents, cracks, nail holes on various surfaces
- Complete Repair Kit: Includes putty, scrapers, sponge, sandpaper, gloves
As an affiliate, we earn on qualifying purchases.
As an affiliate, we earn on qualifying purchases.
Conclusion
Remember, a smooth wall is the foundation of a flawless finish. By taking the time to properly test for smoothness before priming, you set yourself up for success. Don’t skip this step, because “a stitch in time saves nine.” When you invest a little effort now, you’ll enjoy a beautifully finished wall with fewer touch-ups later. So, be thorough, stay patient, and the end result will be worth it.

Rust-Oleum 251572 Automotive Adhesion Promoter Spray, 11 oz, Clear
- Bond to Various Materials: Bonds topcoats to vinyl, plastic, fiberglass
- Suitable Surfaces: Works on automotive plastics, vinyl, trim, bumpers
- Fast Drying: Dries in 10 minutes, covers 10-12 sq ft
As an affiliate, we earn on qualifying purchases.
As an affiliate, we earn on qualifying purchases.

Kapro – 770 Exodus Professional Box Level – With 45° Vial & Ruler – For Leveling, Measuring, Marking, and Cutting – Features 3 Vials, Precise Straightedge, and Wall-Grip – 24 Inch
- Adjustable 3 Vials and Ruler: Includes 3 vials and 1/16" ruler
- Hand-Calibrated for Accuracy: Shock-resistant acrylic vials for precise leveling
- Multi-Use Wall Grip: Single-handed use for carpentry and finishing
As an affiliate, we earn on qualifying purchases.
As an affiliate, we earn on qualifying purchases.