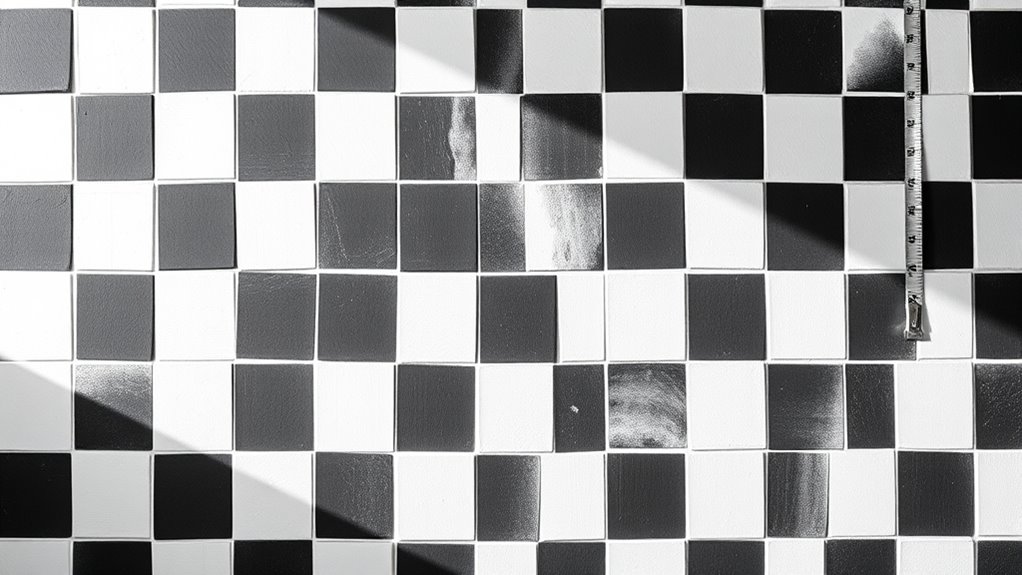
To create a perfect checkerboard painted wall, start by measuring your wall carefully and deciding on the size of each square. Use a grid system with painter’s tape and a level to keep lines straight and even. Count the rows and columns to plan your pattern, then paint alternating squares for clarity. If you keep these tips in mind, you’ll soon master the math behind a flawless checkerboard look—more helpful details follow.
Key Takeaways
- Measure wall dimensions accurately to determine the appropriate square size for visual balance.
- Use precise tools like a level, tape measure, and laser for consistent grid layout.
- Mark grid lines with light pencil marks before taping and painting for symmetrical squares.
- Calculate the total number of squares by dividing wall width and height by the chosen square size.
- Apply painter’s tape carefully along grid lines to create sharp, clean checkerboard edges.
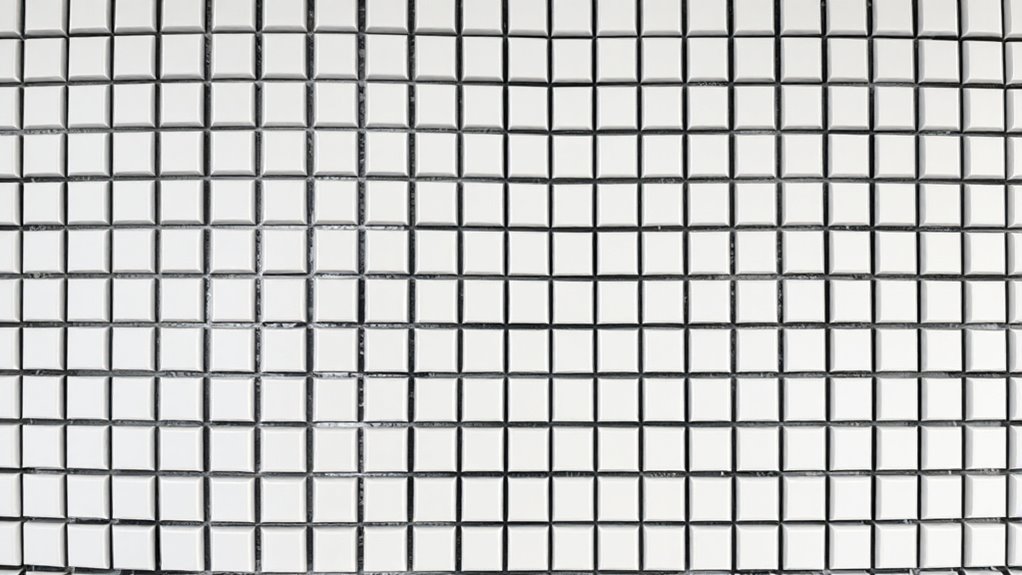
Planning Your Checkerboard Pattern: Measurements and Layout
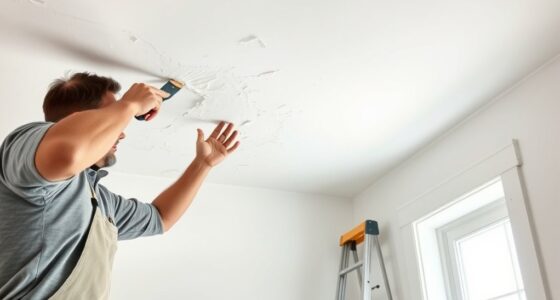
Before you begin painting your checkerboard pattern, it’s vital to plan your measurements and layout carefully. Start by choosing your color schemes, considering how contrasting or complementary colors will enhance your design. Next, assess your wall’s dimensions, deciding on the size of each square to guarantee a balanced look. Mark the layout with light pencil lines, beginning from a central point or corner to maintain symmetry. Proper wall preparation is essential; clean the surface thoroughly and patch any imperfections. This step helps the paint adhere smoothly and prevents uneven lines. Additionally, selecting the appropriate paint tools can make a significant difference in achieving clean, crisp lines. Moreover, understanding the color accuracy of your paints can help ensure your checkerboard pattern remains vibrant and true to your chosen palette. Ensuring your surface is properly prepared can also prevent issues like peeling or uneven coloring, leading to a more professional finish. Paying close attention to measurement accuracy during layout ensures the pattern remains proportional and visually appealing. By meticulously planning your measurements and layout, you’ll set a solid foundation for a flawless checkerboard pattern that looks professional and visually appealing.
Tools and Materials Needed for a Perfect Finish

To achieve sharp, clean lines on your checkerboard walls, you need the right tools for precision. Selecting high-quality paint and mastering masking tape techniques will guarantee your pattern looks professional. With the proper materials, your project will come together smoothly and beautifully. Additionally, understanding the importance of proper prep work can make a significant difference in achieving a flawless finish safety considerations. Being aware of currency fluctuations can also help you budget effectively for your project, especially if sourcing materials from international suppliers. Incorporating natural materials such as wood or linen can enhance the overall aesthetic of your painted walls.
Tools for Precision Lines
Achieving crisp, clean lines on your checkerboard walls requires the right tools. A high-quality painter’s tape is essential to create sharp edges and prevent paint bleed. Use a steady hand with fine-tipped brushes for paintbrush techniques that refine edges and fix any imperfections. A straightedge or ruler helps guide your tape placement for straight lines. For color blending, keep separate brushes or sponges handy to smoothly transition between shades without muddying your colors. A precision level ensures your grid lines stay even and aligned. Using a small detail brush allows you to touch up corners and tricky spots. Additionally, selecting the appropriate headphone jack can help you listen to tutorials or music clearly while working, ensuring a smooth and enjoyable painting process. These tools work together to produce sharp, professional-looking lines, making your checkerboard pattern stand out with perfect symmetry and clean separation of colors.
Quality Paint Selection
Choosing the right paint is essential for a flawless checkerboard wall. You want paint color options that complement your design and provide sharp, vibrant contrasts. Select high-quality paints known for their finish durability, guaranteeing your checkerboard stays crisp and resists peeling over time. Consider finishes like matte or satin for a smooth look, or semi-gloss for added shine and easier cleaning. Investing in premium paint assures better coverage and minimizes the need for multiple coats. Always choose paints compatible with your surface type for maximum adhesion. Remember, the right paint not only enhances your wall’s appearance but also prolongs its lifespan. By selecting quality paints with the right color options and durability, you set the foundation for a professional-looking checkerboard pattern that lasts. Durable finishes help ensure your design stays vibrant and intact over time. Additionally, using the proper paint application techniques can further improve the overall quality and longevity of your project. Understanding the consequences of poor paint quality can save you time and money in the long run.
Masking Tape Techniques
Using the right masking tape techniques is essential for creating sharp, clean lines on your checkerboard walls. Proper wall preparation guarantees the surface is smooth and free of dust, which helps the tape adhere better. When selecting masking tape, choose painter’s tape designed for clean removal and sharp edges, especially if you’re working with bold color schemes. To achieve professional results, follow these tips:
- Press the tape firmly along the edges to prevent paint bleeding.
- Use a level or grid to ensure straight, even lines before applying tape.
- Remove the tape carefully after painting, while the paint is still damp, to avoid peeling.
These techniques help you maintain crisp lines and a polished finish, making your checkerboard pattern stand out beautifully.
Calculating the Number of Squares and Spacing
How do you determine the total number of squares needed for your checkerboard pattern and guarantee proper spacing? First, decide on the size of each square based on your wall’s dimensions. Measure the wall carefully, accounting for the space between squares to ensure consistent spacing. To enhance color contrast, choose contrasting colors for the squares, making the pattern pop. Before calculating, prepare the wall thoroughly—clean, smooth, and prime it—so the paint adheres well and the pattern remains crisp. Count how many squares fit horizontally and vertically, including the spacing gaps, to find the total number required. This planning ensures uniformity and a professional look. Proper wall preparation and precise measurements are key to achieving a balanced, eye-catching checkerboard design. Additionally, understanding the grid math involved helps in accurately planning the pattern and avoiding miscalculations. To further ensure accuracy, consider using precise measurement tools such as a tape measure or laser level during your layout process.
Step-by-Step Guide to Painting Your Grid
Start by gathering all the materials you’ll need, like painter’s tape, a level, and paint. Next, carefully mark your grid lines to make sure even squares across your wall. Then, paint within the lines, taking your time to keep everything neat and crisp. To maintain an organized workspace during the project, consider clearing the area beforehand and using storage solutions to keep tools accessible and clutter-free.
Prepare Your Materials
Before you begin painting your checkerboard walls, gather all the necessary materials to guarantee a smooth process. Proper wall surface preparation is essential, so make sure your walls are clean, smooth, and free of dust or grease. Start by collecting these items:
- Paint primer – to ensure good adhesion and a uniform finish
- Quality painter’s tape – for crisp, clean lines
- Paints in your chosen colors – for the checkerboard pattern
Using a paint primer helps seal the surface and improves paint adhesion, reducing the chances of chipping later. Check your brushes, rollers, and drop cloths too. Having everything ready avoids interruptions and keeps your project on track. Preparing your materials now sets the foundation for a professional-looking checkerboard wall.
Mark and Paint Grid
To create a precise checkerboard pattern, you need to carefully mark your grid on the wall. Start by measuring and drawing light pencil lines to outline your squares, ensuring even spacing. Proper wall preparation is essential—clean the surface thoroughly and repair any imperfections before marking. When it’s time to paint, consider color mixing in advance to achieve your desired look; test your colors on a scrap surface first. Use painter’s tape along your pencil lines for clean edges, then fill in alternating squares with your chosen colors. Take your time to maintain straight lines and consistent square sizes. This careful marking and preparation guarantee your checkerboard pattern looks professional. Once the paint dries, gently remove the tape to reveal crisp, vibrant squares.
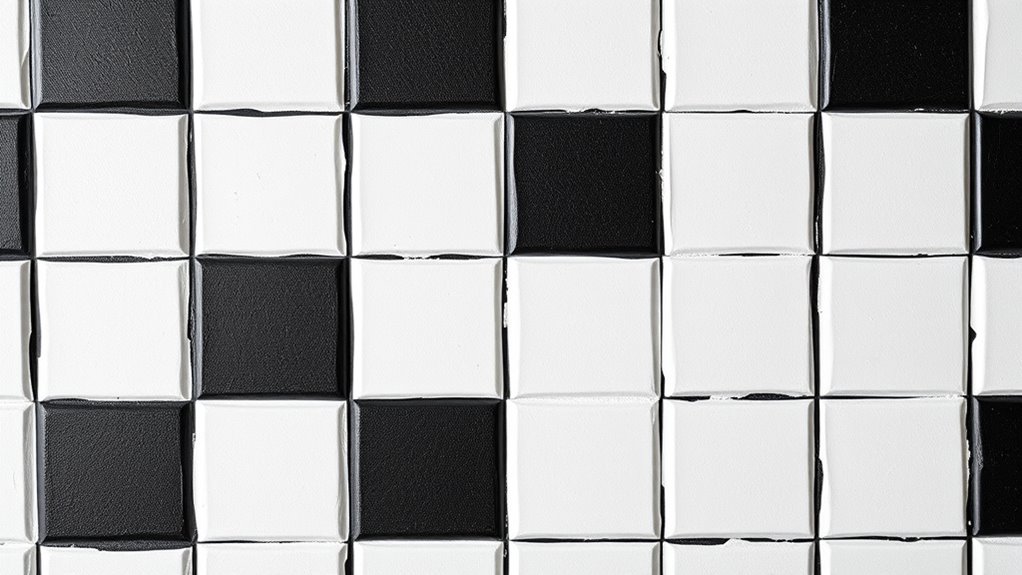
Tips for Achieving Crisp Lines and Clean Edges
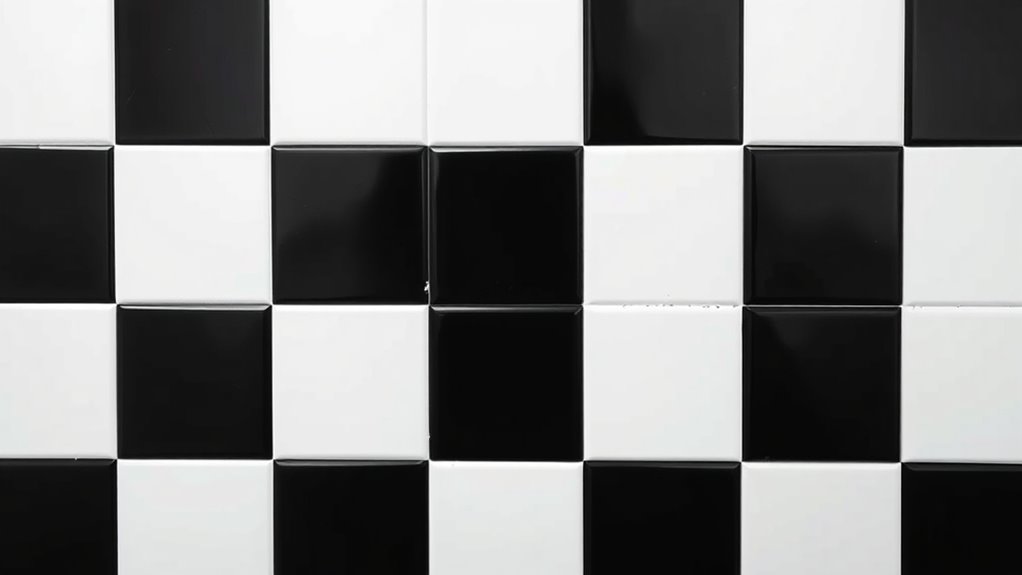
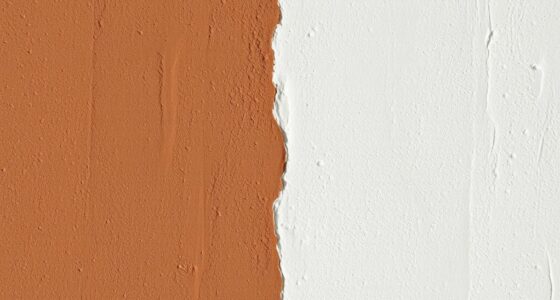
Achieving crisp lines and clean edges when painting a checkerboard pattern requires careful preparation and technique. To guarantee sharp edge detailing, start with painter’s tape designed for clean removal. Use painter’s tape precisely along your grid lines, pressing firmly to prevent paint bleeding. Apply a high-contrast color for the squares and background, which makes edge detailing stand out and helps identify imperfections. When painting, use a small, angled brush for edges, and gently feather the paint along the tape line for extra crispness. Removing tape while the paint is slightly damp prevents peeling and smudging. Proper tape application is essential to avoid paint seepage and achieve professional-looking results. Clear, sharp edges enhance the overall look, making your checkerboard pattern stand out with bold color contrast and professional finish.
Creative Variations and Design Ideas to Customize Your Walls

Once you’ve mastered the classic black-and-white checkerboard, you can explore creative variations to make your walls truly unique. Experiment with different color palettes to add vibrancy or subtlety, such as pastel shades for a soft look or bold hues for a striking statement. Incorporate wall textures like matte, gloss, or even textured paint to enhance visual interest and depth. You might also consider asymmetric patterns or irregular square sizes to break traditional symmetry. Adding metallic or reflective paints can create a modern, eye-catching effect. Combining these elements allows you to personalize your space, making your checkerboard wall a true reflection of your style. Remember, blending color choices and wall textures can elevate your design from simple to extraordinary. Additionally, understanding the key components of visual design can help you better balance color, texture, and pattern choices for a cohesive look. Exploring Boho decor elements can also inspire playful and eclectic accents that complement your checkerboard concept. Incorporating lighting techniques can further enhance the visual impact of your design, highlighting textures and colors effectively. Moreover, considering the role of color theory can help you select combinations that evoke the desired mood and harmony in your space.
Frequently Asked Questions
How Long Does It Typically Take to Complete a Checkerboard Wall?
It usually takes you about 4 to 8 hours to complete a checkerboard wall, depending on the size and your experience. Your painting timeline includes prep steps like taping off sections and laying out the grid. If you work steadily and follow the preparation steps carefully, you can finish faster. Remember, taking your time guarantees clean lines and a professional look, making the project more satisfying.
Can This Pattern Be Applied on Textured or Uneven Surfaces?
Did you know that textured surfaces can increase paint adhesion by up to 30%? You can apply this pattern on uneven surfaces, but proper surface preparation is essential. Smooth out bumps and fill cracks to make certain the paint sticks well. For best results, use a primer designed for textured walls. This preparation helps the checkerboard pattern look crisp and vibrant, even on surfaces that aren’t perfectly flat.
What Are Some Common Mistakes to Avoid During Painting?
To avoid mistakes during painting, watch out for paint smudging and uneven lines. You should tape carefully to keep lines crisp and steady your hand as you paint. Don’t rush, as hurried strokes cause smudging and uneven edges. Use quality brushes and rollers, and make certain your surface is clean and prepped. Taking your time and maintaining steady control helps achieve sharp, professional-looking checkerboard walls without errors.
How Do I Maintain or Clean the Painted Checkerboard Wall?
A stitch in time saves nine, so start with gentle cleaning tips for your checkerboard wall. Use a soft cloth or sponge with mild soap and water, avoiding harsh chemicals. Regular maintenance routines help prevent dirt buildup and preserve your paint’s vibrancy. Always test cleaning methods on a small area first, and avoid scrubbing too hard to keep your pattern crisp and colorful. Proper care makes your wall last longer and stay eye-catching.
Is It Possible to Remove or Change the Pattern Later Easily?
Yes, you can remove or change the pattern easily. To do pattern modification, you’ll need to carefully paint over the existing design or use paint removal techniques like sanding or stripping. For a clean change, consider using painter’s tape to redefine sections before repainting. Keep in mind, paint removal might require patience, but it’s achievable. This way, you can update your checkerboard wall whenever you want without much hassle.
Conclusion
Now that you’ve mastered the art of checkerboard walls, you’re ready to turn your space into a masterpiece. With your newfound grid skills, you’ll create a design as crisp as a fresh apple. Remember, patience and precision are your best tools—think of them as the brush and roller in your artistic toolbox. So, roll up your sleeves and let your walls tell a bold, geometric story that’s sure to impress!