To achieve crisp paint lines on inside and outside corners, start with proper edge protection using painter’s tape or corner guards, pressing firmly to prevent seepage. Prepare the corners by cleaning and ensuring sharp edges, then use gentle, controlled strokes to taper paint outward, blending seamlessly. For best results, feather edges with light strokes or a dry brush, focusing on patience and precision. Keep practicing these techniques to master the art of flawless corners—more tips await if you keep exploring.
Key Takeaways
- Use painter’s tape or corner guards to define sharp, clean boundaries before painting.
- Prepare corners thoroughly, ensuring surfaces are clean, dry, and properly protected.
- Employ tapering techniques by feathering paint beyond edges for seamless transitions.
- Apply paint with controlled, light strokes, working from the corner outward for outside corners and into the corner for inside.
- Practice patience, use quality tools, and lightly feather imperfections for crisp, professional-looking corners.
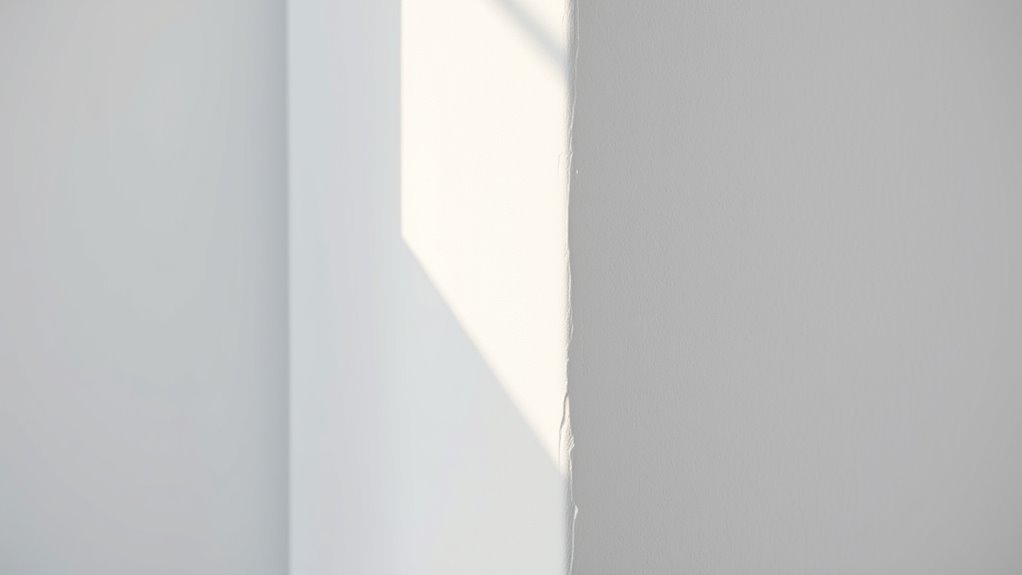
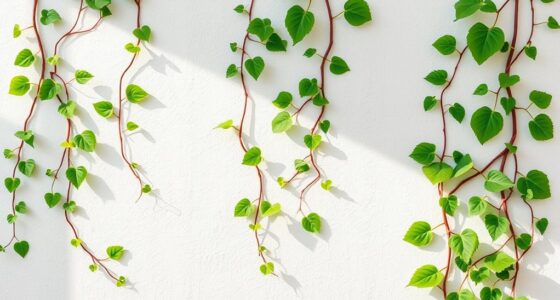
Have you ever wondered how to achieve crisp, professional-looking joints when finishing corners in your projects? Mastering the art of clean corners involves paying attention to details like edge protection and paint tapering. These steps help guarantee your paint lines are sharp and smooth, giving your project a polished appearance. When working on inside and outside corners, preparing the edges properly is essential. Edge protection is crucial to prevent unwanted paint bleed and to keep your lines precise. Using painter’s tape or specially designed corner guards helps create a clean boundary, especially around complex angles or when working with contrasting colors. Apply the tape carefully, pressing down firmly along the edges to prevent paint from seeping underneath. Proper edge protection not only simplifies the painting process but also considerably improves the final look, making your corners appear crisp and well-defined.
Once the edges are protected, the next critical step is paint tapering. This technique involves gradually blending the painted area into the adjacent surface, eliminating harsh lines or visible transitions. To achieve this, start by using a high-quality brush or small roller and apply paint slightly beyond the taped edge or corner. As you paint, feather the edges by using light, sweeping strokes, gradually reducing pressure to create a smooth gradient. This tapering process helps your paint blend seamlessly, producing a sharp yet natural-looking finish. When working on inside corners, ensure you reach into the corner thoroughly, then gently pull back to taper the paint outward. For outside corners, follow the same principle, working from the corner outward along each wall or surface. The key is to keep your strokes light and controlled, maintaining a consistent taper that mimics the natural transition of paint.
Additionally, understanding painting techniques can significantly improve your results and help you achieve those crisp lines more efficiently. Taking your time during this process pays off in the end. Avoid rushing, as hurried taping or uneven tapering can lead to jagged lines or paint buildup. If you notice uneven edges or excess paint, lightly feather the area with a dry brush or a clean, damp sponge to smooth out imperfections. Remember, patience and precision are your best tools for achieving that crisp, professional look. Proper edge protection combined with careful paint tapering guarantees your corners will stand out for their clean, sharp lines. Whether you’re finishing inside or outside corners, these techniques help you create a seamless, polished effect that elevates the quality of your work. With practice, you’ll develop a steady hand and eye for detail, making every corner a showcase of your craftsmanship.

Scotch Blue Painters Tape Applicator, Applies Painter's Tape in One Continuous Strip, Paint Tape Applicator for Trim, Windows and Door Frames, 1.41 Inches x 20 Yards, 1 Starter Roll (TA3-SB-ESF)
PERFORMANCE: Faster, easier prep with precision vs. applying 3M paper-backed tapes by hand
As an affiliate, we earn on qualifying purchases.
As an affiliate, we earn on qualifying purchases.
Frequently Asked Questions
What Tools Are Best for Detailed Corner Painting?
For detailed corner painting, you should use a combination of corner tape and fine detail brushes. Corner tape helps create sharp, clean lines by masking off areas you don’t want painted. Then, use small, precise detail brushes to carefully apply paint in tight corners. These tools give you control and accuracy, ensuring your corners look crisp and professional without mess or uneven edges.
How Do I Prevent Paint Drips on Corners?
Did you know that improper edge painting accounts for 30% of touch-ups? To prevent paint drips on corners, apply painter’s tape or corner tape carefully along edges. Use paint edging tools for clean, precise lines, and avoid overloading your brush or roller. Work slowly and steady, removing tape before paint dries to prevent smudges. This approach guarantees crisp corners and a professional finish every time.
Can I Use Different Paint Types on Inside vs. Outside Corners?
Yes, you can use different paint types on inside versus outside corners, but you need to consider paint compatibility to avoid adhesion issues. Choose a primer suited for each surface to ensure proper bonding. For outside corners, a weather-resistant exterior paint works best, while inside corners benefit from a smooth, durable interior finish. Always check the manufacturer’s recommendations to achieve a seamless, long-lasting result.
How Do I Fix Uneven Paint Edges at Corners?
To fix uneven paint edges at corners, start by applying corner tape to create a clean line. Use a high-quality brush with precise brush techniques to carefully feather the paint, blending it smoothly with the surrounding area. Remove the tape before the paint fully dries to prevent peeling. Practice steady brush strokes and maintain a consistent pressure for a crisp, professional finish that eliminates uneven edges.
What Is the Drying Time Difference for Corner Paints?
The drying time for corner paints depends on the paint type and thickness of each layer. Typically, a paint layer in corners takes about 1 to 3 hours to dry to the touch, but full curing might take 24 hours or more. Keep in mind, thicker paint layers or humid conditions can extend the drying time. To guarantee crisp edges, avoid touching or re-coating too soon, allowing proper drying time for each layer.

Qyueyue Painter's Trim Guard 12 Inch Paint Shield, Edge Painting Tool for Walls, Professional Paint Edger Tool for Precise Trimming(Yellow)
Professional-Grade Precision:The Qyueyue 12-inch Paint Shield ensures clean, sharp edges while painting walls, baseboards, and trim. Its ergonomic…
As an affiliate, we earn on qualifying purchases.
As an affiliate, we earn on qualifying purchases.
Conclusion
Mastering crisp paint lines on inside and outside corners transforms your space, making it look professional and polished. With the right techniques and a steady hand, you’ll wonder why you ever settled for less. Are you ready to take your painting skills to the next level and achieve flawless corners every time? Remember, patience and practice are your best tools—so go ahead, give those corners the attention they deserve!

Multi-Angle Paint Brush Extender with Wooden Handle Paintbrush for High Ceiling Walls Corners Edges can Fixing On Standard Threaded Extension Rod fits Painting Roller Scraper (Color:Red)
【Multi-Angle Rotation Paint Brush Extender with Paintbrush】- 1. The multi-angle brush extender allows 160° rotation and 2 painting…
As an affiliate, we earn on qualifying purchases.
As an affiliate, we earn on qualifying purchases.

Paint Edger Tool Kit for Walls – 360° Rotating Paint Edging Tool with Corner & Trim Pads, 9" Paint Pad, Mini Decorative Edger, Paint Tray & 12 Refill Pads (for Baseboards, Ceilings, Interior Walls)
Complete Paint Edger Tool Kit for Clean, Straight Lines Everything you need for precise edge painting: a 360°…
As an affiliate, we earn on qualifying purchases.
As an affiliate, we earn on qualifying purchases.