To create a custom wall mural, start by selecting a high-resolution photo that matches your style and wall size. Prepare the image by editing for brightness, color, and cropping, then choose durable materials and accurate sizing to guarantee quality. Carefully transfer the image using techniques like grid or transfer paper, then apply it smoothly to the wall with proper adhesive. Finish with sealing and regular maintenance to keep your mural vibrant—exploring each step more will help you achieve stunning results.
Key Takeaways
- Plan your design by gathering inspiration, choosing themes, and preparing the wall surface for optimal adhesion.
- Select a high-resolution photo, enhance colors, crop appropriately, and ensure image quality meets print standards.
- Choose durable materials and match resolution to wall size, considering texture and environmental factors for longevity.
- Transfer the mural accurately using grid, tracing, or digital methods, then carefully adhere and smooth out the material.
- Finish with sealing, trimming, and regular maintenance to preserve vibrancy and prevent damage over time.
Choosing the Perfect Photo for Your Mural
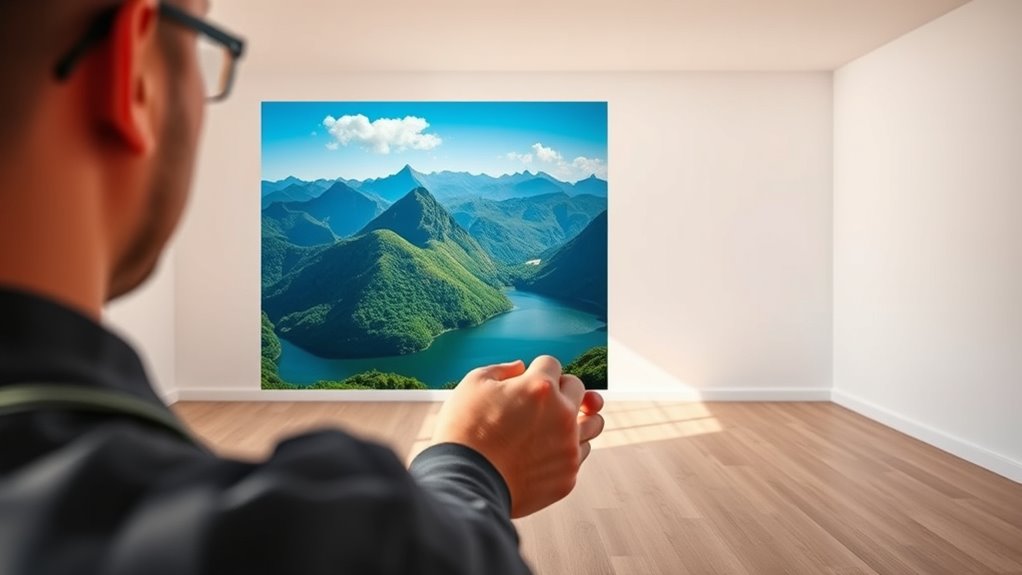
Selecting the right photo is the vital first step in creating a stunning wall mural. You want an image that captures your vision, so start by considering the photo’s color enhancement. Brightening or adjusting the colors can make the mural more vibrant and lively. Next, focus on image cropping to guarantee the composition fits your wall perfectly. Remove distractions or unnecessary elements that don’t add to the overall impact. Keep in mind the mural’s size and aspect ratio, so cropping helps highlight the main subject. Choosing a high-resolution photo is essential, too, as it ensures sharpness and detail when enlarged. Additionally, understanding the importance of image quality can help you select the best photo for a professional-looking result. Incorporating AI-powered editing tools can further enhance your image and ensure it meets your desired standards before printing. Paying attention to factors like resolution and contrast can also improve the clarity and vibrancy of your mural, resulting in a more striking final piece.
Preparing and Editing Your Image for Printing

Before printing your mural, you need to prepare and edit your image to make sure it looks crisp and vibrant on a large scale. Start by:
- Color correction to enhance brightness, contrast, and saturation, ensuring your mural pops with vivid hues. Digital literacy can help you understand how to use editing tools effectively for this purpose.
- Image cropping to focus on the main subject and remove distractions, creating a balanced composition. Proper cropping can also emphasize the rustic elements that are characteristic of farmhouse bedrooms.
- Checking resolution—aim for at least 150 DPI at your final print size to avoid pixelation. High-resolution images are essential for maintaining image clarity on large murals.
- Making final adjustments to sharpness, ensuring details stay clear when enlarged.
- Consider the quality of your image file, as high-resolution images prevent pixelation and ensure the best print results.
- Additionally, understanding retirement planning concepts such as proper image formatting and the importance of high-quality images can help ensure your mural remains vibrant over time.
These steps guarantee your image maintains its clarity and impact on a massive wall, transforming your photo into an eye-catching masterpiece. Proper preparation is essential for a flawless, professional-looking mural.
Selecting the Right Material and Size for Your Wall
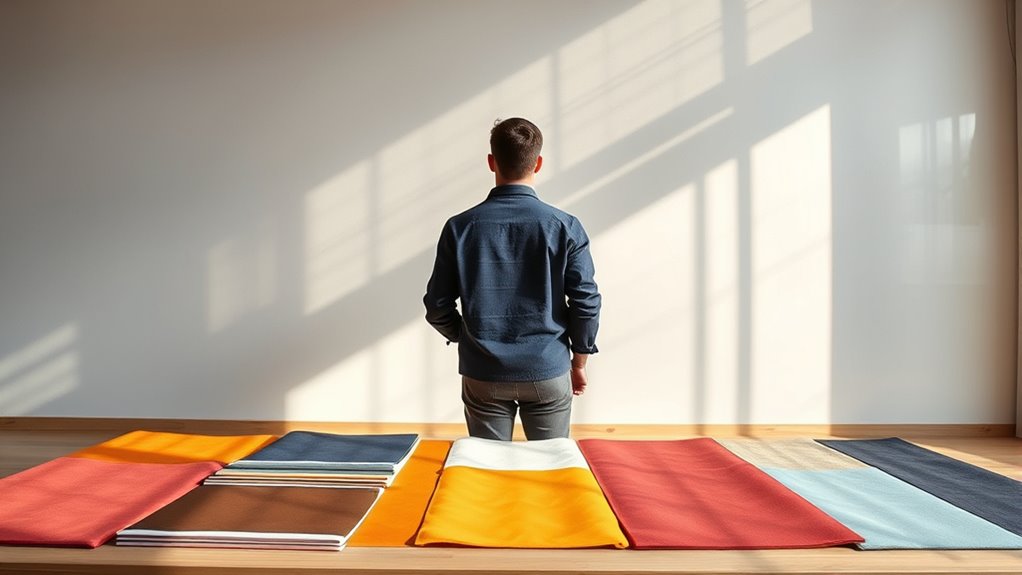
Choosing the right material and size is key to a successful mural, so consider the durability and texture that best suit your space. Measure your wall carefully to determine the ideal dimensions, and remember that higher resolution guarantees a crisp, vibrant print. Balancing these factors helps create a mural that looks great and lasts long.
Material Durability and Texture
- Choose a sturdy material that resists fading and tearing.
- Opt for textures that enhance your design’s visual appeal and tactile feel.
- Think about how your chosen texture will interact with lighting.
- Make certain the material’s durability matches your environment’s conditions.
- Consider the impact of material shelf life on long-term maintenance and appearance.
- Additionally, selecting materials with appropriate moisture resistance can help prevent damage in humid or variable climates.
Wall Size and Dimensions
To guarantee your mural fits perfectly and looks striking, you need to carefully consider the size of your wall and select a material that complements those dimensions. Think about scale considerations—if your wall is tall, a large, bold design works best; for shorter walls, smaller details may suit better. Measure your wall height precisely to avoid surprises during installation. The right material should match your wall’s size and texture, ensuring durability and visual appeal. Additionally, understanding the cookie categories from various fruits can help in planning your mural design, especially if incorporating fruit imagery or themes. Matching size and material ensures your mural enhances your space, not overwhelms it, and considering layer concepts can improve the overall construction and finish of your project. Being aware of the AI Bifurcation can also inspire innovative design approaches that blend technology with traditional mural artistry.
Print Quality and Resolution
Have you considered how print quality and resolution impact the overall look of your mural? High resolution ensures sharp, vibrant images, while poor resolution can make details blurry. When selecting your material, focus on these key aspects:
- Color accuracy – guarantees your mural’s colors match your photo, creating a realistic, eye-catching display.
- Image compression – avoid excessive compression, which can reduce quality and introduce pixelation.
- Material type – choose a surface that enhances color vibrancy and durability.
- Size and resolution – match your image resolution to your wall dimensions for crisp detail without pixelation.
- Print resolution—appropriate print resolution is essential for maintaining image clarity at large sizes.
- Ensuring your digital image meets the digital image standards for large-format printing helps achieve the best results.
- Pay attention to drivetrain components to ensure your digital images are sharp and free of motion blur, especially if capturing action shots for your mural.
- Additionally, selecting the right printing technology can further enhance color fidelity and detail, resulting in a more stunning mural.
Planning Your Wall Layout and Design
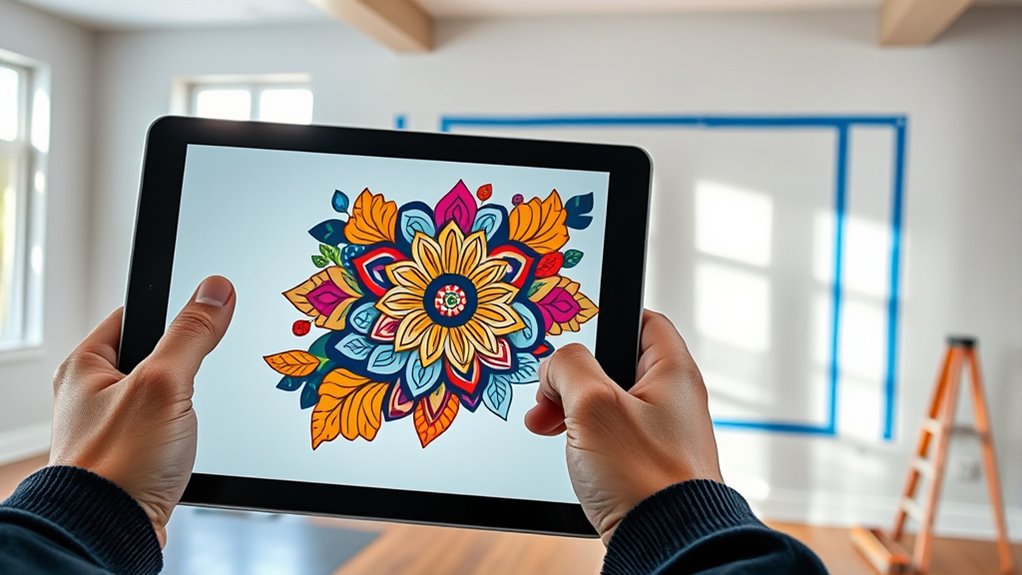
Before you start applying paint or wallpaper, it’s essential to plan your wall layout and design carefully. Begin by considering your space’s dimensions and how much of the wall you want to cover. Think about color coordination—choose hues that complement your existing decor and evoke the mood you desire. Your artistic style also guides your choices; whether you prefer modern minimalism or vibrant, detailed imagery, guarantee your design reflects your personality. Sketch out a rough layout to visualize placement and scale. Measure carefully to prevent surprises later. Planning ahead helps you avoid misalignments or mismatched colors, making the process smoother. With a clear plan, your mural will seamlessly enhance your space and showcase your unique artistic vision.
Transferring the Image Onto the Wall

Before transferring your image, make sure the wall surface is clean, smooth, and free of dust. Use your chosen method—like tracing or grid transfer—to guarantee the image is placed accurately. Precise transfer is key to achieving a professional-looking mural. Additionally, consider evaluating the celebrity lifestyle insights to inspire a unique and personalized design. Incorporating emotional triggers can also help in creating a mural that resonates deeply with viewers. Ensuring your design aligns with AI in Business concepts can inspire innovative and engaging visual themes.
Preparing Wall Surface
To guarantee your mural turns out perfectly, start by thoroughly cleaning and smoothing the wall surface. This prepares it for primer application and ensures an even base. Follow these steps to create a flawless canvas:
- Remove dust, dirt, and grease—your mural depends on a clean surface.
- Fill any holes or cracks with spackle, then sand smoothly for wall smoothing.
- Apply a primer to seal the wall and enhance paint adhesion, preventing future peeling.
- Allow the primer to dry completely, creating a uniform background for your artwork.
- Proper preparation can also help prevent issues related to surface quality, ensuring your mural remains vibrant and durable over time. Good surface adhesion is essential for long-lasting results.
- Considering the nutritional aspects of your workspace environment can also support better focus and creativity during project work.
- Additionally, understanding Relationships – Personality Test can help you create a more harmonious and motivating workspace environment for your mural project.
This process builds confidence, transforming your wall into a perfect, smooth surface. Proper preparation makes all the difference, allowing your mural to come to life with clarity and vibrancy.
Transferring Image Precisely
Are you ready to accurately transfer your design onto the wall? Precise image alignment is key to a professional-looking mural. Using effective transfer techniques guarantees your design stays true to the original. Start by choosing the right method—grid, carbon paper, or digital transfer—based on your design’s complexity. Carefully mark reference points to maintain alignment. To evoke confidence and excitement in your project, consider this table:
| Transfer Technique | Best For |
|---|---|
| Grid Method | Detailed, large images |
| Carbon Paper | Simple, precise outlines |
| Digital Transfer | Complex, multi-color murals |
These techniques help you control your image placement, making the process smooth and satisfying. With patience and precision, your mural will turn out exactly as envisioned.
Applying the Mural With Proper Techniques
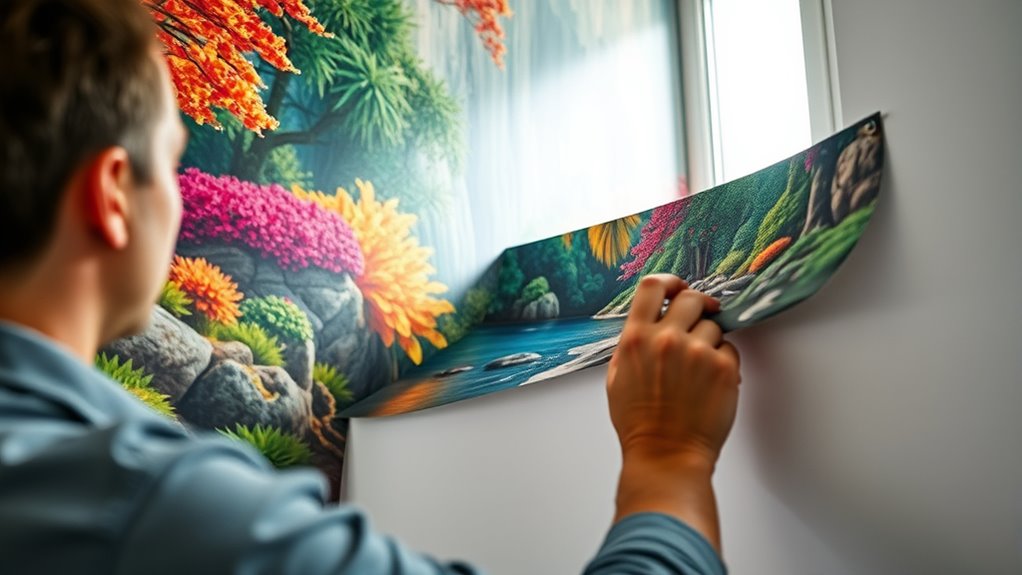
Applying a wall mural requires careful technique to guarantee a smooth, professional-looking finish. First, verify you use proper adhesive techniques to avoid bubbles or wrinkles. Next, carefully align each panel to prevent gaps or misplacements. Once the mural is in place, smooth it out from the center toward the edges to push out air and excess adhesive. After positioning, apply gentle pressure with a squeegee to secure adherence. Finally, seal the mural with a protective coating to prevent damage and ensure longevity. Remember, patience and precision matter. Take your time during each step, and don’t rush. The effort you invest now will result in a stunning, flawless mural that transforms your space and leaves a lasting impression.
Finishing Touches and Ensuring Durability
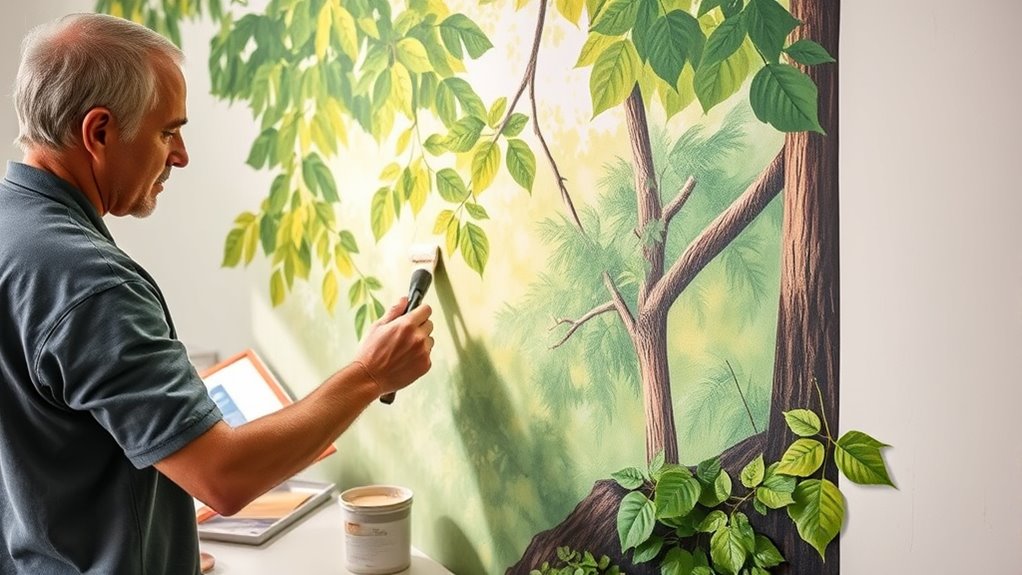
Once you’ve finished installing your mural, focusing on finishing touches and durability guarantees it remains vibrant and intact over time. Start by carefully applying a sealant to protect the surface from moisture and UV damage, which helps preserve its colors and quality. Be sure to cover the entire mural evenly, paying special attention to edges. For edge finishing, neatly trim any excess material and seal the edges with a compatible adhesive or sealant to prevent peeling or lifting. This step ensures a smooth, professional look and enhances longevity. Additionally, check for any air bubbles or gaps and smooth them out promptly. These finishing touches not only improve the mural’s appearance but also strengthen its resistance to wear and environmental factors.
Tips for Maintaining and Caring for Your Wall Mural

Maintaining your wall mural’s vibrant appearance requires regular care and attention. Proper cleaning methods and prompt stain removal keep it looking fresh and stunning.
- Gently dust your mural weekly with a soft cloth to prevent dust buildup.
- For cleaning, use a damp cloth with mild soap; avoid harsh chemicals that could damage the print.
- When stains occur, act quickly with a gentle blot of water or a specialized stain remover designed for murals.
- Avoid excessive moisture and direct sunlight, which can cause fading over time.
Frequently Asked Questions
How Long Does It Typically Take to Create a Custom Wall Mural?
It typically takes about 2 to 4 weeks to create a custom wall mural, depending on your project’s complexity. You should plan your timeline carefully, considering time for design approval, mural printing, and installation. Material selection also impacts the timeline, as certain materials may require longer drying or curing times. By coordinating these steps early, you guarantee a smooth process from start to finish.
Can I Design a Mural With Multiple Images or Themes?
You can absolutely design a mural with multiple images or themes, creating a stunning collage design that tells a story or highlights various elements. Did you know that murals with combined images often increase visual interest by 60%? By blending themes through artistic techniques, you craft a cohesive, vibrant piece. Your mural becomes a dynamic visual journey, allowing you to showcase different ideas or memories seamlessly integrated into a single, striking wall art.
What Are the Best Ways to Remove or Replace a Mural Later?
To remove or replace a mural later, you should consider various removal methods like gentle scraping, heat application, or using commercial mural removers, depending on the wall surface and mural type. Carefully peel or scrape away the old mural, then clean the wall thoroughly. For mural replacement, prepare the surface properly to make sure the new mural adheres smoothly. Always test a small area first to prevent wall damage.
Is Professional Installation Necessary, or Can I Do It Myself?
You can definitely take the DIY route, like painting a canvas in your own backyard. With the right DIY tips, you’ll handle the installation confidently, saving money and adding a personal touch. However, professional benefits include a smoother, flawless finish and expert guidance for tricky corners. If you’re comfortable with hands-on projects, go ahead, but for complex or large murals, hiring a pro guarantees your wall masterpiece stands tall and proud.
How Can I Ensure the Colors Remain Vibrant Over Time?
To keep your mural’s colors vibrant, focus on colorfastness and UV protection. Choose high-quality inks designed for durability and guarantee your mural has a UV-resistant coating. Keep the mural out of direct sunlight whenever possible, and clean it gently with a damp cloth to prevent fading. Regular maintenance and protective finishes help preserve the vividness of your mural over time, making it a lasting centerpiece in your space.
Conclusion
Creating your wall mural is like painting a masterpiece on your own personal canvas. With careful planning and attention to detail, you’ll transform your space into a stunning work of art. Just remember, each step is a brushstroke in your design journey. When finished, you’ll have a vibrant display that reflects your style and personality. So go ahead and turn your wall into a visual story that’s uniquely yours—your masterpiece awaits!