
To create elegant picture frame moulding layouts, you need precise math and consistent spacing. Measure your wall carefully and decide on frame widths and spacing that balance well within the space. Use rulers or tape measures to mark equal distances and sketch your design beforehand. Symmetrical or asymmetrical layouts work best with careful calculations to avoid overcrowding or empty areas. Keep experimenting with different patterns, and you’ll find that understanding spacing makes your wall look polished and stylish.
Key Takeaways
- Measure wall dimensions accurately to determine the total available space for framing and spacing.
- Decide on consistent frame widths and spacing intervals to create a balanced, harmonious layout.
- Use precise math to calculate the number of frames and spacing needed for symmetrical or asymmetrical designs.
- Mark measurements carefully with rulers or tape to ensure even spacing and proper alignment during installation.
- Sketch layout plans beforehand, adjusting measurements to avoid overcrowding or excessive gaps for visual harmony.
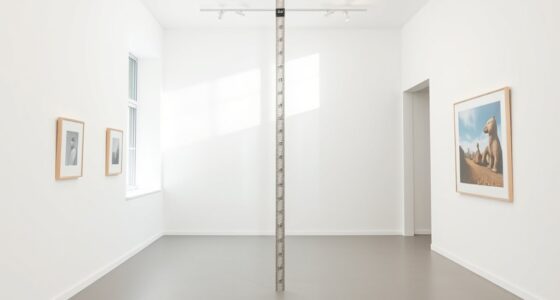
Creating the perfect picture frame moulding layout can transform a plain wall into a stunning focal point. When you carefully plan your layout, you’re not just adding mouldings—you’re creating a work of art with decorative accents that elevate your space. The key lies in understanding how to use framing techniques that balance aesthetics with precision. It’s about choosing the right dimensions, spacing, and placement to make your wall stand out without feeling overwhelming.
Start by considering the size and shape of your wall and the furniture around it. A well-thought-out layout ensures your moulding design complements the room’s architecture. When you plan your framing techniques, think about how the moulding will interact with existing features, like doorways or windows. This helps create a cohesive look that feels intentional and polished. The goal is to make the decorative accents pop without cluttering the space.
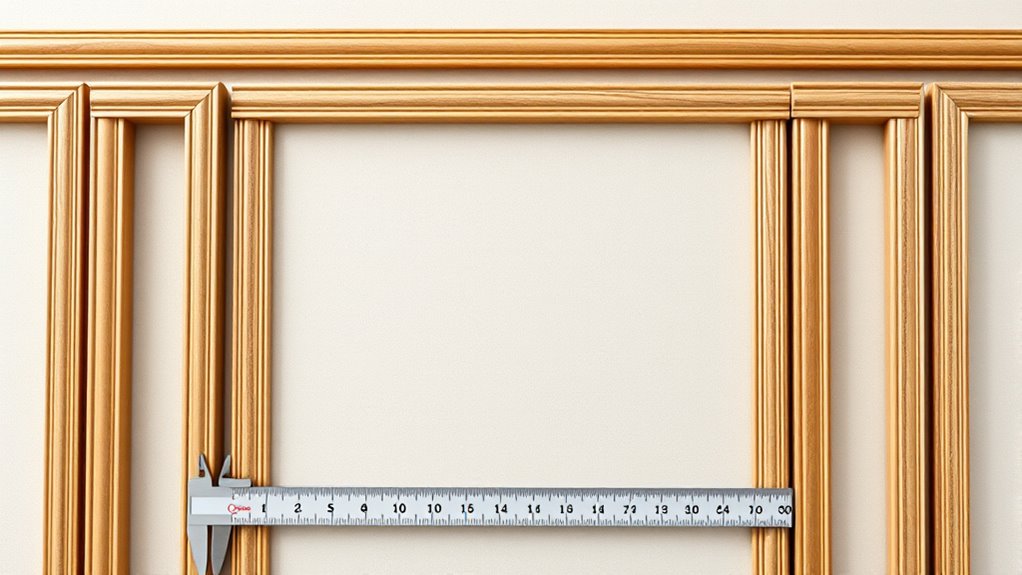
To achieve this, you need to get comfortable with basic math and measurements. Measure your wall carefully, then decide on the width of your moulding and the spacing between the frames. Consistent spacing is essential for a balanced appearance, so use a ruler or tape measure to mark out equal distances. For example, if you’re creating multiple rectangular frames, spacing each frame evenly will give your wall a harmonious rhythm. If you’re working with varying sizes, plan the layout on paper first, sketching out the placement and adjusting until it feels right.
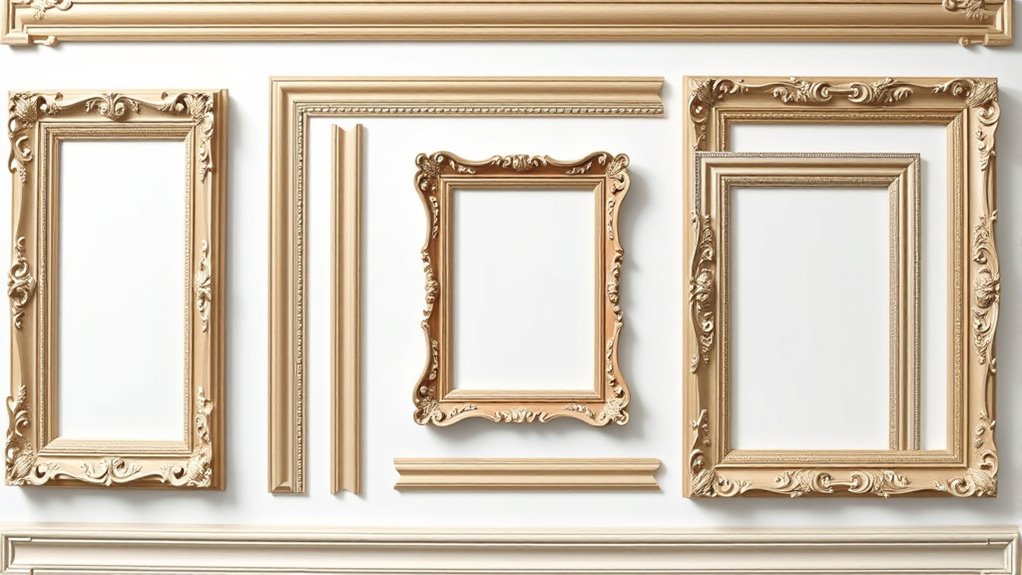
When it comes to framing techniques, you might choose a symmetrical layout, where all frames are evenly spaced and aligned, or an asymmetrical design that draws attention to specific areas. Both can work beautifully, depending on your style. If you prefer a classic look, keep the spacing uniform and use mitered corners for clean lines. For a more modern or eclectic vibe, experiment with different frame sizes and irregular spacing. Whichever approach you choose, remember that the spacing between mouldings impacts the overall visual weight—too close, and it feels crowded; too far apart, and it might look sparse.
Incorporating decorative accents, like intricate moulding profiles or painted finishes, can add depth and character to your layout. These accents can highlight specific areas or act as focal points, guiding the eye across the wall. When planning your layout, think about how these details will interact with the framing techniques you select. Additionally, understanding the concept of Gold IRA and its principles of diversification can inspire you to think creatively about balancing different design elements. The right combination of decorative accents, precise measurements, and framing techniques will ensure your moulding layout enhances your space with elegance and style.
Frequently Asked Questions
How Do I Choose the Right Moulding Style for My Space?
To choose the right moulding style, consider your room’s function and your overall design style. For a formal space, opt for classic, ornate mouldings; for a relaxed, modern look, go for sleek, simple profiles. Think about the atmosphere you want to create—elegant or casual—and select mouldings that complement your room’s purpose. Matching moulding styles with your decor guarantees a cohesive, polished look.
What Tools Are Best for Measuring and Cutting Frame Moulding?
You should use a combination of measuring techniques and precise cutting tools for your moulding. A tape measure or a combination square helps you get accurate measurements, while a miter saw or a fine-tooth hand saw guarantees clean, angled cuts. Always double-check your measurements before cutting, and use a protractor or angle finder for perfect corners. These tools make the process easier and ensure your frame fits together seamlessly.
How Do I Adjust Layouts for Uneven or Textured Walls?
To adjust layouts for uneven or textured walls, start by marking the wall surface irregularities. Use a flexible measuring tape and a level to account for uneven spacing adjustments, ensuring your frame aligns correctly. When cutting moulding, make slight angle adjustments to accommodate bumps or indentations. Hold the moulding against the wall frequently during installation to check for gaps or misalignments, making small tweaks as needed for a seamless finish.
Can I Mix Different Moulding Profiles in One Layout?
Yes, you can mix different moulding profiles in one layout. Just guarantee the profiles complement each other in style and proportion to maintain visual harmony. Choosing mouldings with good durability ensures they withstand wear, while a smooth paint finish enhances their appearance. When mixing profiles, consider spacing and angles carefully to create a cohesive look that highlights each profile’s unique character without overwhelming the space.
How Do I Ensure Symmetry in Complex, Multi-Frame Designs?
Think of your design as a symphony where symmetry techniques are the conductor guiding harmony. To guarantee symmetry in complex, multi-frame layouts, measure carefully and use templates or spacers to balance multiple frames. You can also employ grid lines or chalk marks to align edges precisely. Keep checking your work from different angles, and trust your eye to maintain visual balance, creating a cohesive, professional look.
Conclusion
Now that you know the math and spacing behind picture frame moulding layouts, you’re ready to transform any wall. Did you know that a properly planned layout can make your artwork appear 30% more balanced and appealing? Imagine stepping back and admiring your perfectly spaced frames, each one perfectly aligned — it’s like creating your own gallery at home. With these tips, you’ll turn simple moulding into a stunning visual masterpiece.