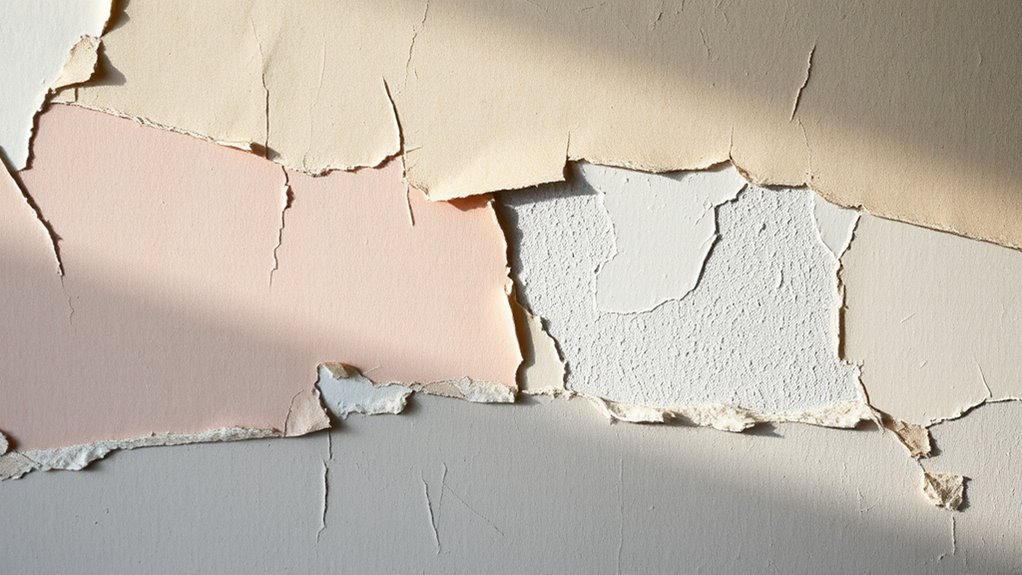
Painting over wallpaper is okay if the wallpaper is securely adhered, free of bubbles, tears, mold, or peeling edges. Make sure to assess its condition first and choose suitable types, like removable or smooth wallpapers. Proper surface preparation—including cleaning, lightly sanding, and priming—is key to a lasting finish. If the wallpaper shows extensive damage or persistent issues, removal might be better. Keep exploring to discover how to prepare and paint effectively for professional results.
Key Takeaways
- Painting over wallpaper is acceptable if the wallpaper is in good condition, well-adhered, and free of mold, tears, or bubbling.
- Lightly sand and prime the wallpaper to improve paint adhesion and ensure a smooth, durable finish.
- Use high-quality, suitable paints like latex or oil-based for better coverage and longevity.
- Avoid painting over damaged or peeling wallpaper; removal is recommended for compromised surfaces.
- Consider wallpaper type and texture, as smooth or coated wallpapers respond better to painting than textured or delicate finishes.
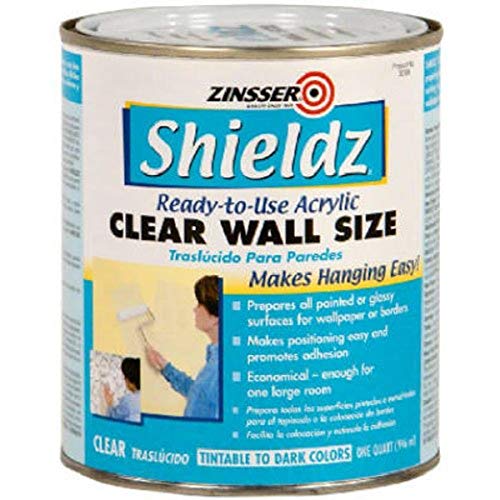
qt Zinsser 2104 Clear Shieldz Water-Based Acrylic Wallpaper Primer
Prepares all painted or glossy surfaces for wallpaper or borders
As an affiliate, we earn on qualifying purchases.
As an affiliate, we earn on qualifying purchases.
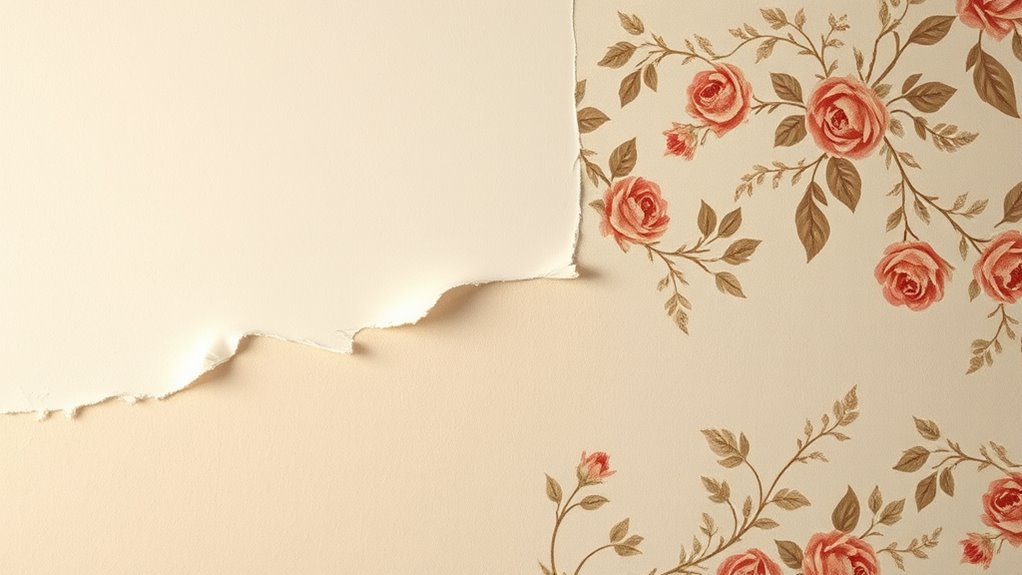
Assessing the Condition of the Existing Wallpaper
Before you start painting over wallpaper, it’s vital to evaluate its condition thoroughly. First, examine the wallpaper for bubbles, tears, or peeling edges, as these issues can affect adhesion. If the wallpaper is damaged or loose, you might need to contemplate wallpaper removal instead of painting directly. Next, check for mold, stains, or other imperfections that could bleed through the paint. Surface cleaning is essential; wipe the wallpaper with a damp cloth to remove dust, grease, or dirt that can hinder paint adhesion. If the wallpaper is glossy, lightly sanding the surface will help the paint stick better. A careful assessment ensures you address potential problems early, creating a smooth, clean surface ideal for painting and preventing future issues. Additionally, understanding the color accuracy of your surface can help you choose the right paint finish for a seamless look. Ensuring the wallpaper is properly prepared can also extend the lifespan of your new paint job, especially when dealing with adhesion issues that might arise from surface imperfections. Moreover, addressing surface exfoliation prior to painting can prevent peeling and ensure a durable finish. For optimal results, consider using specialized primers designed to improve adhesion on wallpaper surfaces.

Tempaper Paintable Removable Peel and Stick Wallpaper, 20.5 in X 33 ft, Made in the USA
Draw, paint and create your own designs on this white removable wallpaper! The peel and stick prints wallpaper…
As an affiliate, we earn on qualifying purchases.
As an affiliate, we earn on qualifying purchases.
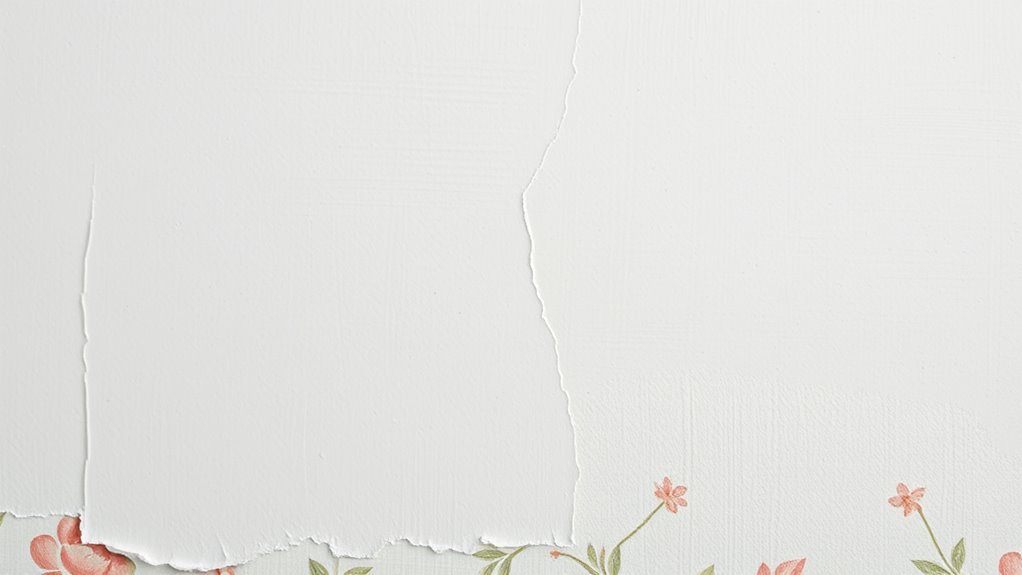
Types of Wallpaper Suitable for Painting

Not all wallpapers are ideal candidates for painting, so understanding which types work best can save you time and effort. Removable wallpaper is often a good choice because it typically has a smooth, vinyl or coated surface that accepts paint well. Textured wallpaper, however, can be trickier; some textured designs may require special preparation or primer to guarantee the paint adheres properly. Smooth, non-embossed wallpapers usually respond better to painting, especially if they’re in good condition. Avoid wallpaper with heavy patterns or delicate finishes, as these may not hold paint effectively or could damage easily. Recognizing the best beaches and their characteristics can also help in planning your home renovation projects, especially if you’re considering creating a relaxing, seaside-inspired space. By choosing the right type, like removable or certain textured wallpapers, you increase your chances of achieving a professional-looking paint job without the need for complete removal. Additionally, understanding wallpaper types based on their material and surface texture can further improve your painting results. Considering paint adhesion qualities can also help determine the suitability of different wallpaper surfaces for painting. Moreover, selecting a wallpaper with good adhesion qualities can reduce the risk of peeling or bubbling after painting, ensuring a more durable finish.
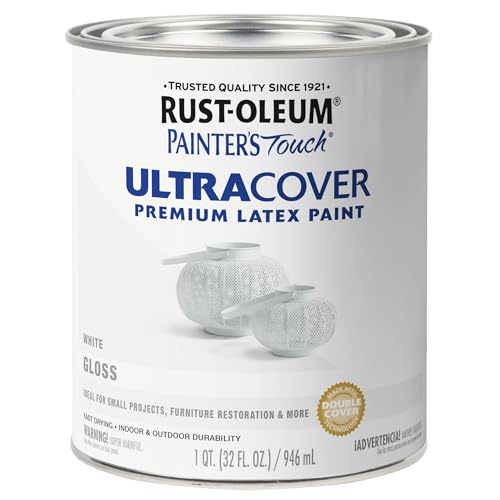
Rust-Oleum 1992502 Painter's Touch Latex Paint, Gloss White 32 Fl Oz, 1 Quarts (Pack of 1)
Use for a variety of indoor and outdoor project surfaces including wood, metal, plaster, masonry or unglazed ceramic
As an affiliate, we earn on qualifying purchases.
As an affiliate, we earn on qualifying purchases.
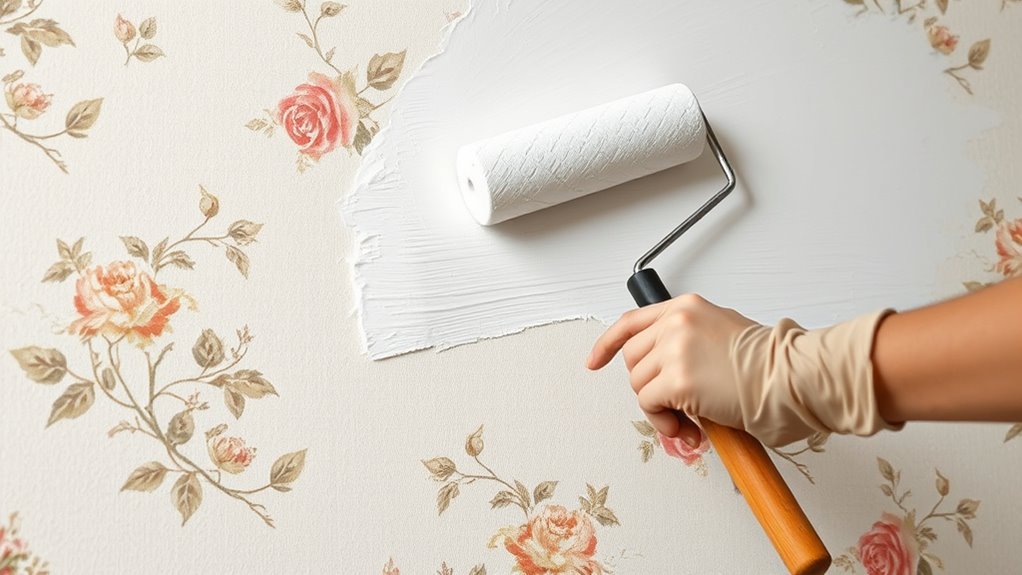
Preparing the Surface for Painting
To guarantee a smooth and long-lasting paint finish, you need to properly prepare the surface of your wallpaper. Start with thorough wallpaper removal if necessary—residual adhesive can cause future peeling. Next, clean the surface with a mild detergent to remove dust, grease, or dirt that could interfere with paint adhesion. Finally, sand the wallpaper lightly to create a rough texture, ensuring better paint grip. These steps are essential for effective surface preparation and help prevent peeling, bubbling, or uneven coverage later. Proper surface preparation is crucial for achieving a durable and professional-looking paint job. Remember, skipping proper preparation can compromise the durability of your paint job, making it look uneven or requiring frequent touch-ups. Taking these measures ensures your painted surface remains attractive and intact over time. Additionally, understanding the importance of fathers’ influence can inspire patience and care during your home improvement projects, reflecting the nurturing aspect of a father’s role in guiding growth and stability.

Art3d Smoothing Tool Kit for Applying Peel and Stick Wallpaper, Vinyl Backsplash Tile
【Set of basic tools】: Package includes craft art knife with 5 replaceable blades, red smoother, blue smoother with…
As an affiliate, we earn on qualifying purchases.
As an affiliate, we earn on qualifying purchases.
Choosing the Right Paint and Tools

To achieve a smooth, lasting finish, you need to pick the right type of paint and tools. Selecting a suitable paint, like a latex or oil-based option, guarantees good adhesion and durability over wallpaper. Using proper brushes or rollers will help you apply the paint evenly and avoid streaks or drips.
Suitable Paint Types
Choosing the right paint and tools is essential for a smooth and lasting finish when painting over wallpaper. The best paint types enhance paint adhesion without causing peeling or bubbling, especially if you haven’t removed the wallpaper entirely. When selecting paint, consider these key factors:
- Use a high-quality, latex-based primer to ensure proper adhesion and to seal the wallpaper surface. This step is crucial because surface preparation can significantly improve the durability of your paint job and prevent future peeling.
- Opt for matte or eggshell finishes to hide imperfections and reduce glare.
- Avoid oil-based paints, which can cause adhesion issues and long-term peeling.
- Selecting proper surface preparation techniques can significantly improve the durability of your paint job and prevent future peeling.
These choices help prevent wallpaper from bubbling or peeling later. Proper paint selection supports wallpaper removal if needed and ensures your paint sticks well. Always test a small area first to confirm compatibility and adhesion.
Proper Application Tools
Selecting the right application tools guarantees your paint job over wallpaper turns out smooth and durable. Start with proper brush selection; choose brushes suited for your paint type and surface. A high-quality brush helps you achieve even coverage and prevents streaks. When it’s time for primer application, use a roller or brush designed for priming, making certain all wallpaper seams and textured areas are thoroughly coated. Proper tools make a significant difference in how well the paint adheres and covers the wallpaper underneath. Avoid cheap brushes that shed bristles or uneven rollers that cause uneven application. Taking the time to select the appropriate tools assures a professional finish, reduces the need for touch-ups, and helps your paint job last longer. Additionally, using the correct application tools can prevent damage to the wallpaper or underlying surface during the painting process. Using proper technique with your tools also ensures an even coat and minimizes the risk of peeling or bubbling over time. Paying attention to surface preparation is essential for achieving a smooth, long-lasting finish. When you understand the types of wallpaper, you can better select tools that will work effectively with different textures and materials.
Step-by-Step Process for Painting Over Wallpaper
Before you start painting over wallpaper, you need to prepare the surface properly. This guarantees good paint adhesion and prevents peeling later. First, clean the wallpaper thoroughly with a mild detergent to remove dust and grease. Second, lightly sand the surface to create a rough texture, helping the primer and paint stick better. Third, apply a high-quality, oil-based primer designed for wallpaper; this seals the surface and minimizes the risk of bubbling or peeling. Keep in mind, if the wallpaper is very loose or damaged, wallpaper removal might be necessary to achieve a smooth, durable finish. Proper preparation boosts paint adhesion and ensures your painting project looks professional and lasts longer. Additionally, researching trending painting techniques can help you achieve a more polished and modern look. Staying informed about innovative DIY methods can also improve your results and make the project more efficient. Incorporating eco-friendly paints is another way to support sustainable living and reduce environmental impact during your renovation. For best results, consider checking the condition of existing wallpaper before starting, as this can influence your preparation approach.
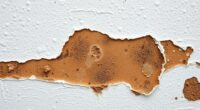
Signs That Indicate Removal Is a Better Option
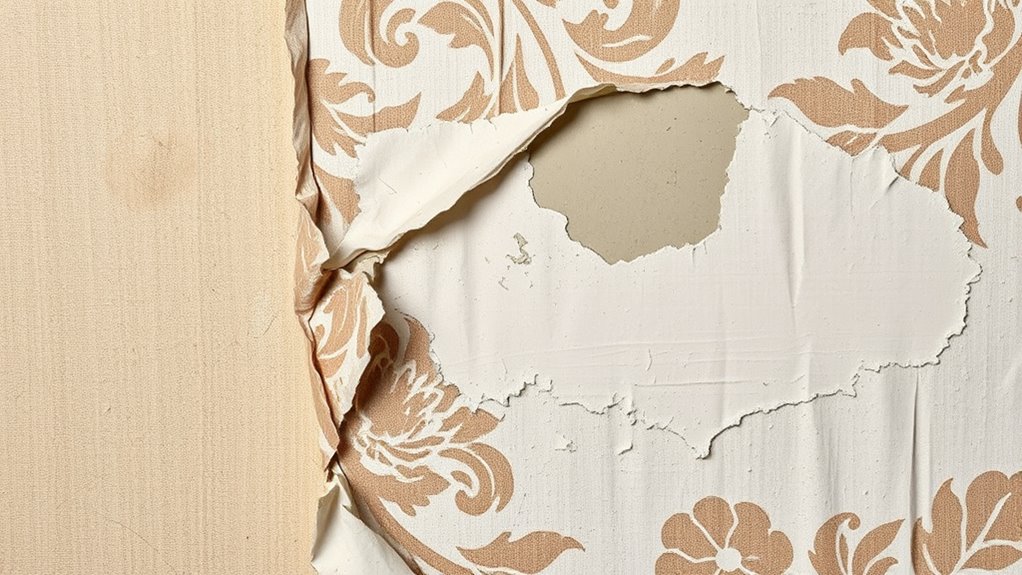
If your wallpaper shows persistent bubbling, peeling, or extensive damage, it’s a clear sign that removing it is the better option. Attempting to paint over damaged wallpaper can lead to poor adhesion and uneven surfaces. Proper surface preparation begins with wallpaper removal, ensuring a clean, smooth base for your paint. Look out for these signs:
| Sign | What it Means | Recommended Action |
|---|---|---|
| Bubbling or peeling | Adhesion failure | Remove wallpaper for better surface prep |
| Extensive tearing | Damage to backing | Remove before painting |
| Mold or mildew | Moisture issues | Remove to prevent further damage |
| Difficult removal | Old, glued-down wallpaper | Removal improves results |
Removing wallpaper ensures a durable, professional finish, saving time and effort in the long run. Additionally, addressing underlying issues like cybersecurity vulnerabilities can prevent future damage to your home system and data security. Properly assessing the condition of your wallpaper and understanding home renovation best practices can help you achieve a seamless, lasting result. Recognizing these signs early can also help avoid unnecessary costly repairs, especially when dealing with older or improperly installed wallpaper. In some cases, consulting with a professional can provide insights into Louisiana alimony laws that might impact your property and financial considerations during renovation projects.
Frequently Asked Questions
How Long Does Painted Wallpaper Typically Last Before Needing Touch-Ups?
Painted wallpaper usually lasts about 5 to 10 years before you’ll need touch-ups. The wallpaper’s longevity depends on factors like room humidity and wear. Over time, paint may chip or fade, so you should plan for paint touch-ups every few years to keep your walls looking fresh. Regular maintenance helps preserve your wallpaper’s appearance, ensuring it stays vibrant and damage-free longer.
Can I Paint Over Textured or Embossed Wallpaper Successfully?
Yes, you can paint over textured or embossed wallpaper successfully if you properly prep the surface and guarantee paint compatibility. First, clean the wallpaper thoroughly to remove dust and grease. Then, lightly sand the surface to smooth out the texture. Use a high-quality primer designed for wallpaper, and choose a paint compatible with the wallpaper’s material. This prep work helps the paint adhere well and results in a professional-looking finish.
Is There a Specific Type of Paint That Works Best for Painted Wallpaper?
You need a high-quality, latex or acrylic paint for painted wallpaper—these are like superhero suits for your walls, ensuring top paint adhesion and a finish that lasts forever. Satin or eggshell finishes work best, offering durability without the glare. Avoid cheap paints that peel or crack; instead, invest in the right type to make your wallpaper transformation last, keeping your walls stunning and resilient through time and wear.
Will Painting Over Wallpaper Affect the Wallpaper’s Adhesive or Integrity?
Painting over wallpaper can affect the wallpaper’s adhesive and integrity if you don’t consider paint compatibility. If you use a suitable primer and quality paint designed for wallpaper, it minimizes risks. These products help maintain the adhesive’s strength and prevent peeling. Avoid oil-based paints or thick coatings, as they can loosen the wallpaper. Always test a small area first to ensure the wallpaper remains secure and intact after painting.
How Do I Remove Painted Wallpaper if I Decide to Change the Decor Later?
If you want to change your decor later, removing painted wallpaper can feel like unraveling a mystery. Start with gentle removal techniques, like scoring the surface and applying a warm, damp cloth to loosen the paint. Proper wallpaper prep before painting makes this easier, so always consider this step beforehand. Patience is key—slowly peel and use a scraper if needed, avoiding damage to the wall underneath.
Conclusion
Think of painting over wallpaper like tending a garden: sometimes, the soil’s rich enough to thrive, and other times, it’s better to start fresh. If your wallpaper’s in good shape, a fresh coat can breathe new life into your space. But if it’s damaged or peeling, it’s like weeds taking over—better to clear the area first. Know when to nurture and when to start anew, and your walls will flourish beautifully.